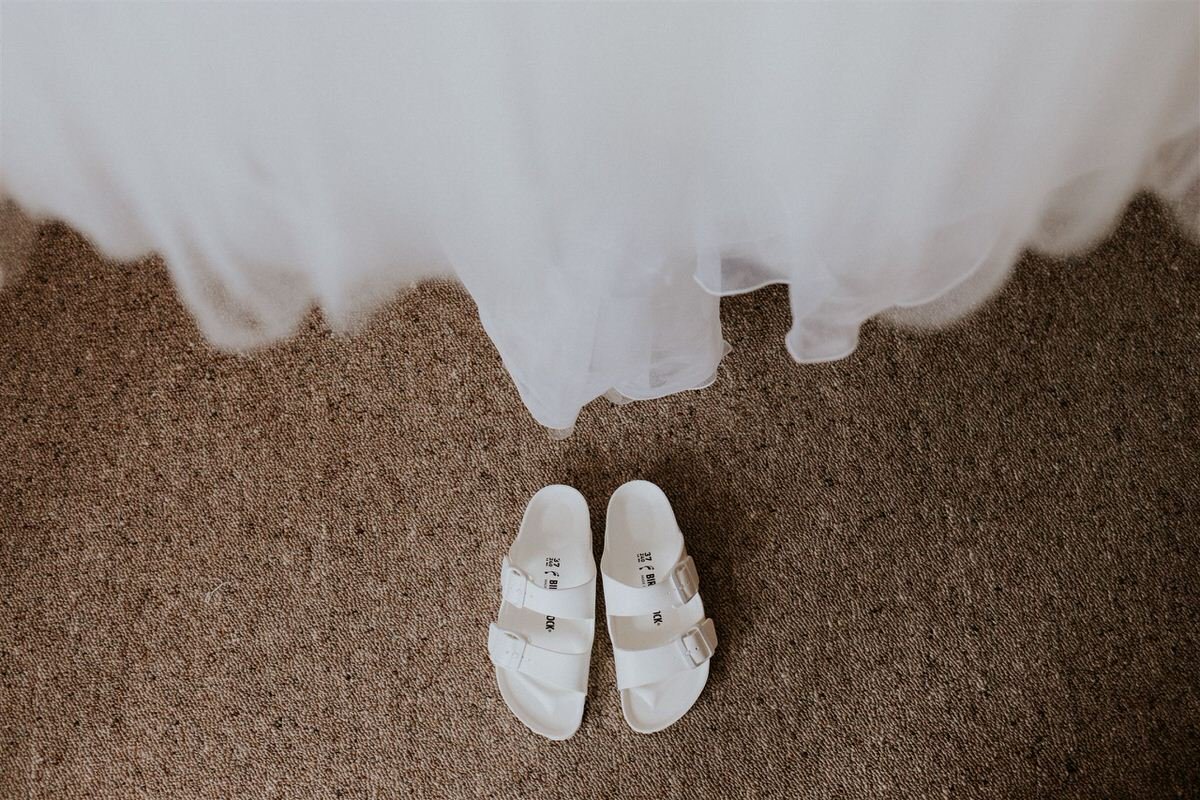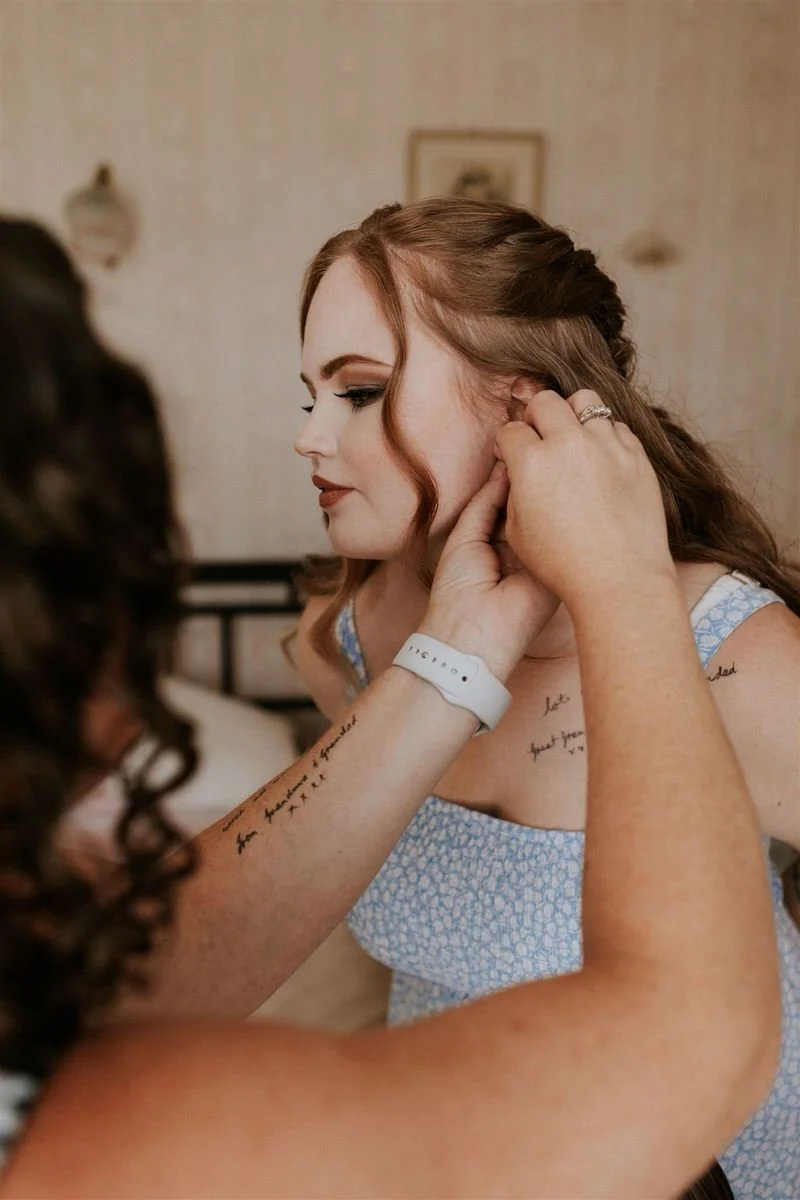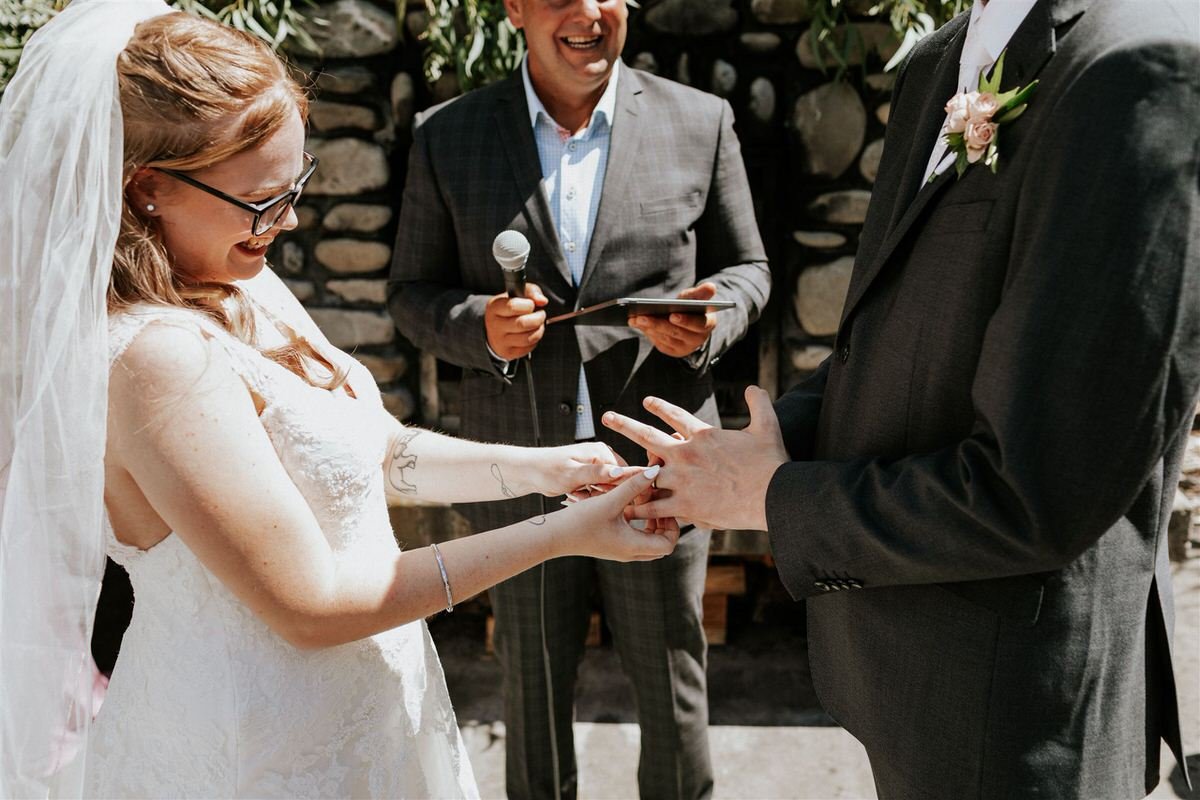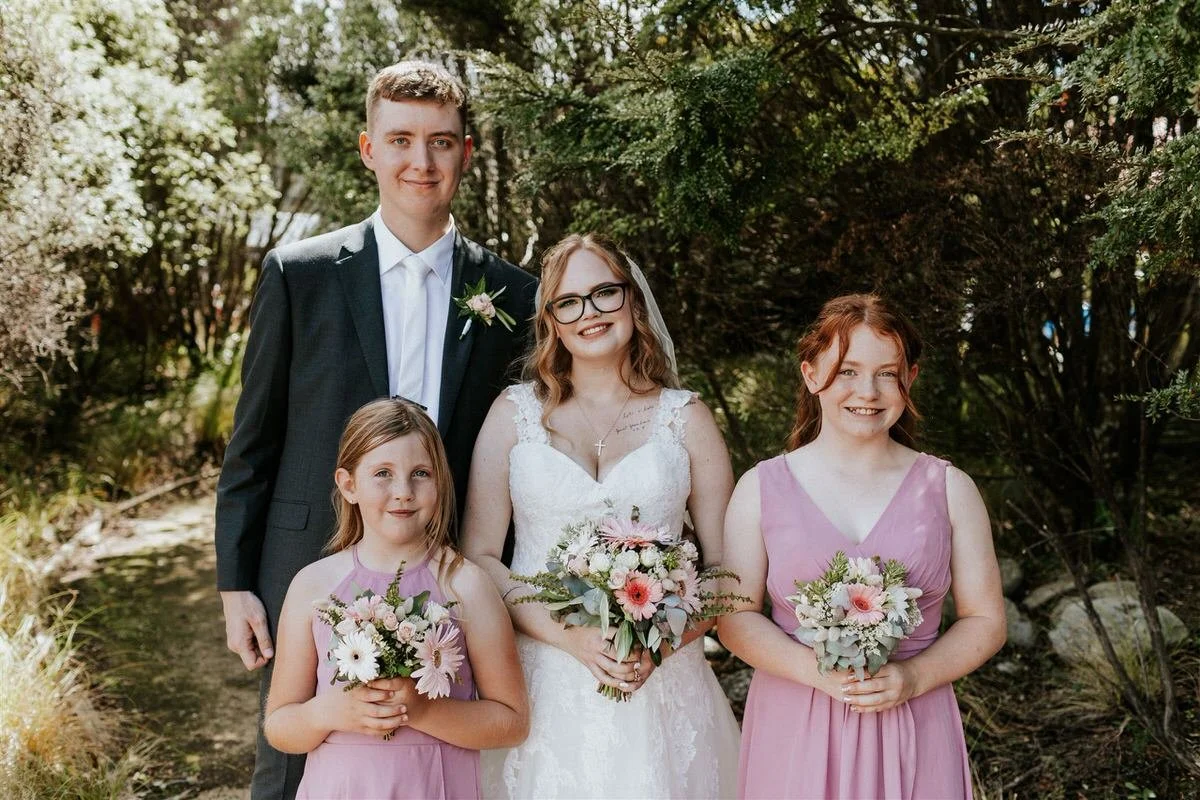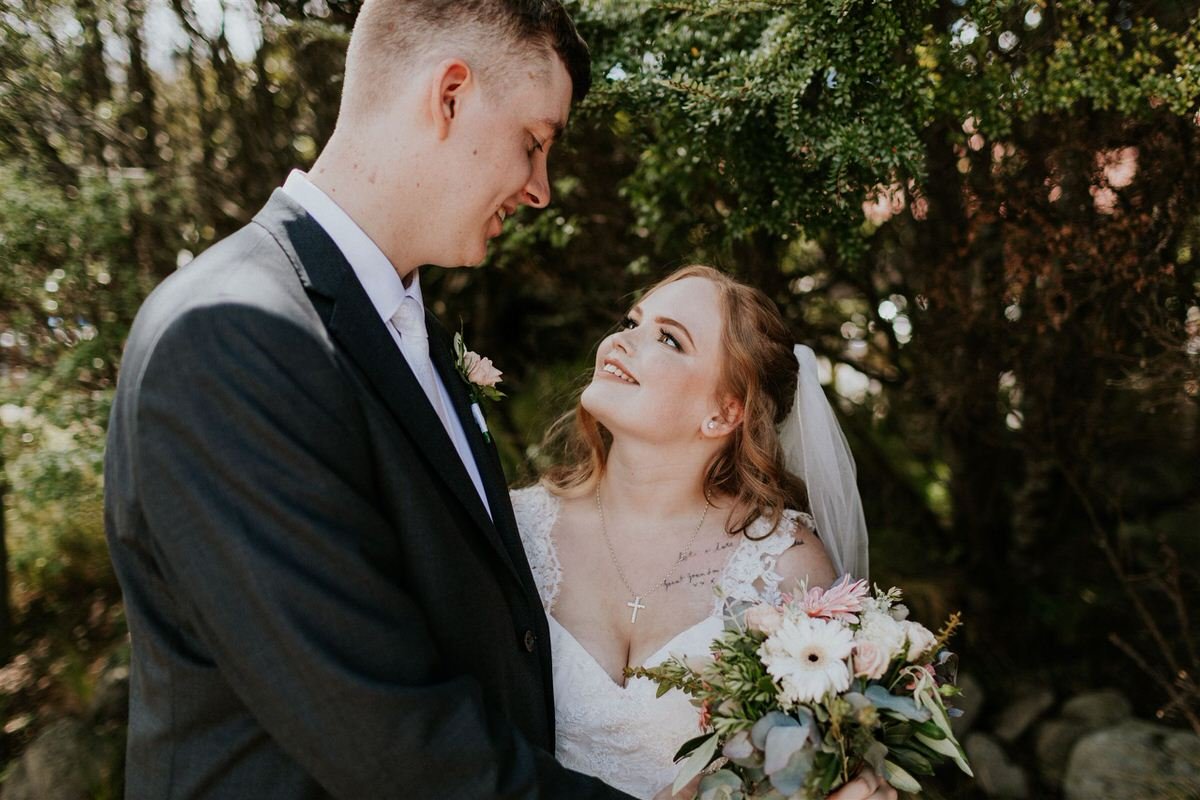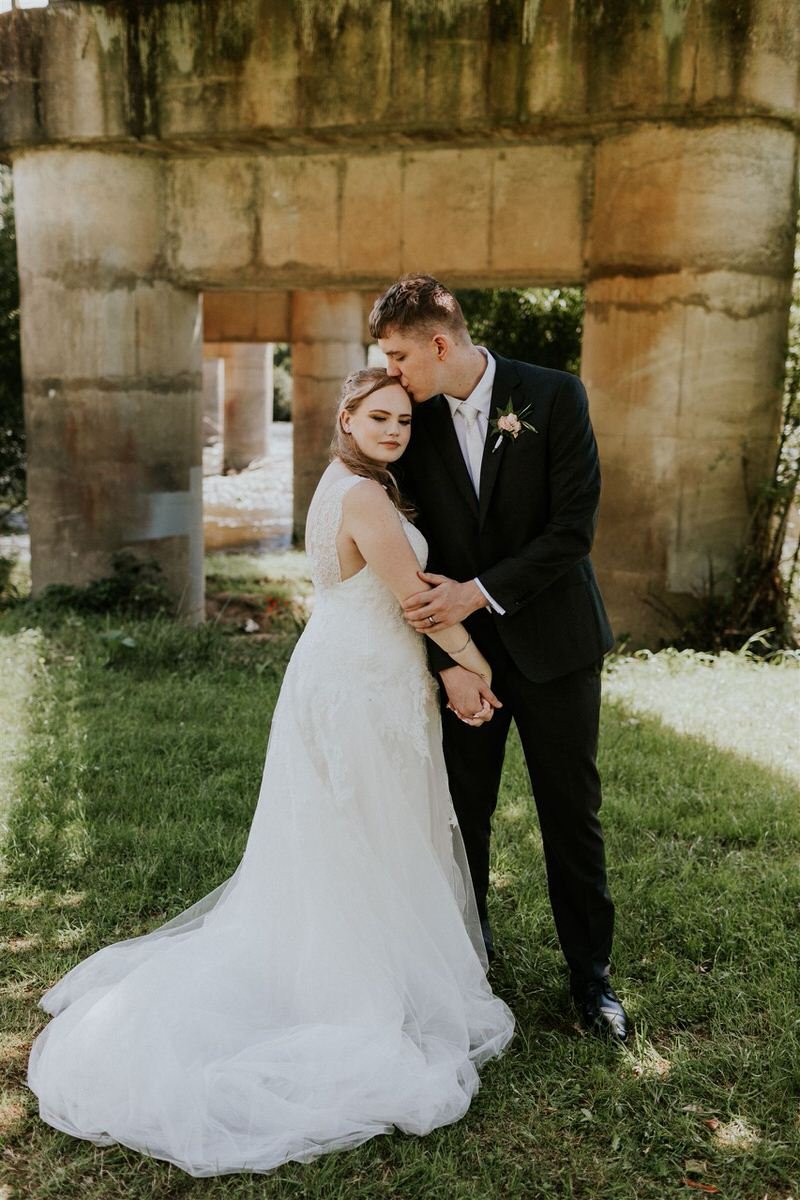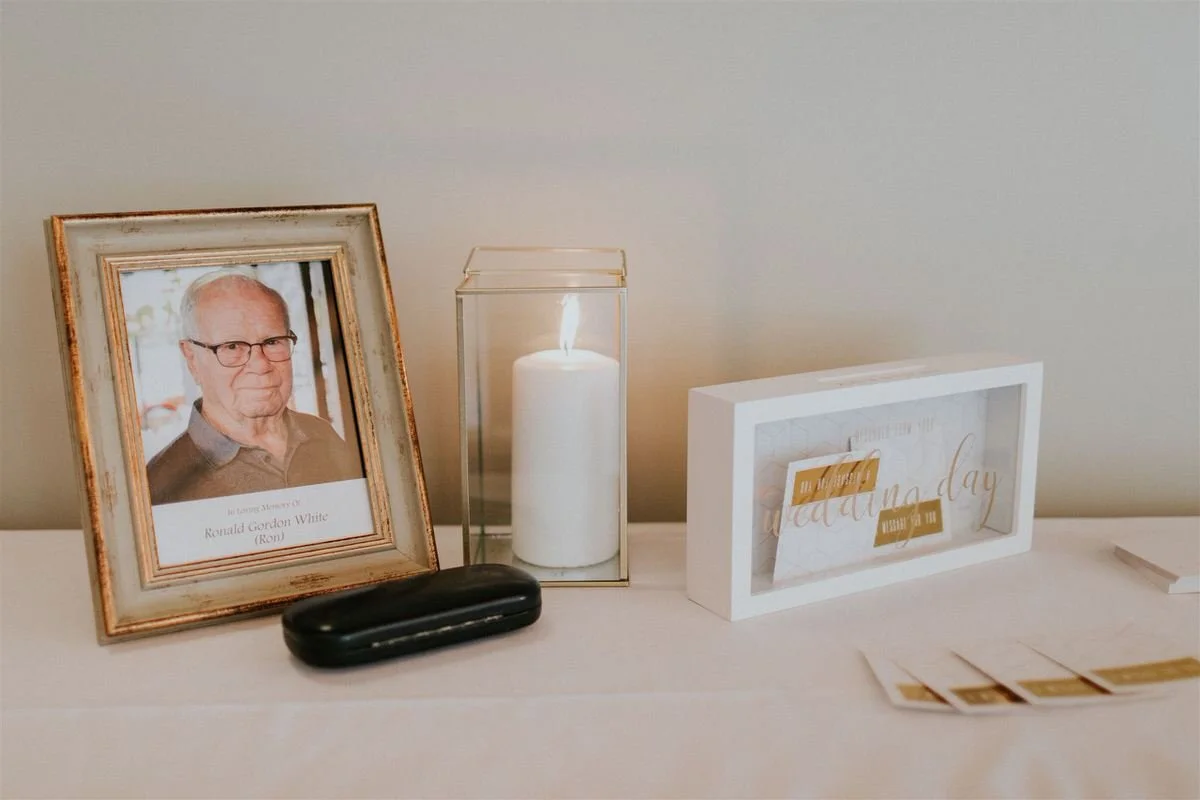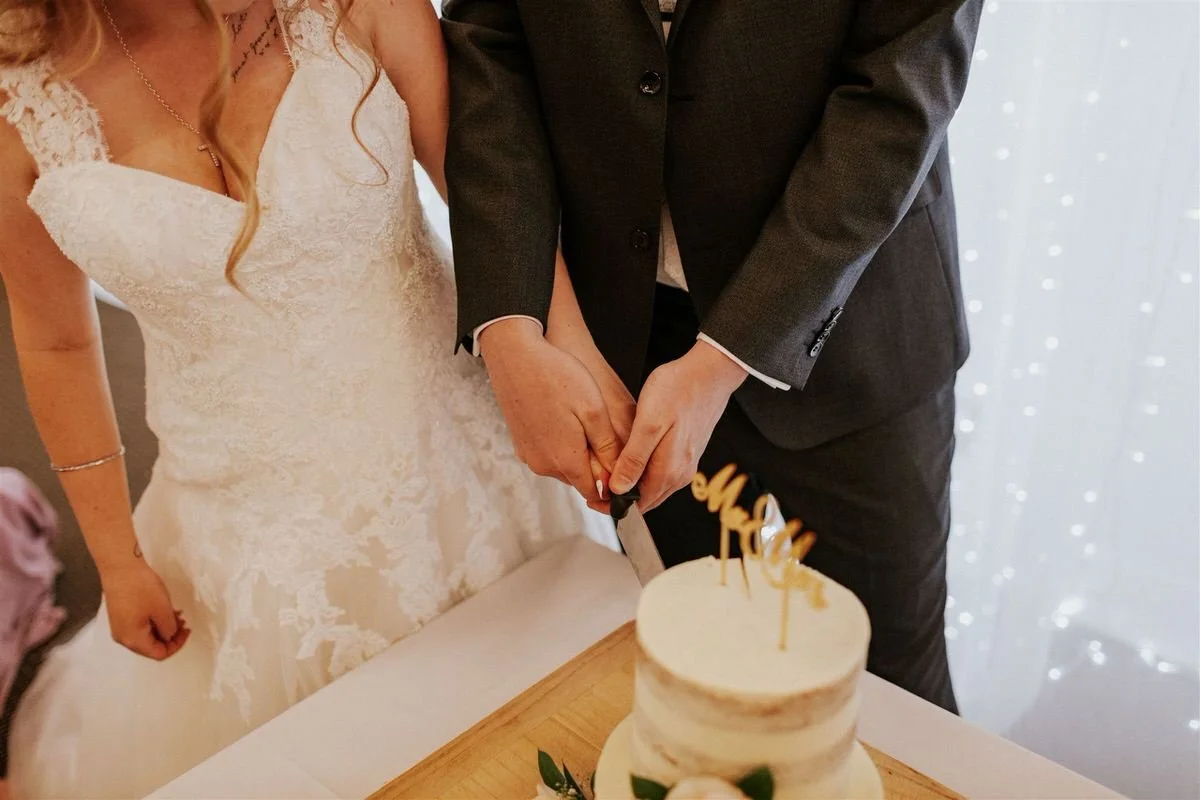
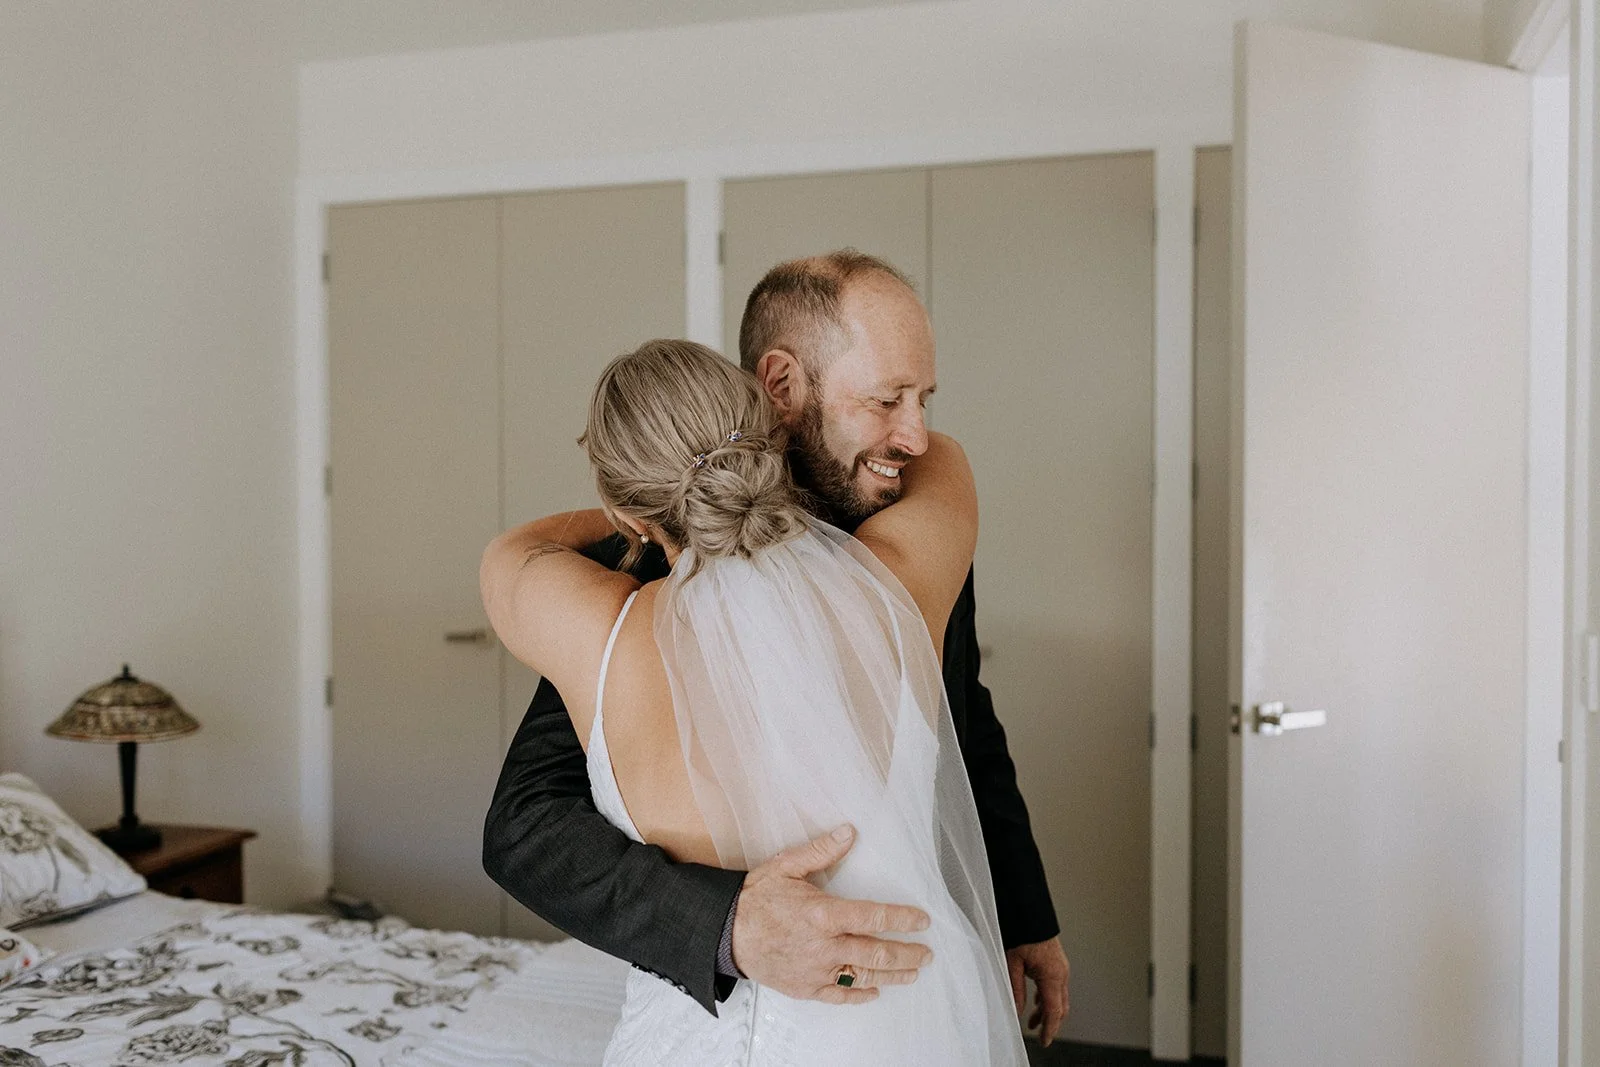
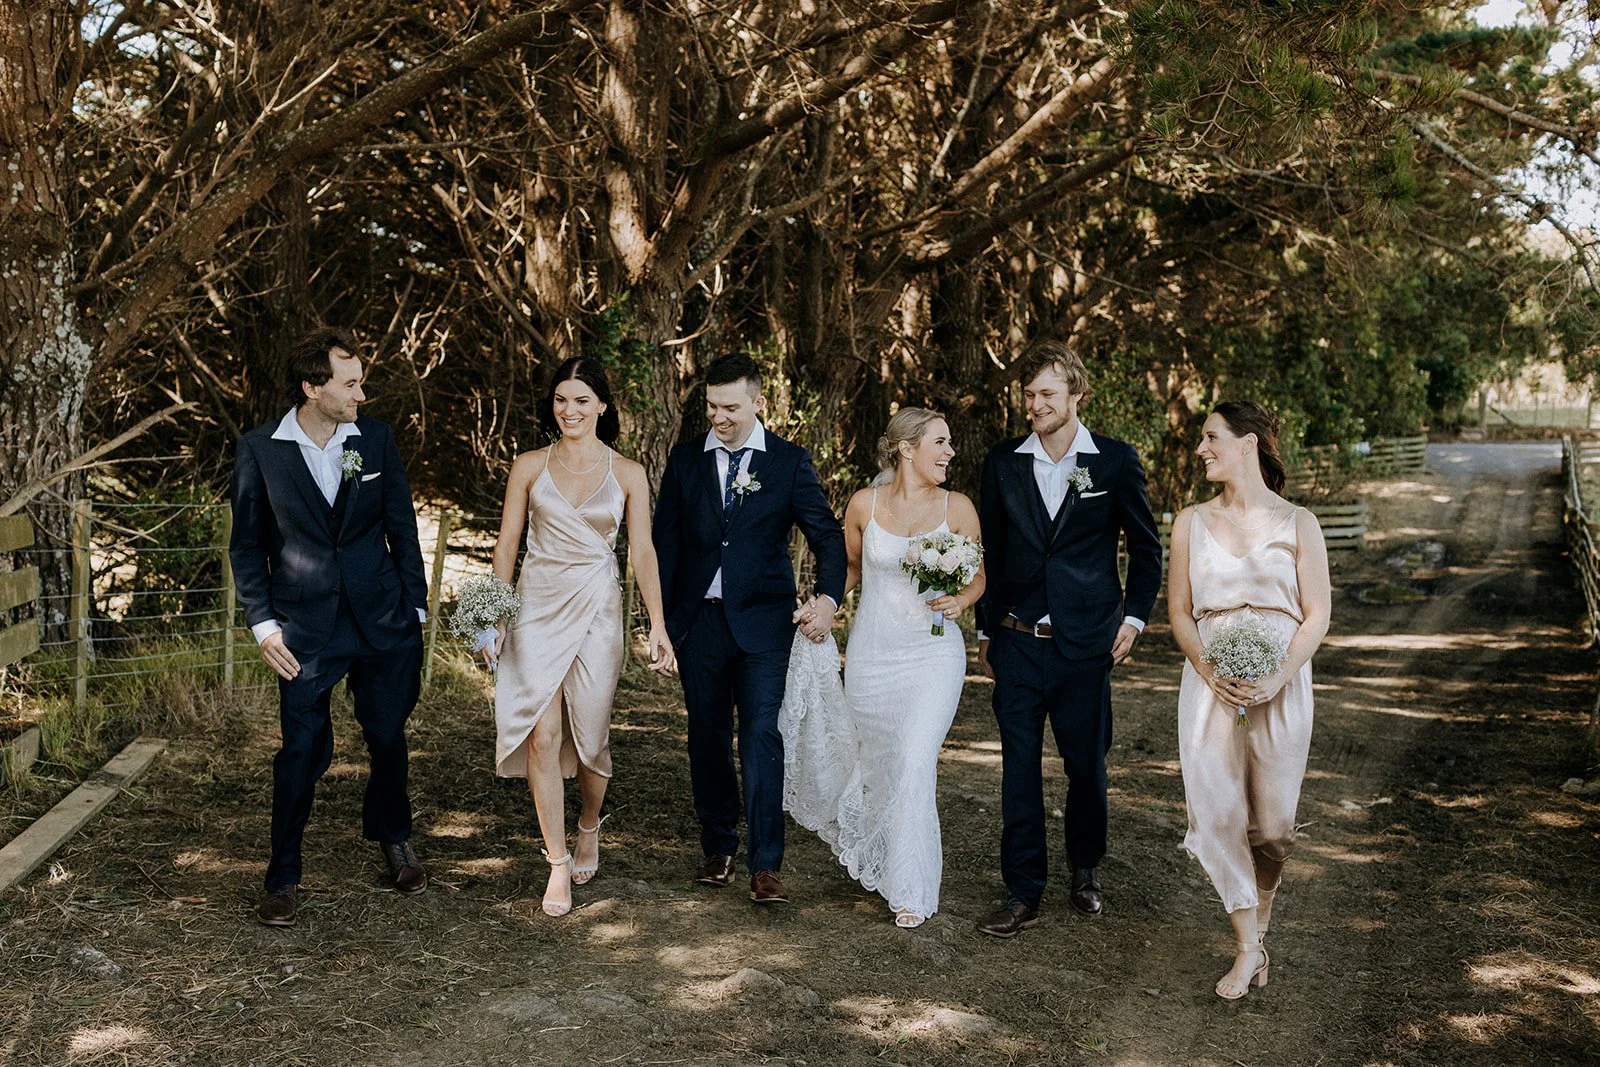
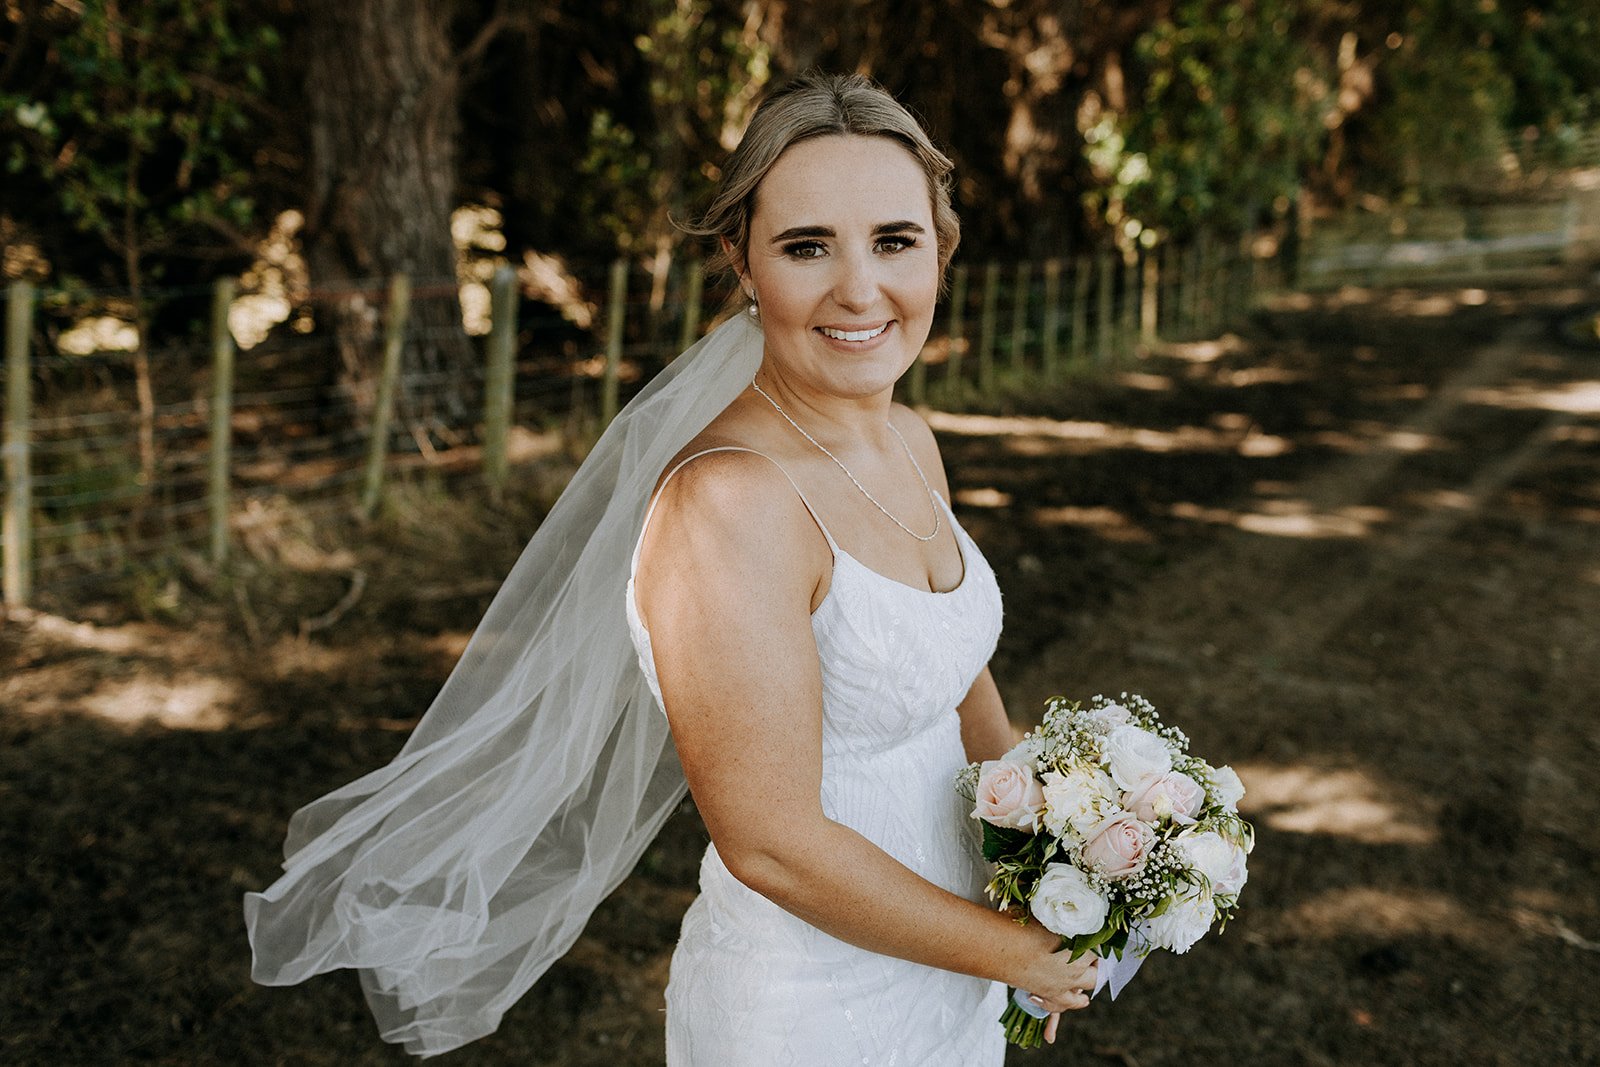
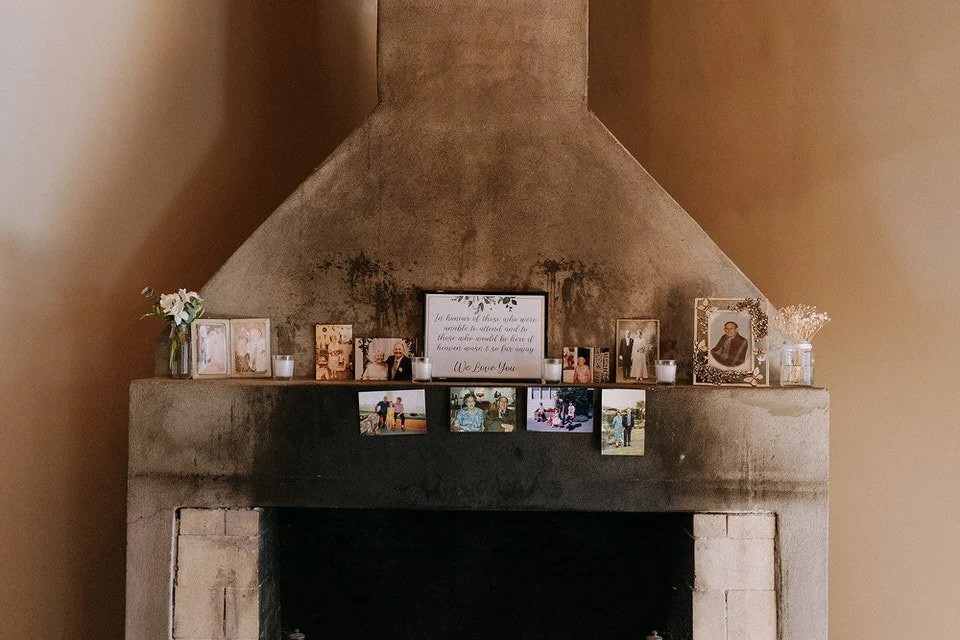
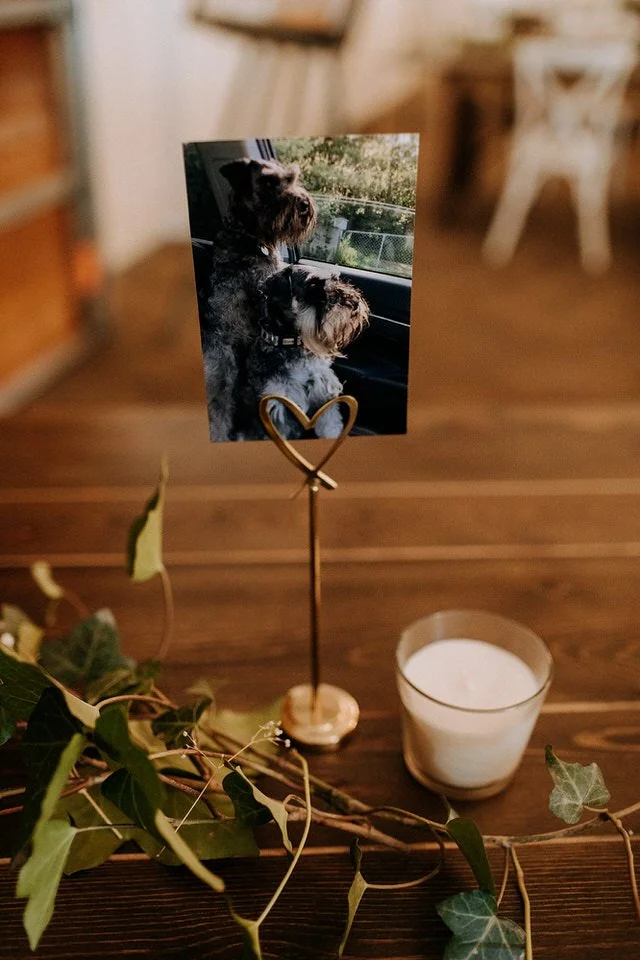
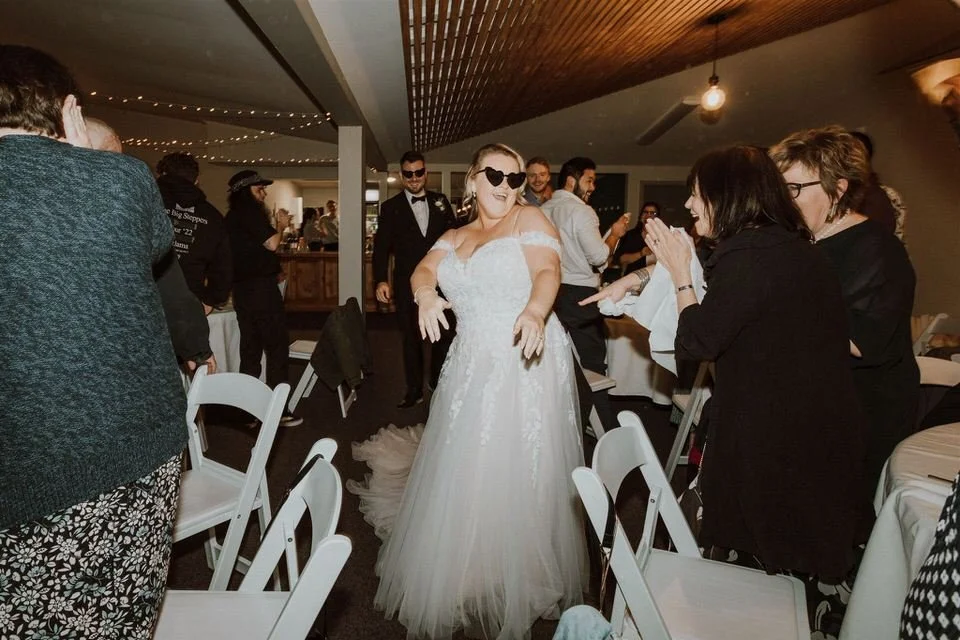
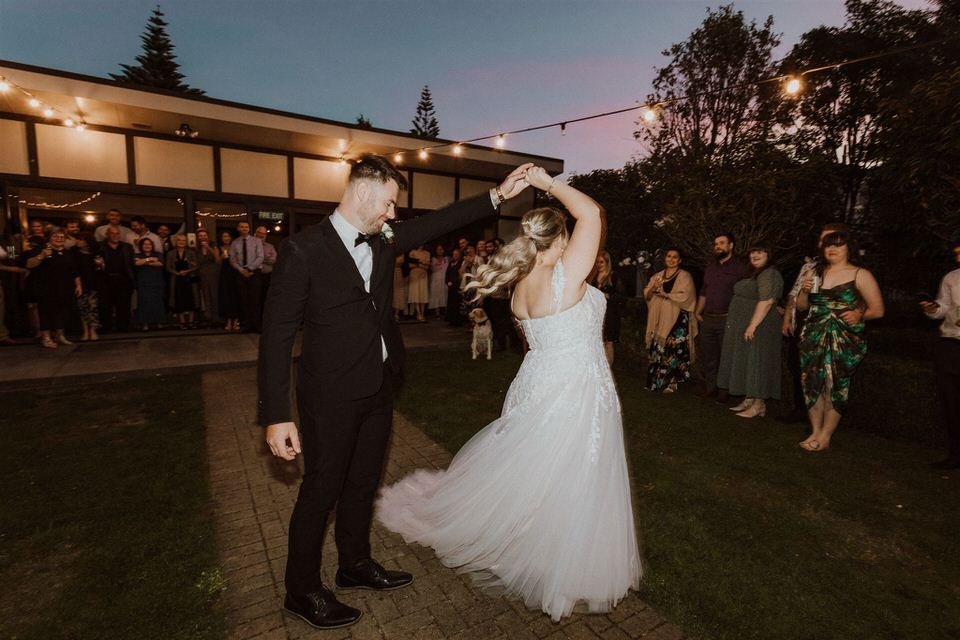
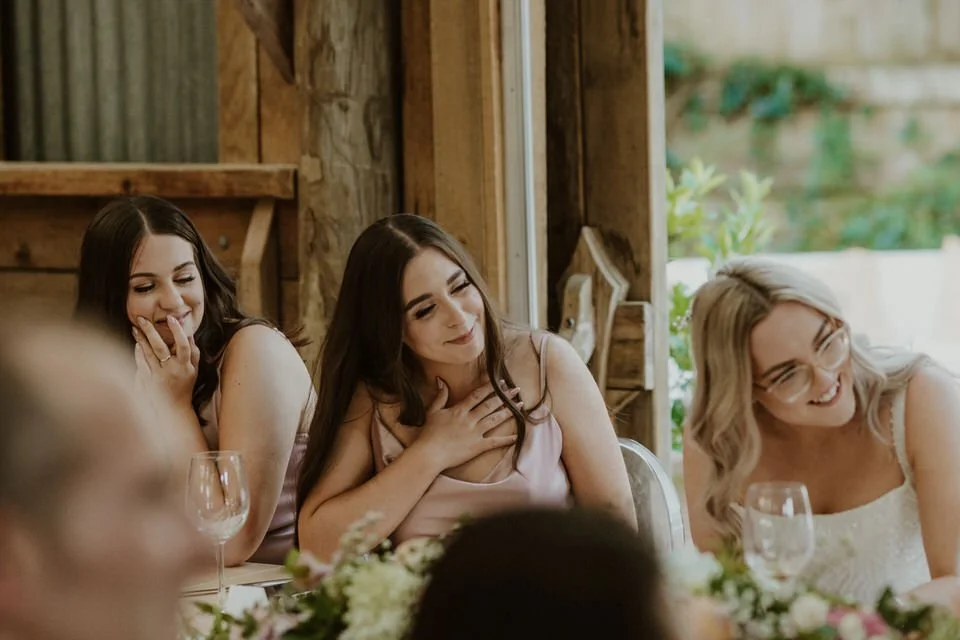
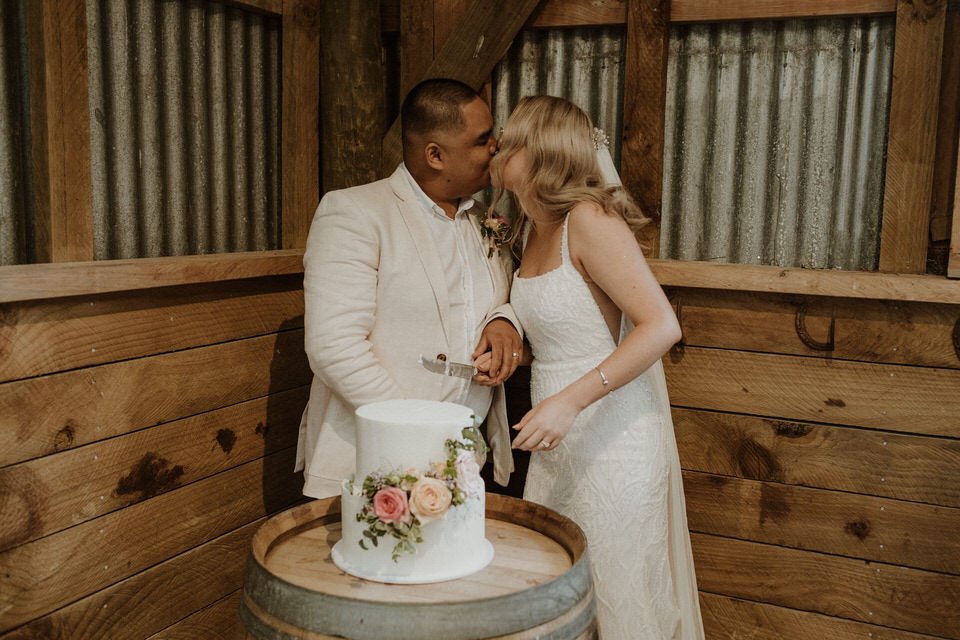
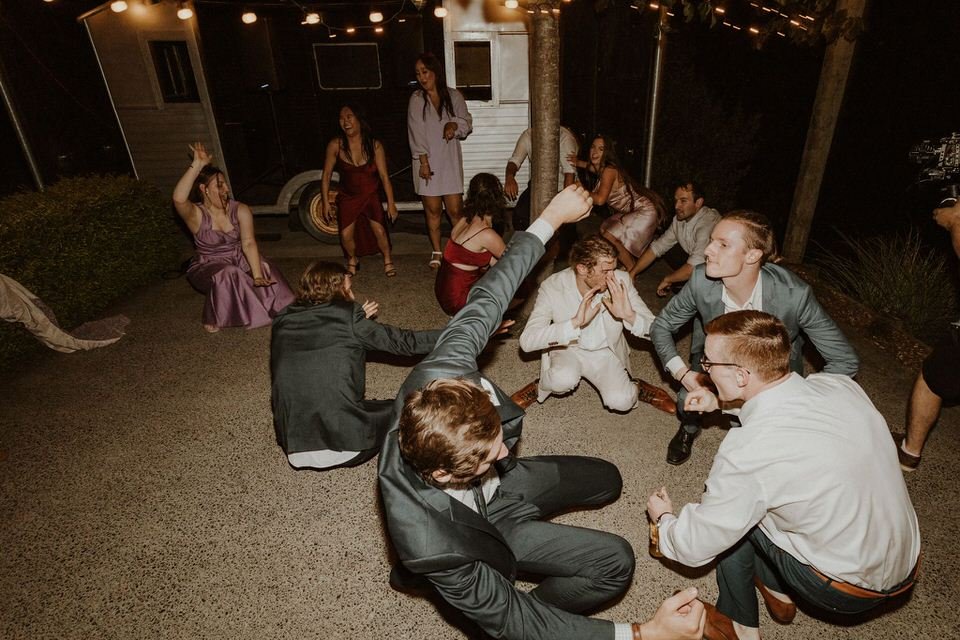
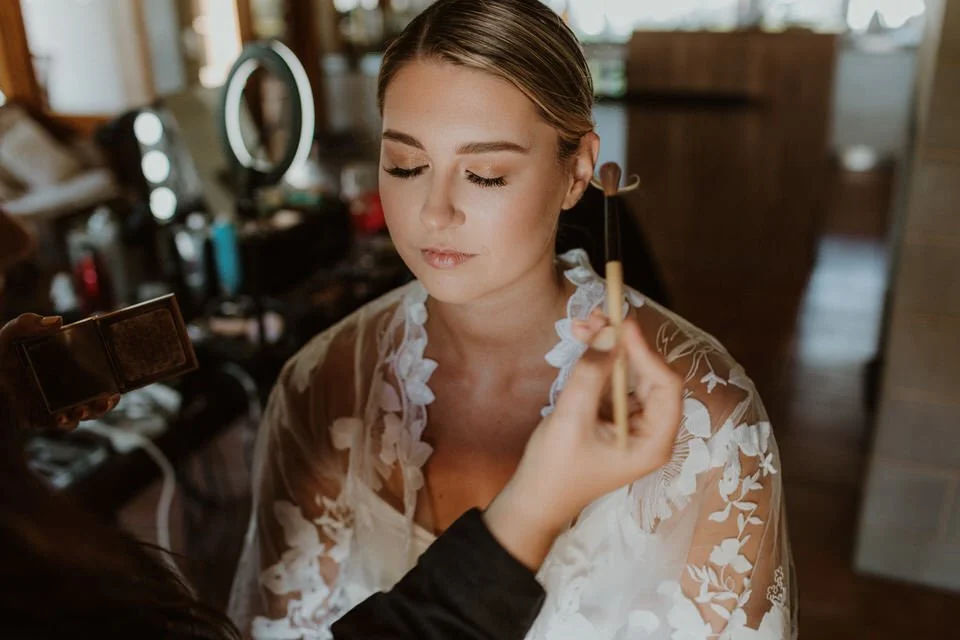
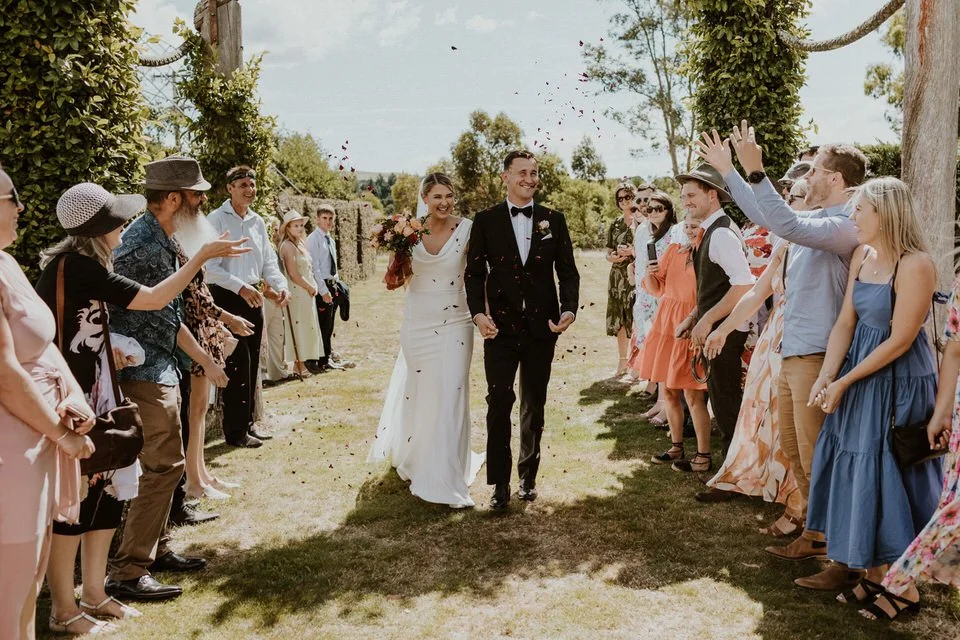
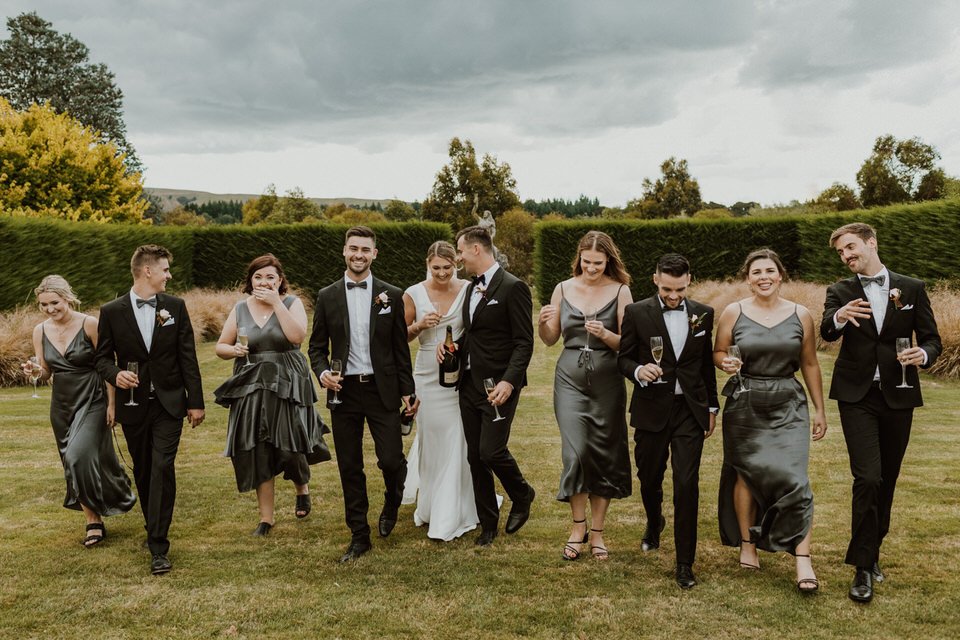
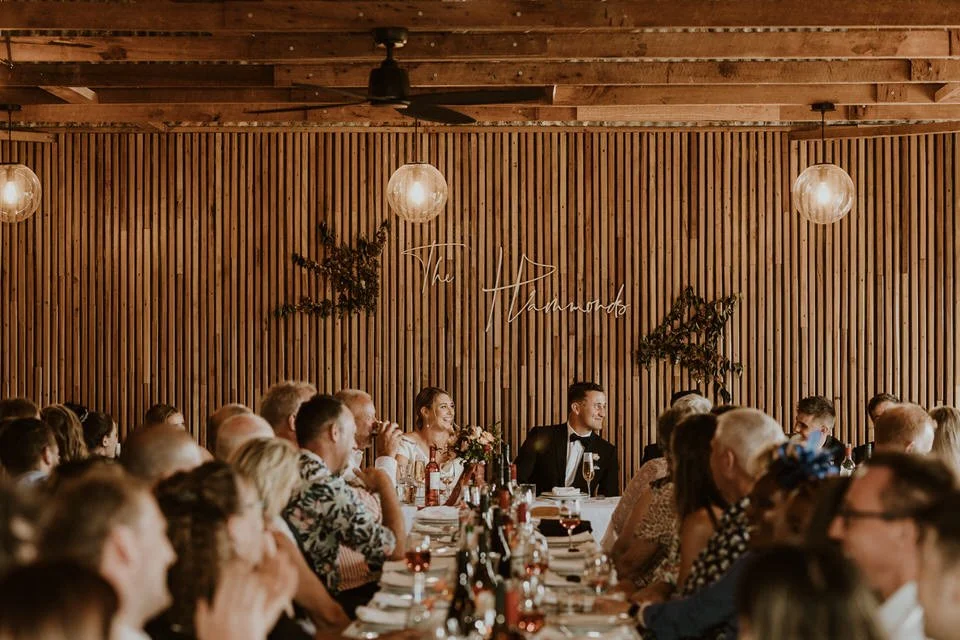
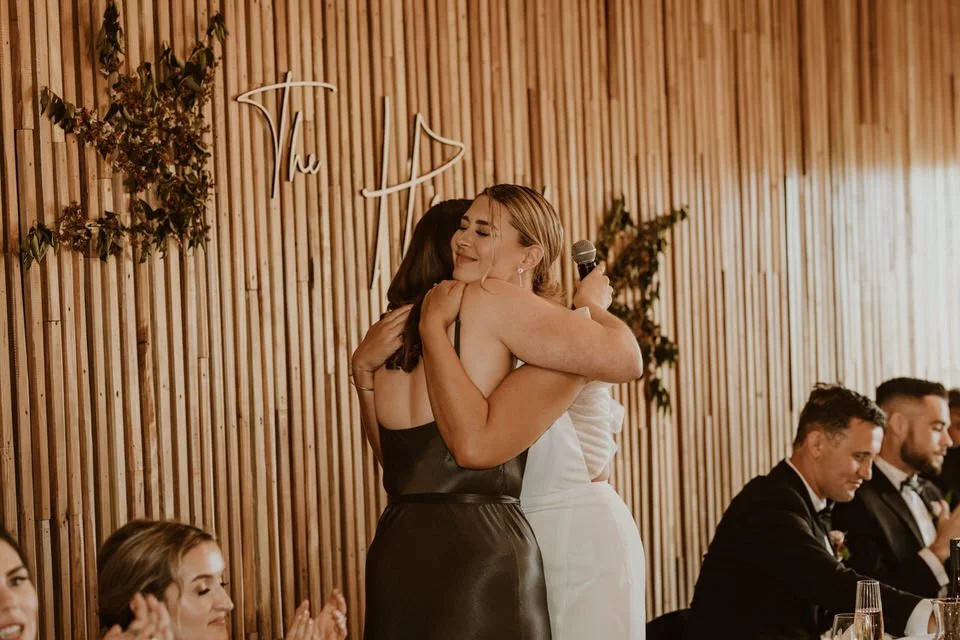
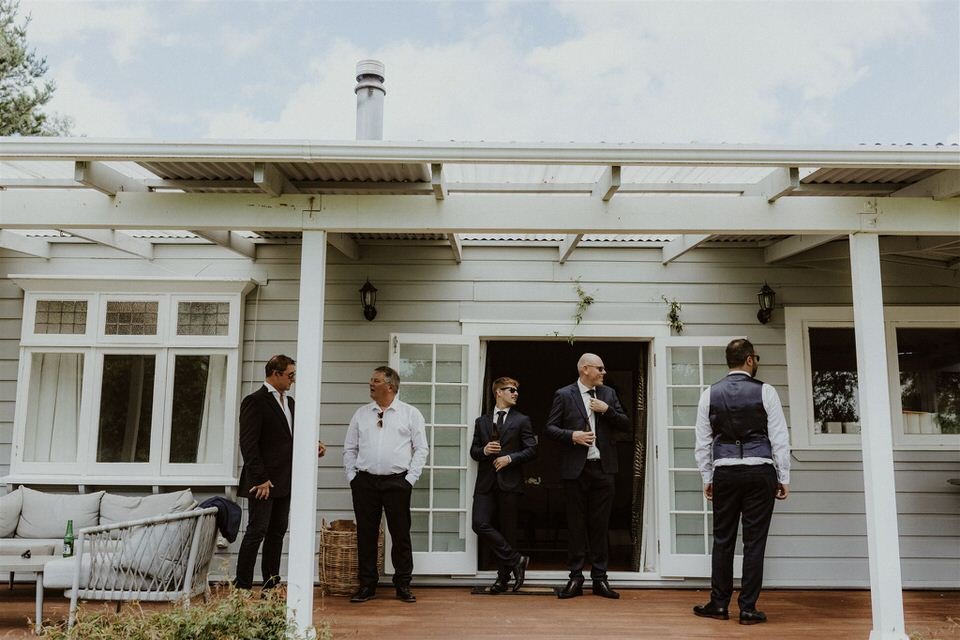
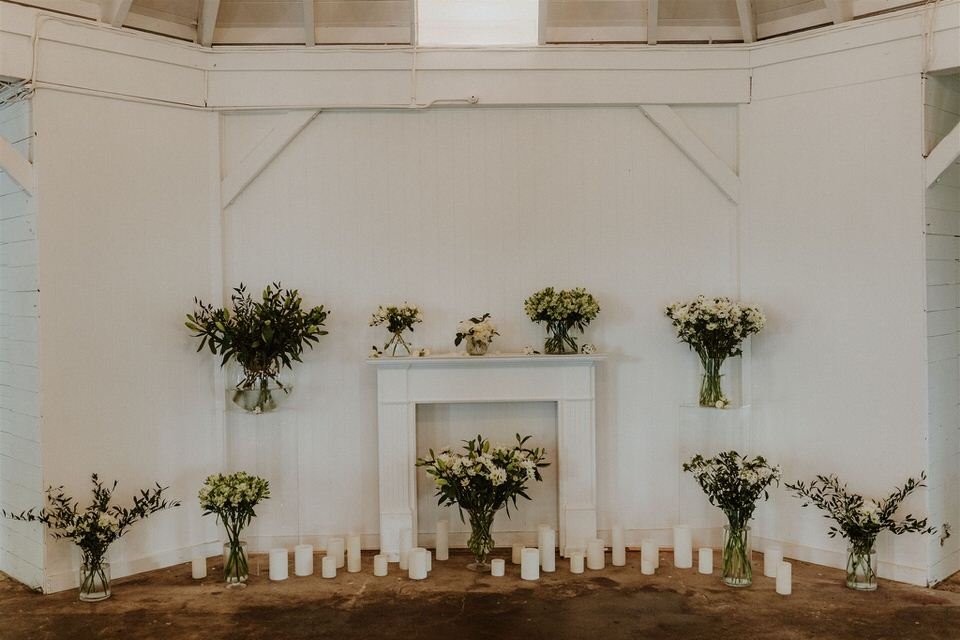
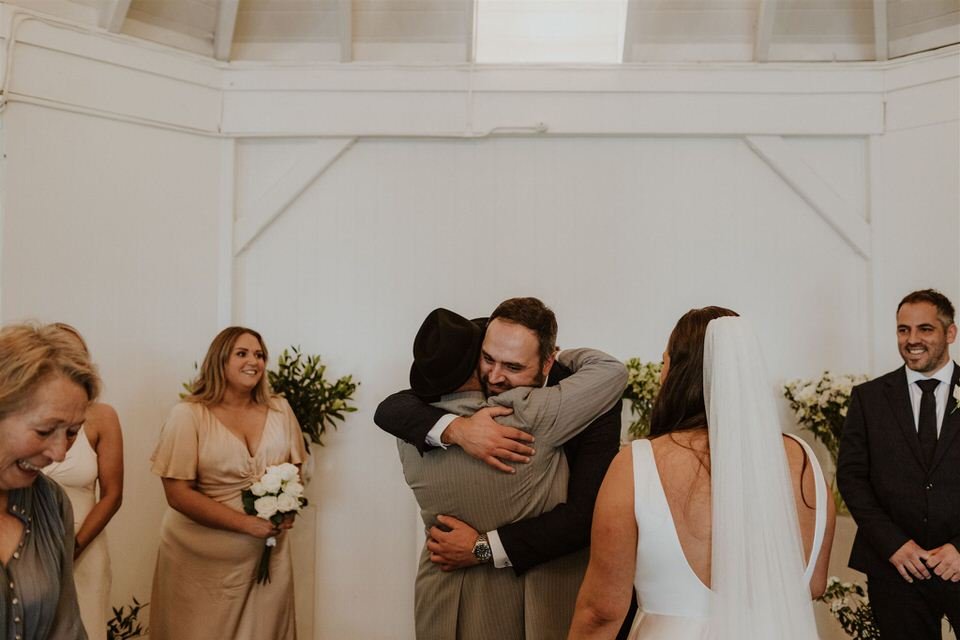
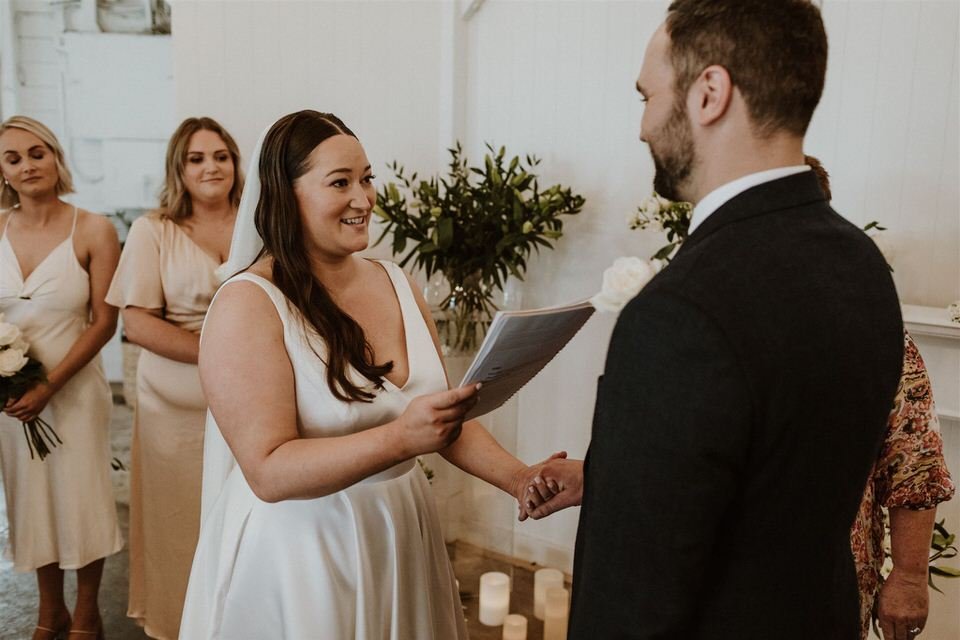
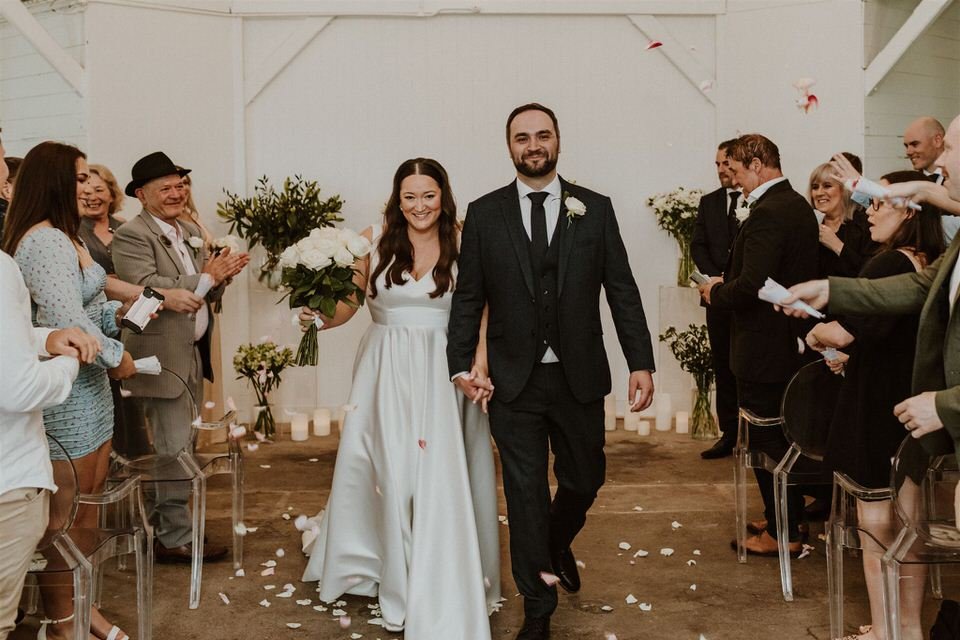
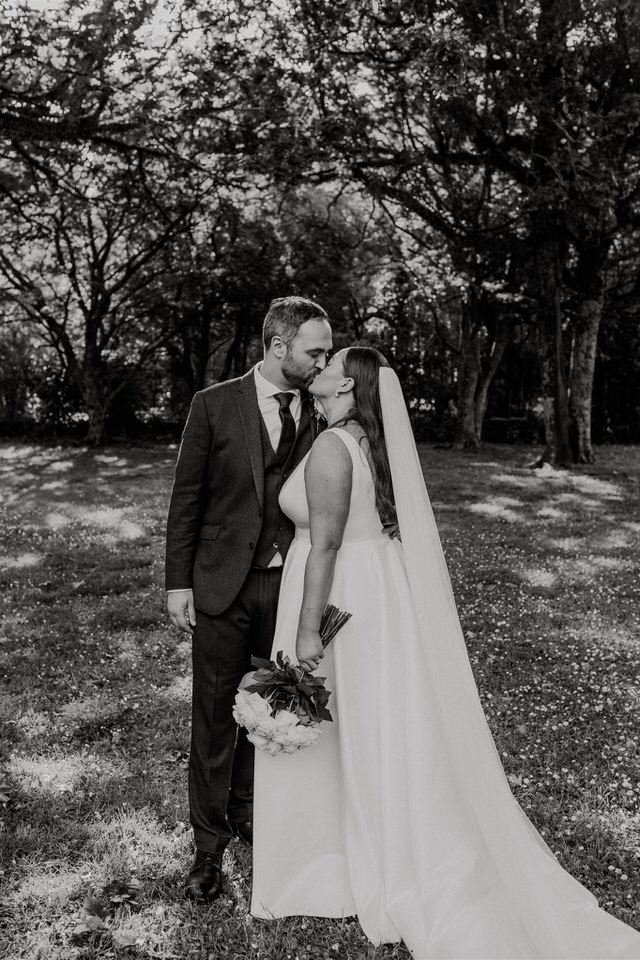
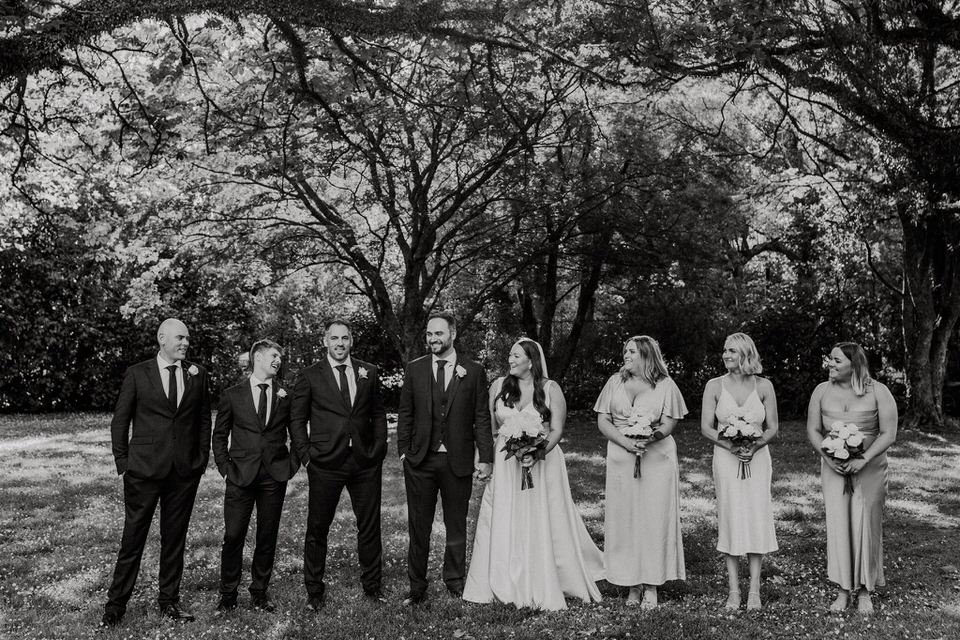
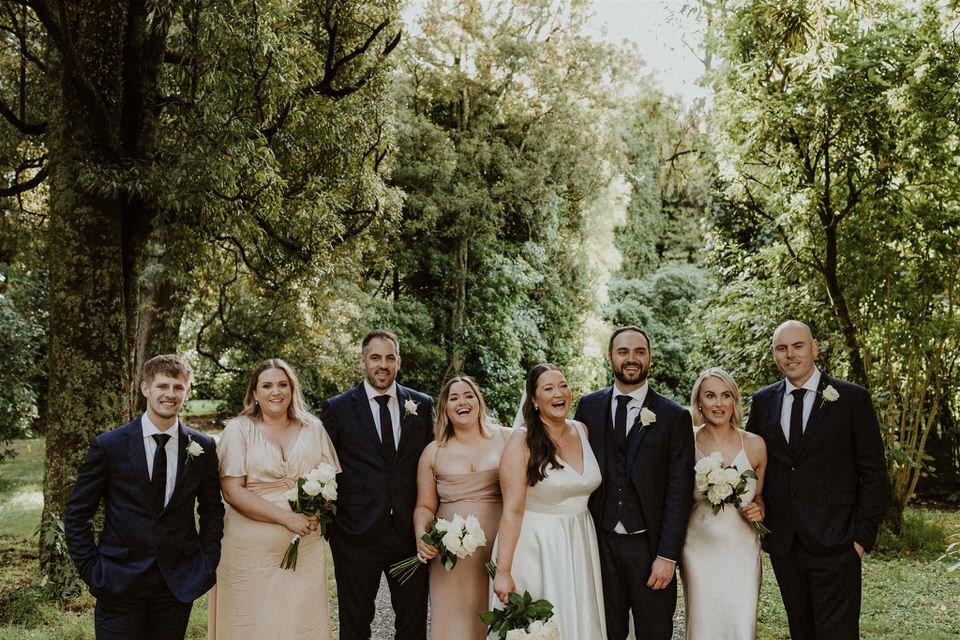
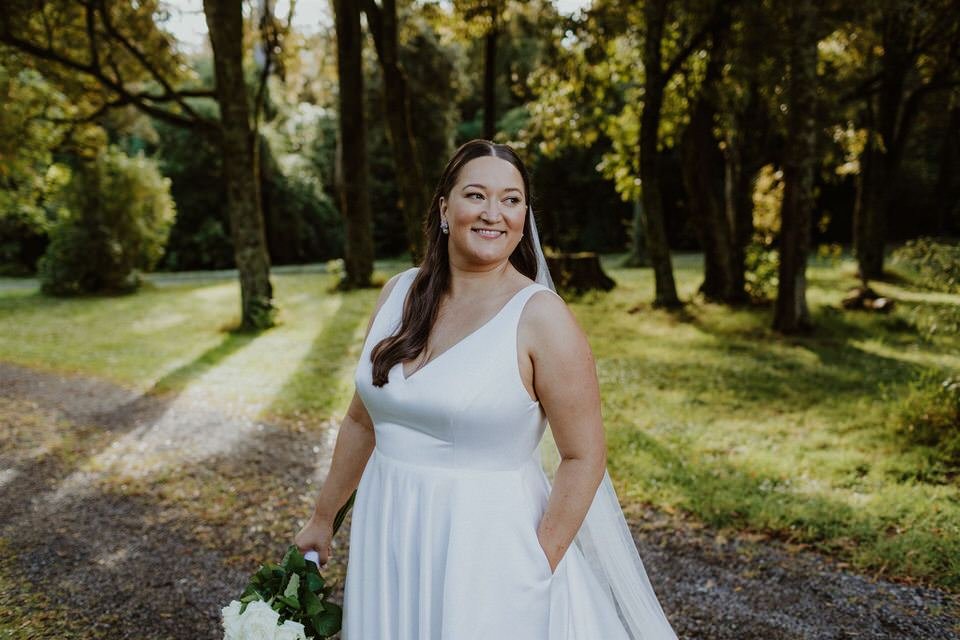
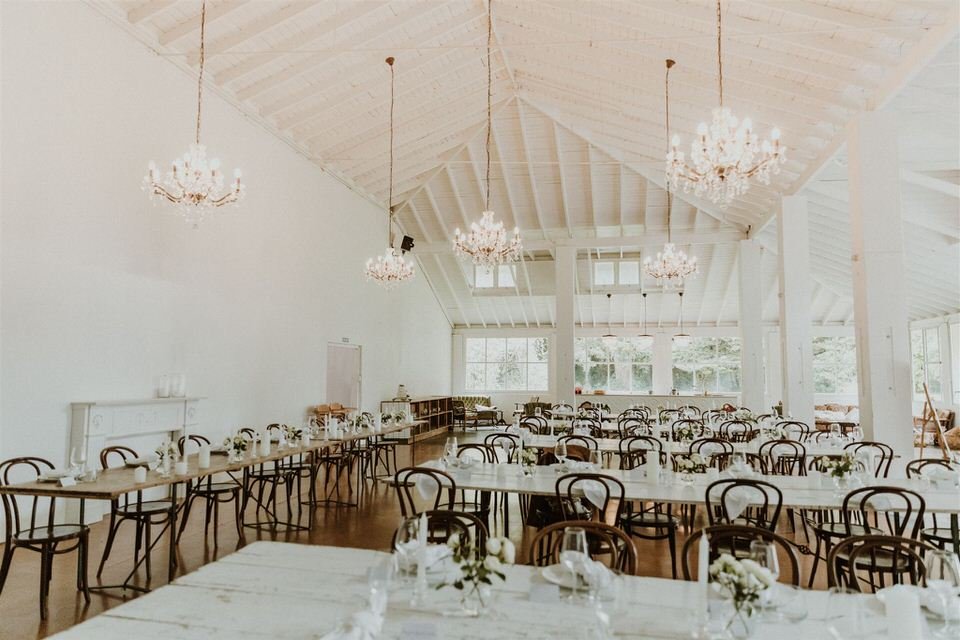
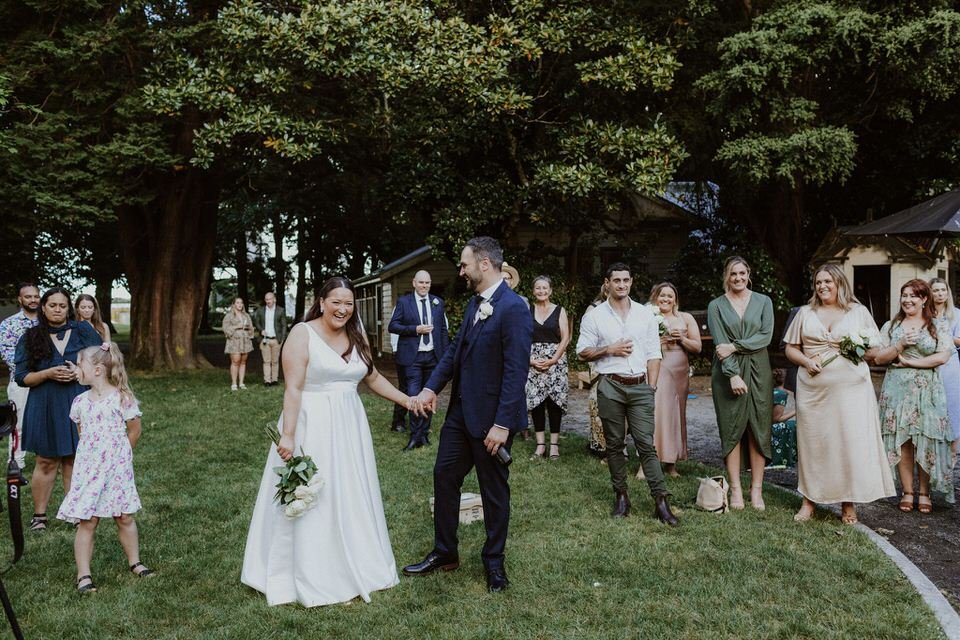
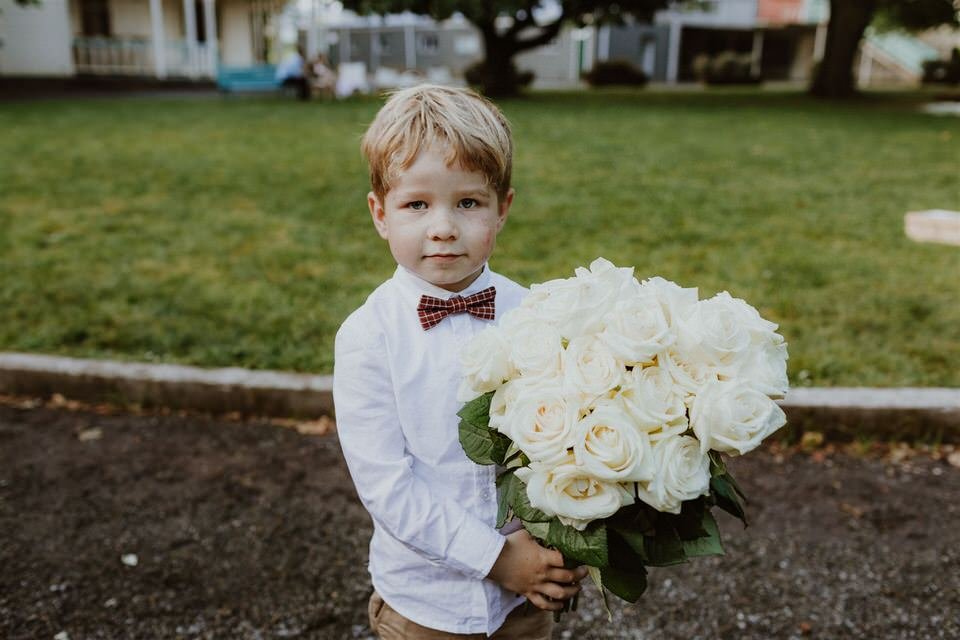
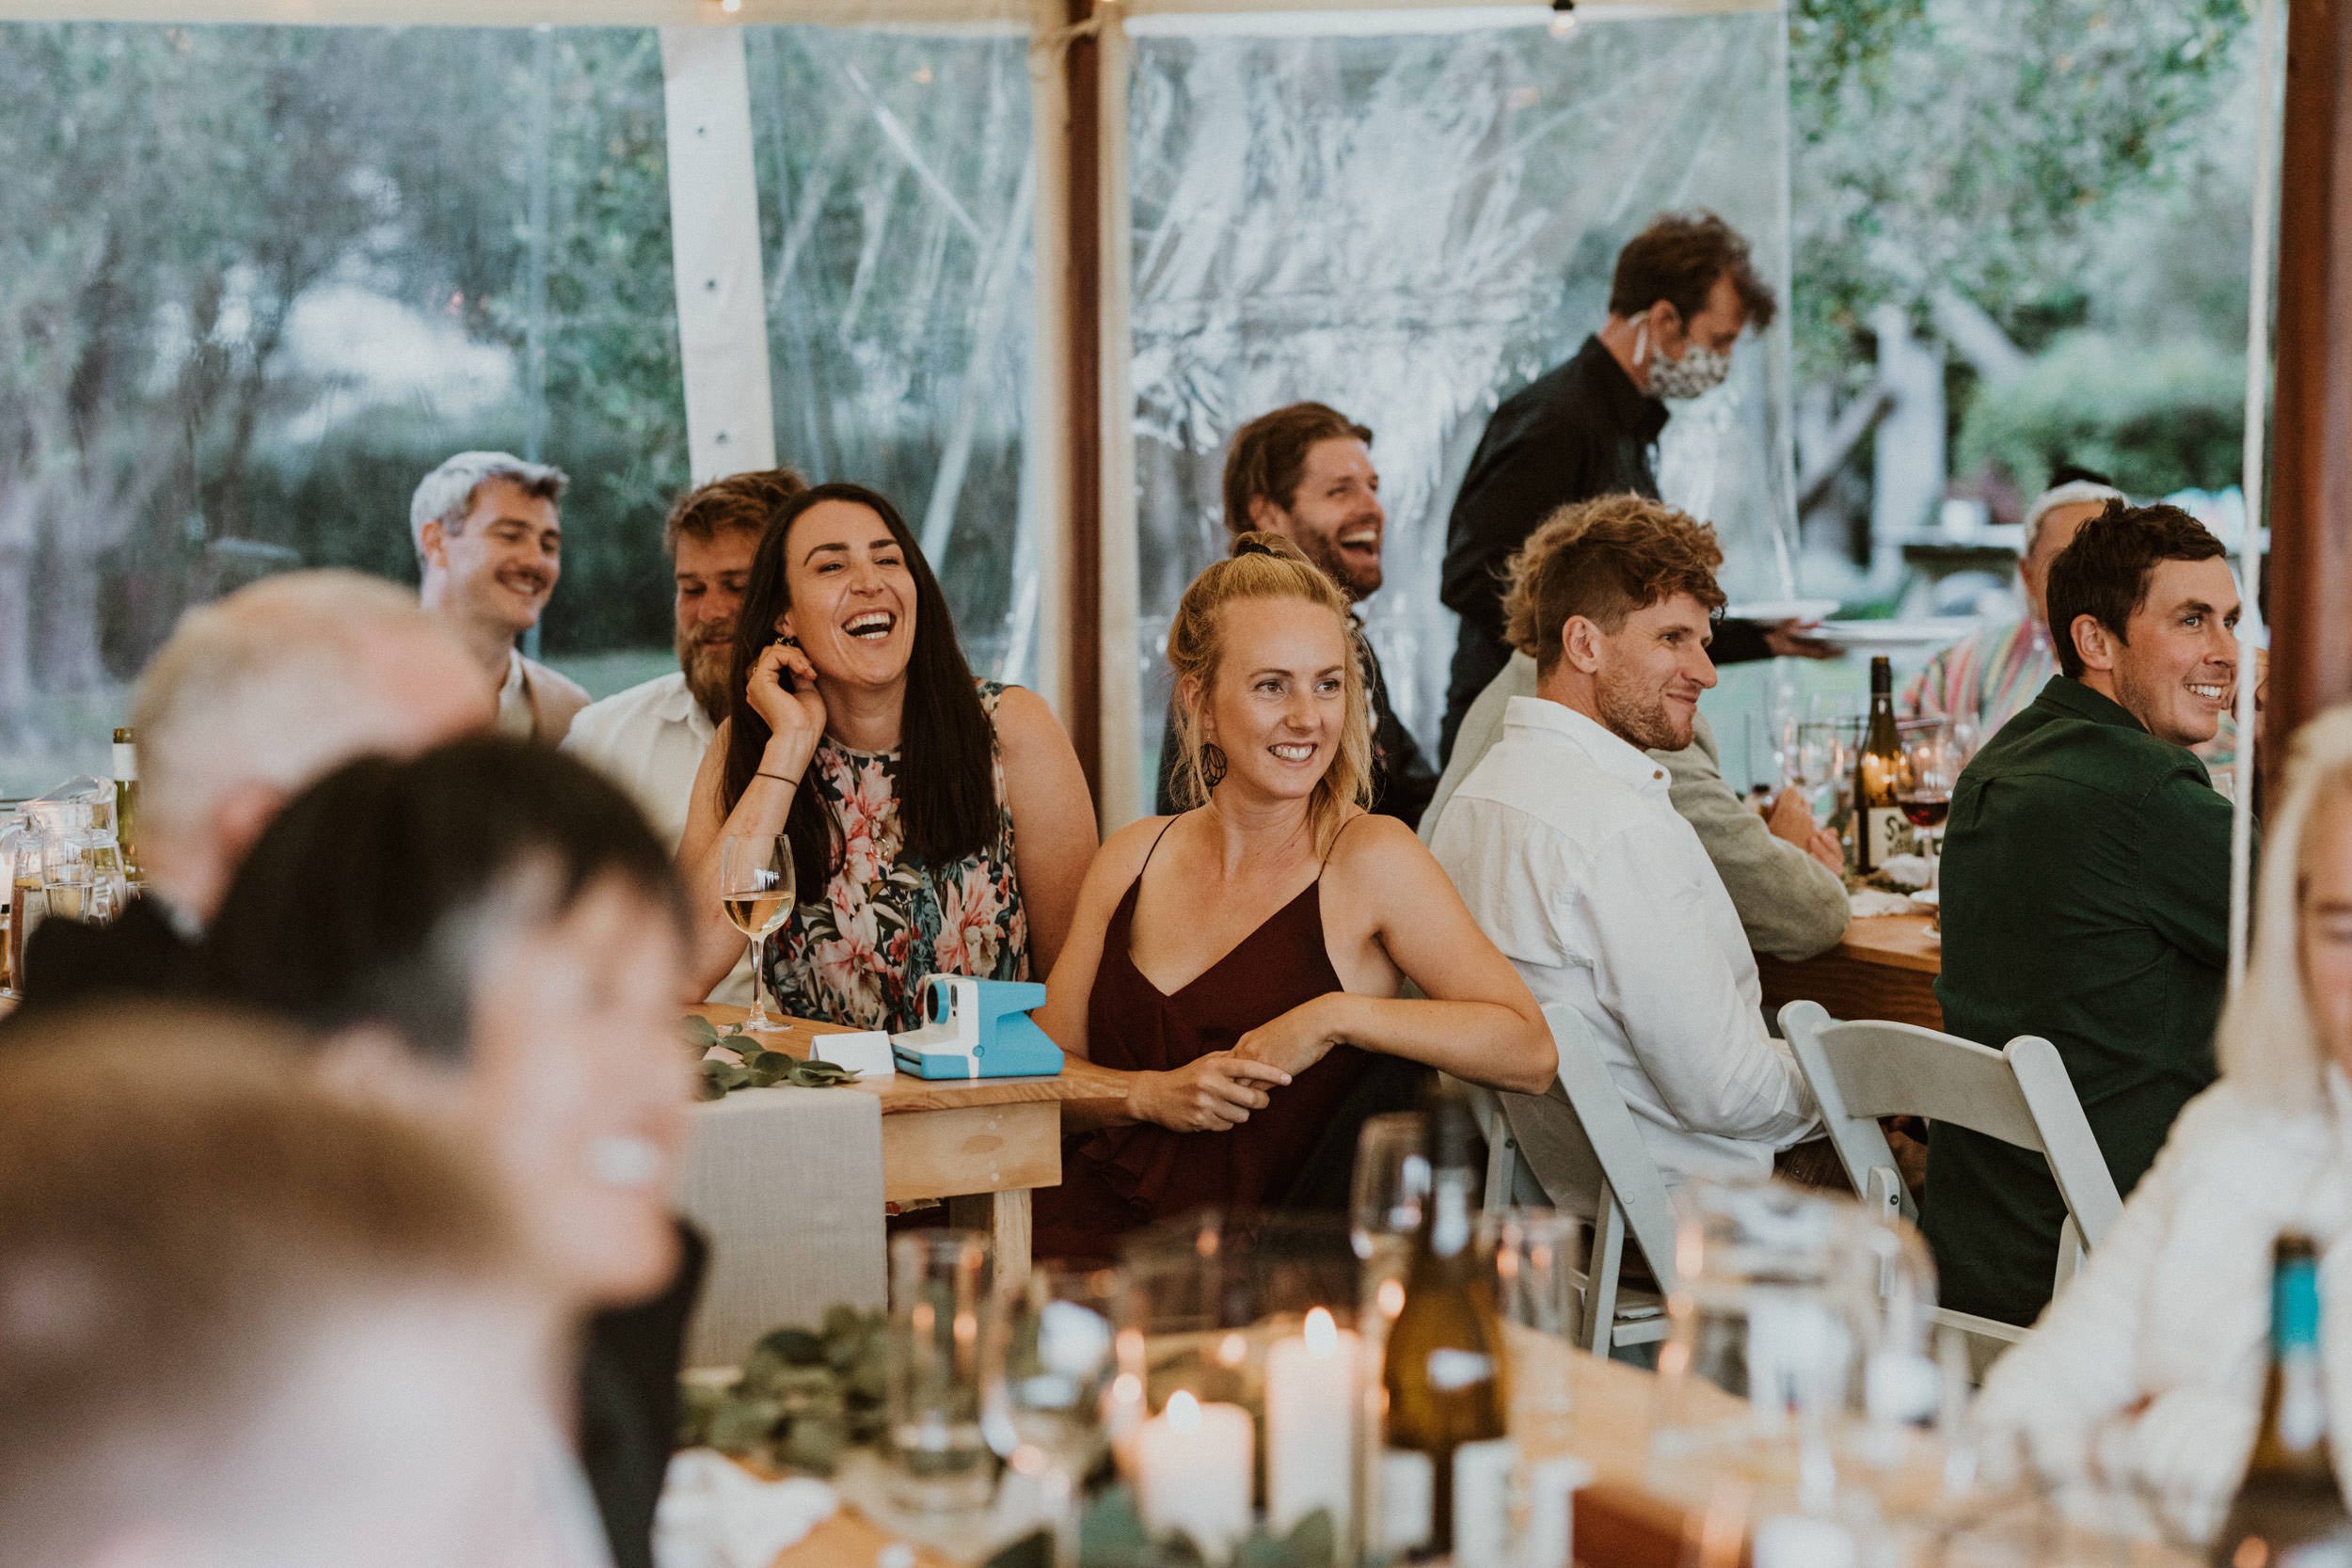
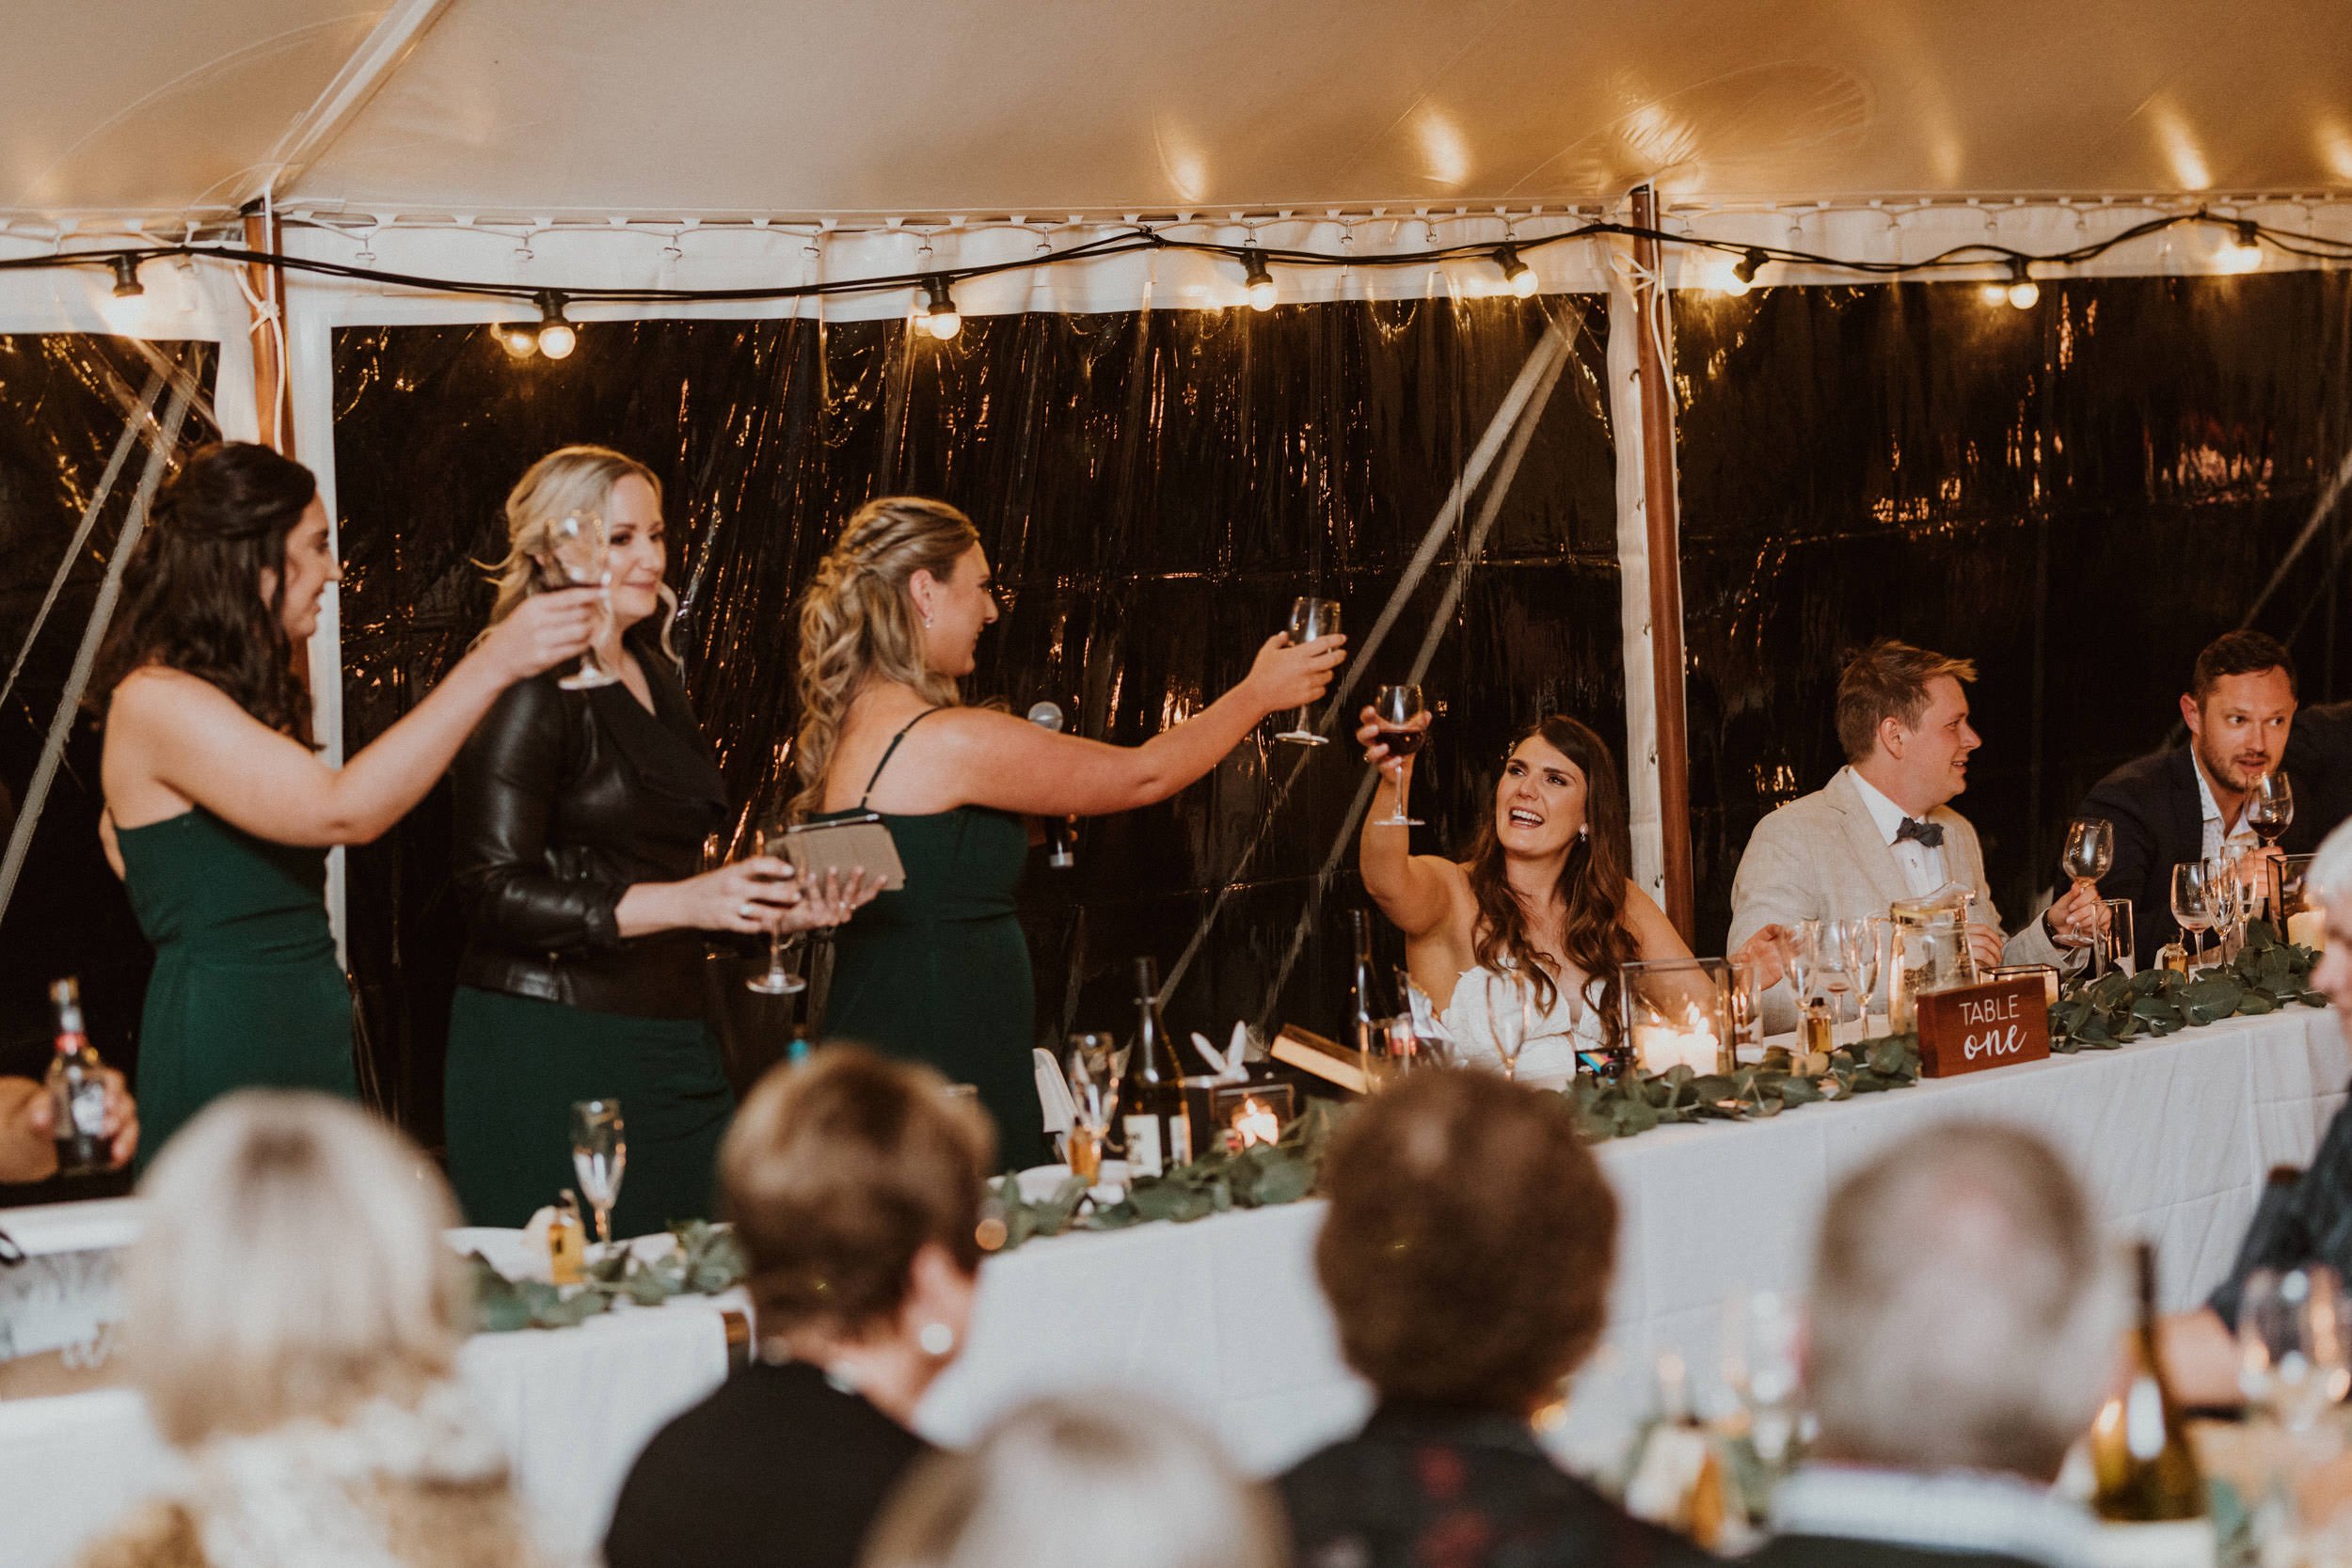
When your clients are from Taranaki (where I grew up) and you instantly click 😍 I’m so grateful that Abbey and Anthony asked me to capture their engagement photos and wedding day! The girls had a great Airbnb near Ohariu Farm, so if anyone needs a recommendation for accommodation please check out Ohariu Alpaca Farm Stay. If you have pets and you’d like some creative ideas for including them on your wedding day, scroll down to see how Abbey and Anthony incorporated their doggos into their wedding reception.
There is an incredible list of vendors from their wedding!
@marriedbyashleigh
@jaymiejarvis.makeupartist
@ohariufarm
@stilettostudiocakes
Wellington photographer










Tribe Archipelago Summit, LXC, Tempest, Wayfarer and Quest 05 Preset Reviews
Purchasing Lightroom presets is a personal choice that can help enhance your photographic style and speed up your editing time. I have a small pick of creative presets that I use for my work and also a heap of presets that I don’t use at all (but they were purchased as part of a pack). It’s a lot of trial and error figuring out which look you like and finding a style that suits your RAW files without it looking over-processed.
So far the most successful presets for my work have been made by Archipelago, a community of professional photographers who have spent the last 10+ years refining their presets. Their preset styles are earthy, modern, true colour, film and moody. I think almost everyone would find a look they like in their presets but it can take time to find the right one depending on what you want to achieve. I’ve purchased about 5 different packs over the years and have settled on one that I really love in 2024 which feels like I have found my editing style.
My favourite and most commonly used preset is from a set called Archipelago Quest 05. Over the years I have also used their Summit, LXC, Tempest and Wayfarer packs. Here is a run-through of each of these preset packs and how I have found the process of developing my editing style over the years. At the time of updating this blog post in 2024, I don’t believe any of these packs are available for purchase but you will get a feel for the diversity in their range (and also see the development in their presets over the years!)
Archipelago also offers a ‘Quest preset membership’ which gives you a new preset and creative profile monthly, plus a discount for their main shop. This was how I found my current preset and got to learn more about my own editing style. This is a really clever way to test out their products before purchasing some of their more expensive packs.

Here is a RAW image, this is what all of my images look like before editing. I shoot in RAW format to get the most detail and highest sized files from my images. The best way to describe a RAW file is comparing it to an unbaked cake, it has all the right ingredients but you need to bake the cake to get to the final result which is the process of editing.
It’s really important to note that every time I apply a preset to an image I will tweak it to get the best out of each image. In these examples I share, I haven’t done any tweaks in colours/hues so you can see the presets as they are in their original form.
Tribe Archipelago Quest 05 Presets Review (current edit style)
This is currently my most used preset pack and almost all of my work is edited with AQ05 ii or AQ05iii. All of the presets in this pack have only slight changes that can be hard to spot but I like the subtleness of them all. In my experience of using Archipelago presets over the years they have improved the colours in skin tones and lowered the high contrast, which I love. Everything feels more natural. In some of their older packs, I found I was always having to decrease the saturation of the orange/red in people’s faces as well as the hue, often the skin just looked too unnatural and orange.

AQ05 i - This preset is quite close to how the RAW image looks, so it’s natural but it has taken away some of the vibrancy.

AQ05 iii - This would be the preset I use to deliver an image like this. It has my signature ‘film’ look while preserving the natural look and feel that their home had in real life.

AQ05 ii - This is one of the presets I like to use, but not for this image. It has a slight green tint to it which can look really good in certain environments.

AQ05 iv - I love that this pack includes a dreamy black-and-white preset! I find I need variety for finding the right B&W preset, this will only suit some images.
Tribe Archipelago Tempest & Wayfarer Review (current edit style)
I currently still use the black and white presets from the Tempest and Wayfarer packs. Here are some examples! I tend to switch between all 3 black and white options depending on the photo and scenario. I haven’t included all of the examples of the colour presets in these two packs as I only sometimes use these 4.

Tempest 06 - This B&W preset has a warm colour grading added in the shadows which I quite like!

Tempest 03 - The only colour preset from this pack that I sometimes use

Wayfarer 08 - This B&W preset has a warm colour grading added in the shadows which I quite like!

Wayfarer 09 - You can tell the difference with no colour grading added. it is cooler toned.
Tribe Archipelago Summit Presets Review (retired presets)
The Summit presets are more saturated in colour and higher in contrast. You will notice the skin tones look more saturated than the Quest 05 pack, which is something I have moved away from in recent years. Overall you will see that these images look more processed. Looking back on my older work edited using these presets I can see the higher contrast in editing, everything used to feel quite bright. I don’t believe this pack is available for purchase at this time.

Summit 01

Summit 02

Summit 03

Summit 04

Summit 05

Summit 06
Tribe Archipelago LXC Review (retired presets)
LXC is no longer available to purchase which is why I call it my OG Tribe presets but I believe they have released LXCr, I’m not sure if this is an updated version of these older presets that I own.

LXC 01

LXC 04

LXC 03

LXC 05

LXC 02

LXC 06
Wet weather options for photo shoots in Wellington
We all know that saying Welly on a good day.. just as well as we know how unpredictable our weather can be here in Te Whanganui-a-Tara, Wellington. Sometimes plans for photo sessions may change if the weather is rainy or too windy for the desired location but I will help you navigate this! I have learned that checking the forecast days in advance before your photo session can only add to sometimes unnecessary worry. While it is best to wait until the day before (or the day of) to confirm plans there are a few options we can discuss when making your booking for a backup plan.
WINDY OPTIONS
Certain locations, like Whitireia Park in Tītahi Bay as the main example, are more exposed and vulnerable to strong wind forecasts as it is on a hilltop. This scenario can mean changing to a different location with better shelter on the day. I try to keep my day flexible on photo shoot days, so if we need to we can move our appointment to the morning we can. If clients are mindful of their commitments and other plans on the day of a photo shoot we may have more flexibility to pivot our plans last minute for a more suitable option.
RAINY DAY OPTIONS
With the weather forecast changing so frequently (and sometimes being unreliable in advance) we can leave it to the last minute to make a call about your photo session going ahead.
If it is raining on the day of your photoshoot
We can reschedule to a new date on a weekday with no additional fees, please note my weekend availability is limited and usually booked out weeks to months in advance so rescheduled appointments usually take place on a weekday. If moving your shoot to a new date on a weekday isn’t an option here are some ideas below for going ahead on the day of your photo shoot.
If rescheduling is not an option
Photos at home
Some clients like to move their photo sessions indoors into their own homes if it’s a rainy day. In your home we only need one or two spaces to create beautiful imagery, usually the living room for bigger groups or the master bedroom if you are a smaller family. We may need to change the time of day for your session if we originally planned a sunset session (a more ideal time indoors would be mid-morning or early-mid afternoon at home due to lighting conditions).


Parliament Buildings (permission required in advance)
When you think of Parliament don’t just think of the Beehive in the background, the photos I take here aren’t touristy and the surrounding areas are quite beautiful! There is a semi-sheltered area at Parliament Buildings near the old library that can be helpful for photos. There is a roof cover to be out of the rain but on a windy day, this too can be a little exposed, so I recommend bringing a warm jacket. This area is suitable for extended family groups and if the rain stops even for 5 minutes we can pop out to nearby garden areas for more variety of locations. For permission at this location, I can email security to pre-arrange this option in advance. This is a great option for those booking in for photos with extended family members who may be traveling from out of town.


Begonia House Wellington Gardens (permission required in advance)
At the Wellington Botanic Gardens, there is a fully enclosed glasshouse which is great for photos, however, it often isn’t the best option for families and I don’t often recommend this location to clients due to the extra fees and admin required to get permission.We need permission to take photos at this location and there is an additional fee that clients will need to pay directly to the Gardens/Wellington council for use of the grounds indoors and outdoors (these fees go towards their heritage plant collections and future projects at the gardens). In my past experiences the fee to photograph at the Wellington Botanic Gardens has been $110-$210 depending on the time of year and where we are (this fee also applies to outside areas). Their hours are limited to 9am - 4pm in the Begonia House. This information I’ve provided could change based on their policies updating over time. You can contact them directly here - bookings@wcc.govt.nz
TIME-SENSITIVE PHOTO SESSIONS
If your photo session is time-sensitive, like a maternity shoot, and you would like some additional reassurance going into your booking please reach out as I may be able to reserve an additional weekday space as a backup option for your photo session.
THE BOOKING PROCESS
Once we have discussed your location and any backup plans that we may want to have, I will usually be in touch 1-2 days before your session for us to confirm our options and the weather forecast. Feel free to reach out before this timeframe with any concerns. I will be watching the weather forecast leading up to the day, however, we likely won’t know what the weather will do for us until the day before or the day of your photo session. On the day of your photo session if we need to change plans last minute I will contact you via text or call (as my email notifications are turned off and only checked at certain times of the day in my working schedule). You can reach out to me at any time via text message, I am here to help and make this process as easy as possible!
HELPFUL LINKS FOR PHOTOGRAPHER FRIENDS!
If you’d like more information on how to enquire about permission at Parliament see their website here. It is really easy to email the Speaker’s office and they usually reply within 1 business day. They will also sometimes suggest a suitable time based on any events taking place near or at Parliament like protests etc.
The best outdoor photo locations for family photography in Lower Hutt, NZ
Petone Beach Photos
Petone Beach is an easy-access location with great views of Wellington City. I usually meet clients in the old wharf car park which is easy to park in with children. On one side of the wharf is the dog beach, so there is a dog-friendly area and on the other side of the wharf there are usually no dogs off leads. In the summertime, this popular spot is covered in cute bunny tail grass and there are a lot of different backdrops within walking distance from the car. The best time for photos here is about 1-1.5 hours before sunset depending on the time of year and weather forecast (particularly in winter the light gets lost behind the hills a bit quicker than expected).


Eastbourne Beach Photos
Eastbourne is a popular location because of its long grass and beach setting. It can be a little windy though so bring a jacket and hair tie (like most areas in Wellington). Best time for photos here is usually 1 hour before sunset. This location is also dog friendly.


Percy Reserve Photos
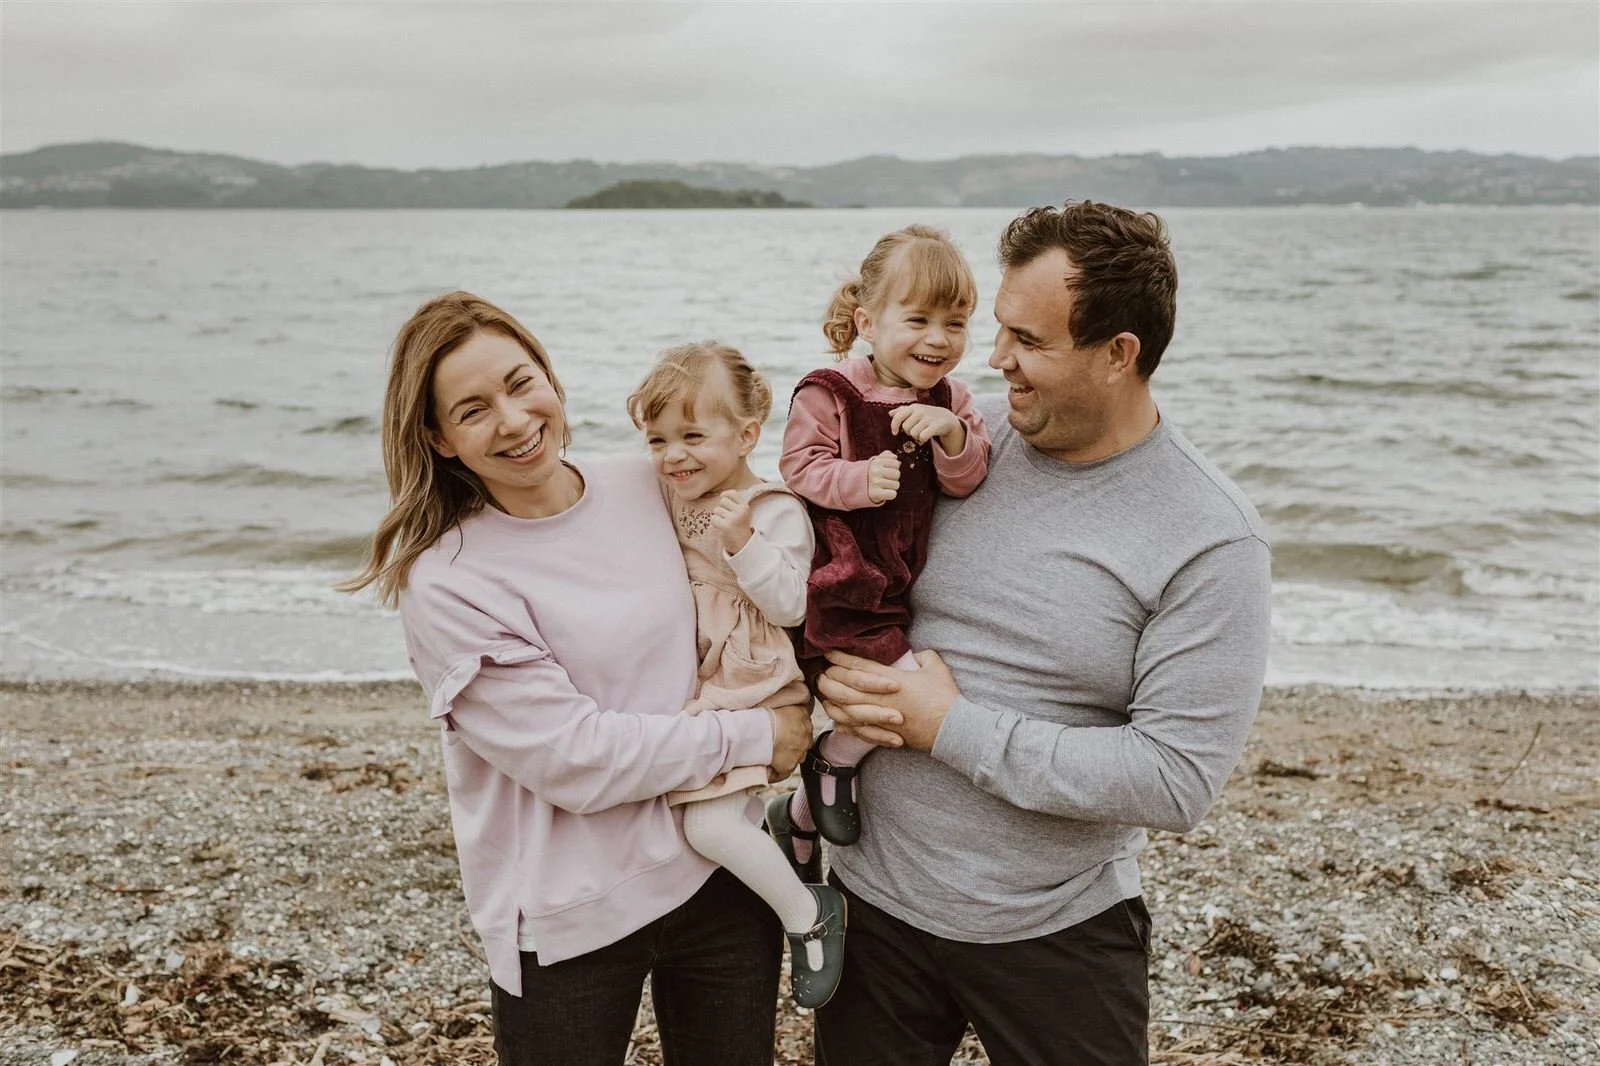
Percy Reserve is a great location for families with younger children who aren’t able to stay up late for a sunset session at Petone or Eastbourne Beach. It’s also great on a windy day rather than doing photos at the beach as it’s more sheltered. There are a few areas within walking distance of the car park that I like to use and I’ll often finish the session at the duck pond so children can enjoy that part of the reserve. This reserve is also great because of the open spaces and concreted pathways, it’s not overwhelming with green tones which can sometimes affect the colour of skin in photos if it’s a highly dense bush area. Best time of day for photos here can be morning or early/mid afternoon.


belmont recreation reserve - Lower Hutt River
Lower Hutt river has a few different areas that are suitable for photos but I love Belmont Recreation Reserve! It has good parking and multiple spots for photos including a garden lawn setting and then the river bank. There is also a playground area that kids can play on after the photo session. The best time of day for photos here can depend on the weather forecast and time of year but as a rule, anytime from about 2.5-2 hours before sunset is suitable before the light is lost in behind the hills.


Anam Cara Gardens Wedding - Amy and Liam
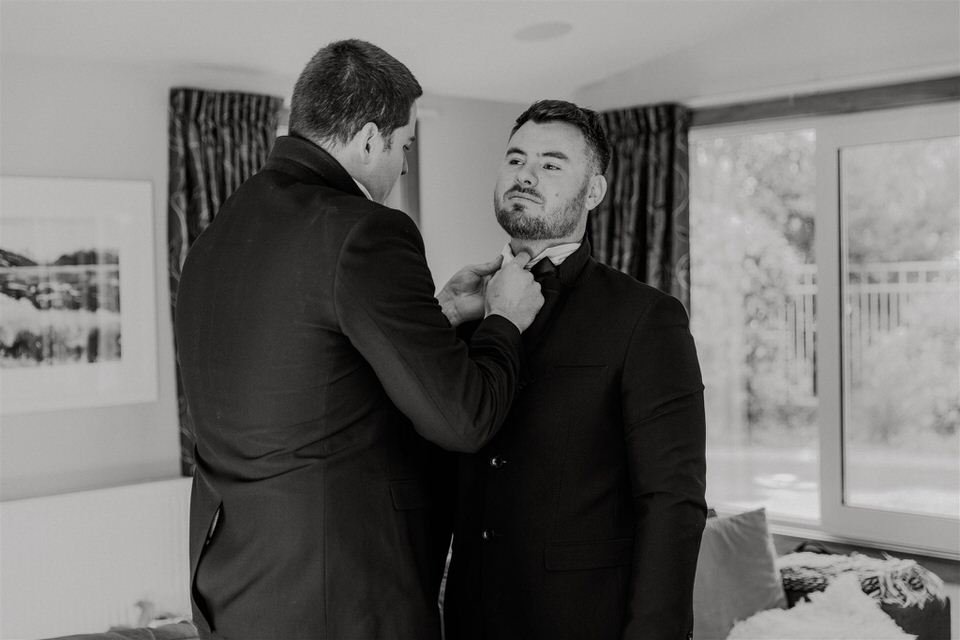
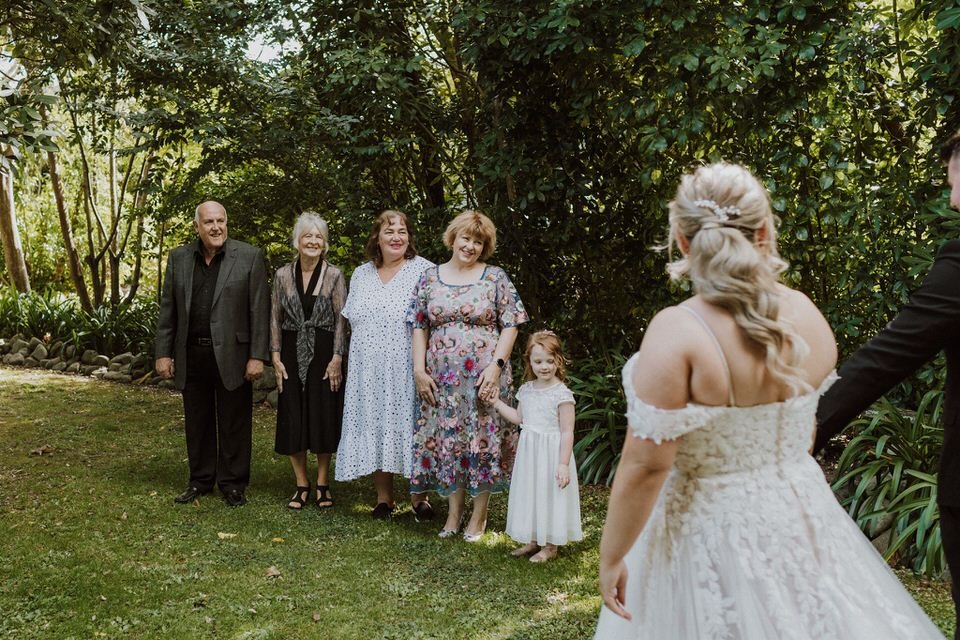
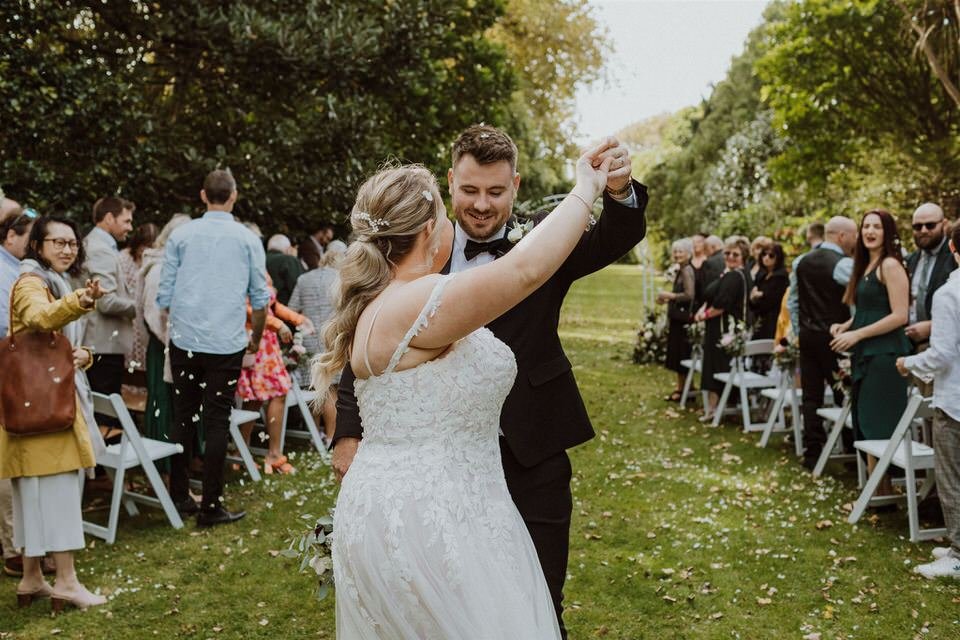
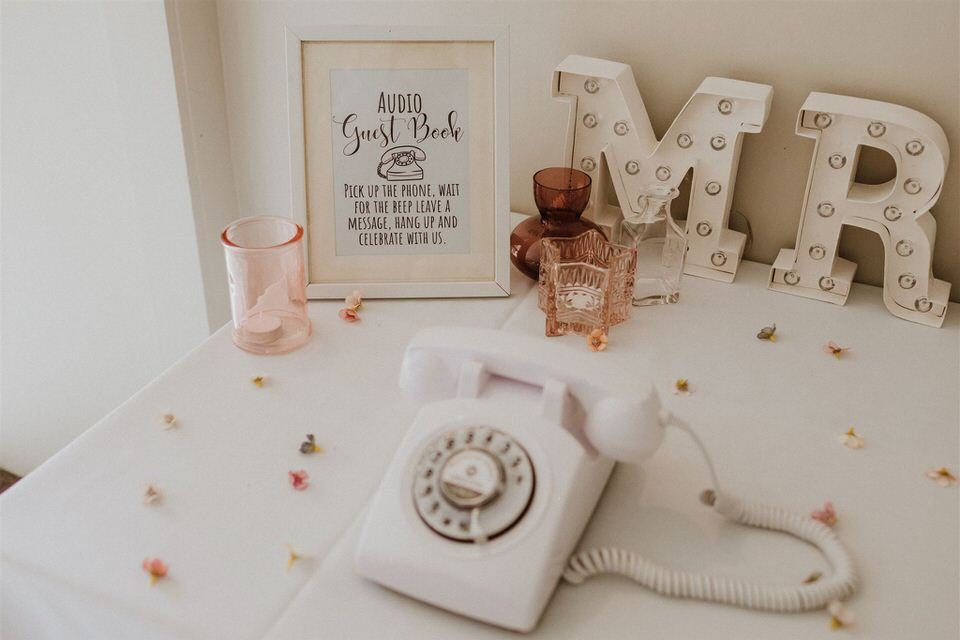
When your wedding day turns out to be a one-year wedding anniversary. SURPRISE! Amy and Liam thank you for asking us to capture your special day and for doing things authentic to how you wanted them to be! These two eloped on this exact day 1 year prior and managed to keep the secret until their wedding day at Anam Cara Gardens. We started off their day with preparations over in the main house before their first look together and then a first look with some of their immediate family members (loved this idea of including family). We then went around the gardens for photos with their wedding party friends!
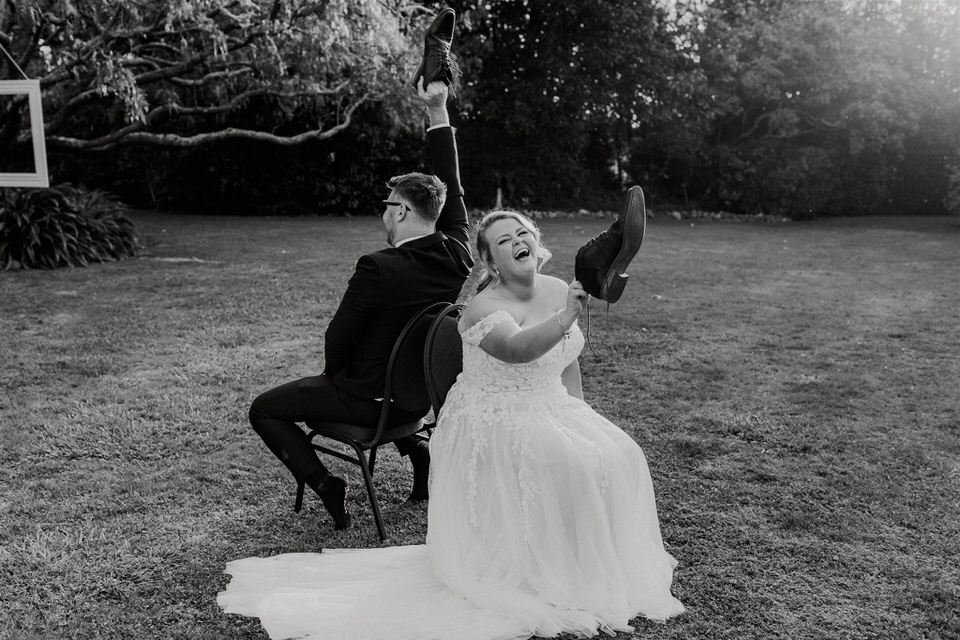
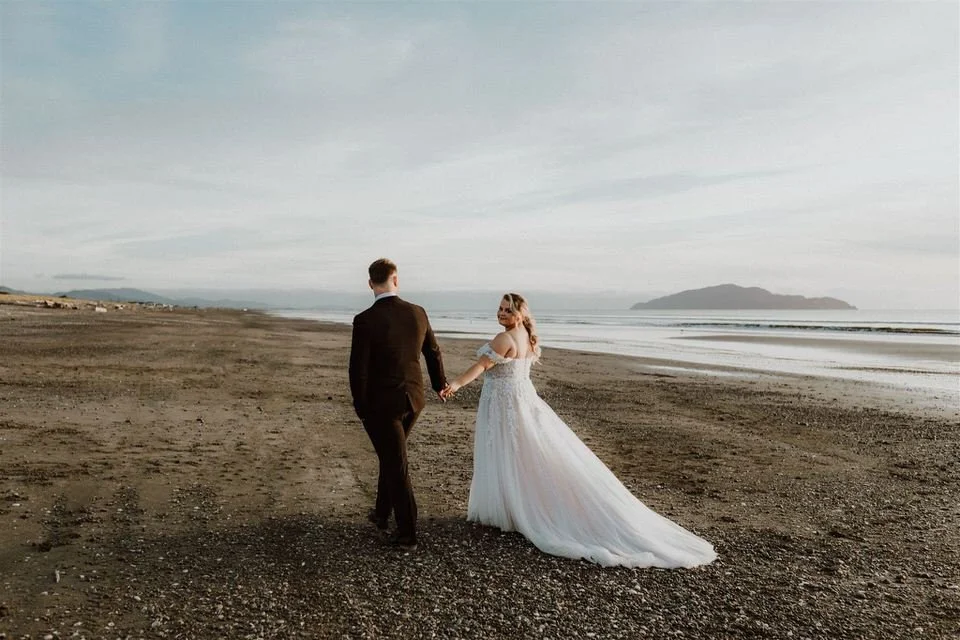
To finish off the day we had cocktail hour with lots of catching up with their guests, the shoe game (is this what it's called?!), sunset photos down at Otaki beach, an epic reception entrance and a first dance.
As always thanks so much for having us at your beautiful venue Teresa and Tim at Anam Cara Gardens and to Olivia Melhop for your help on this day as my second photographer!






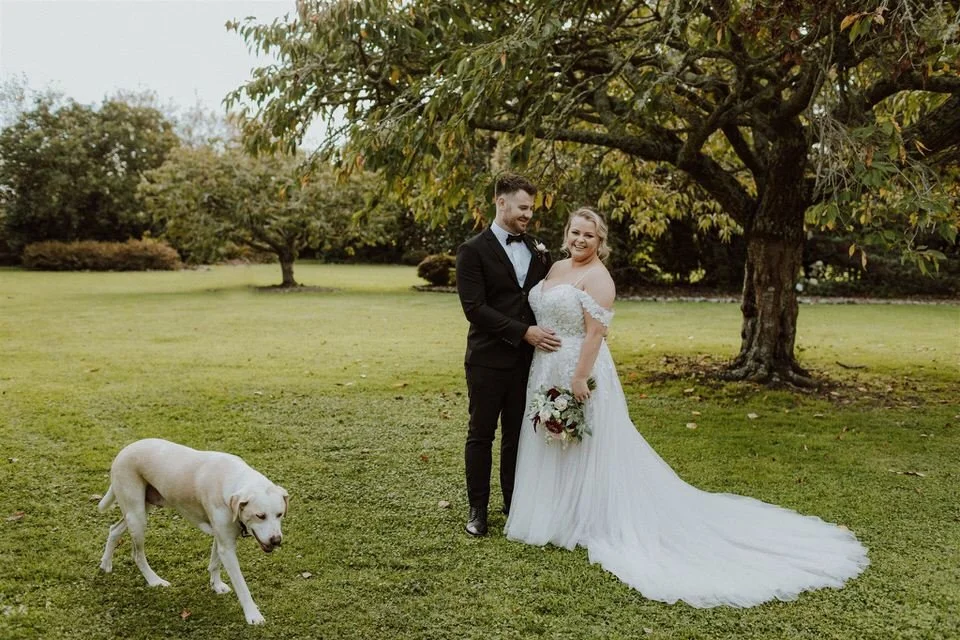


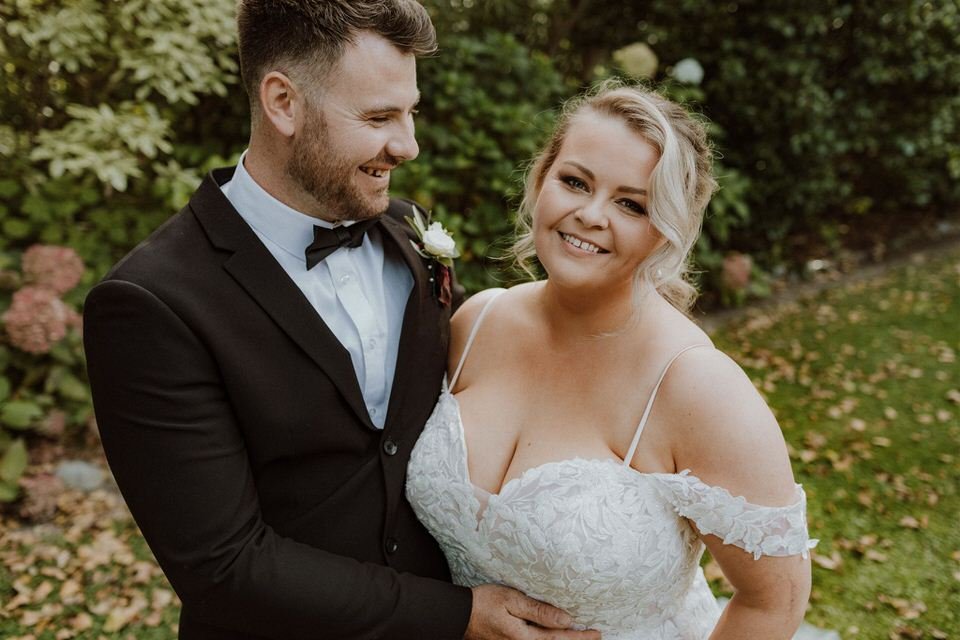


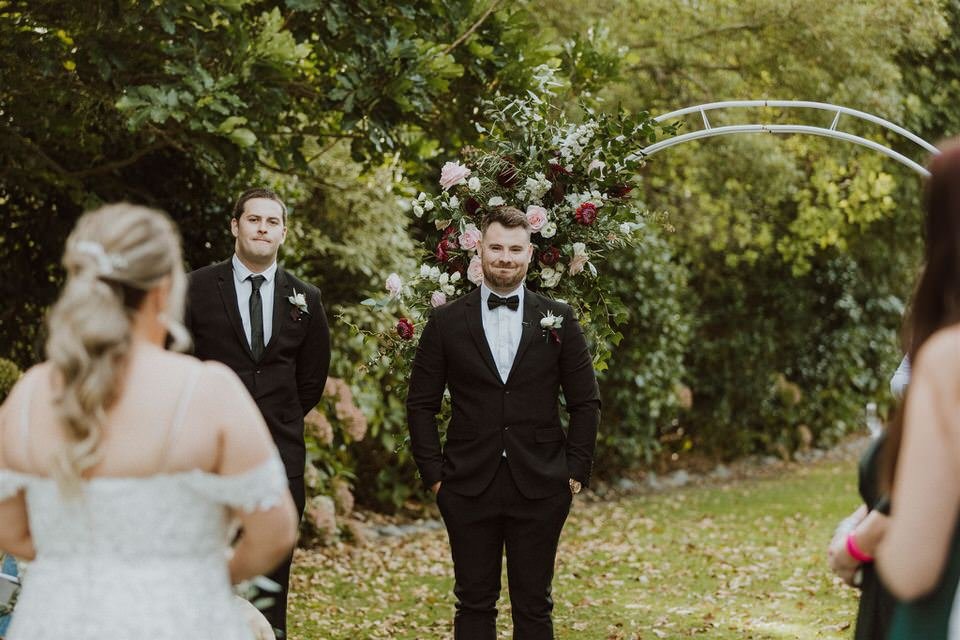
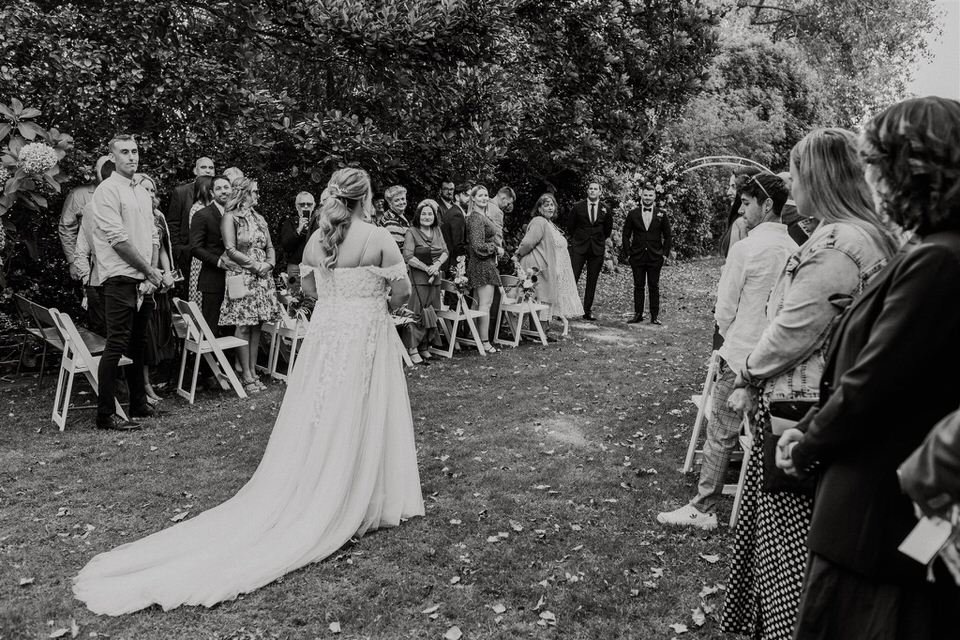











Brackenridge Wedding Venue - Martinborough
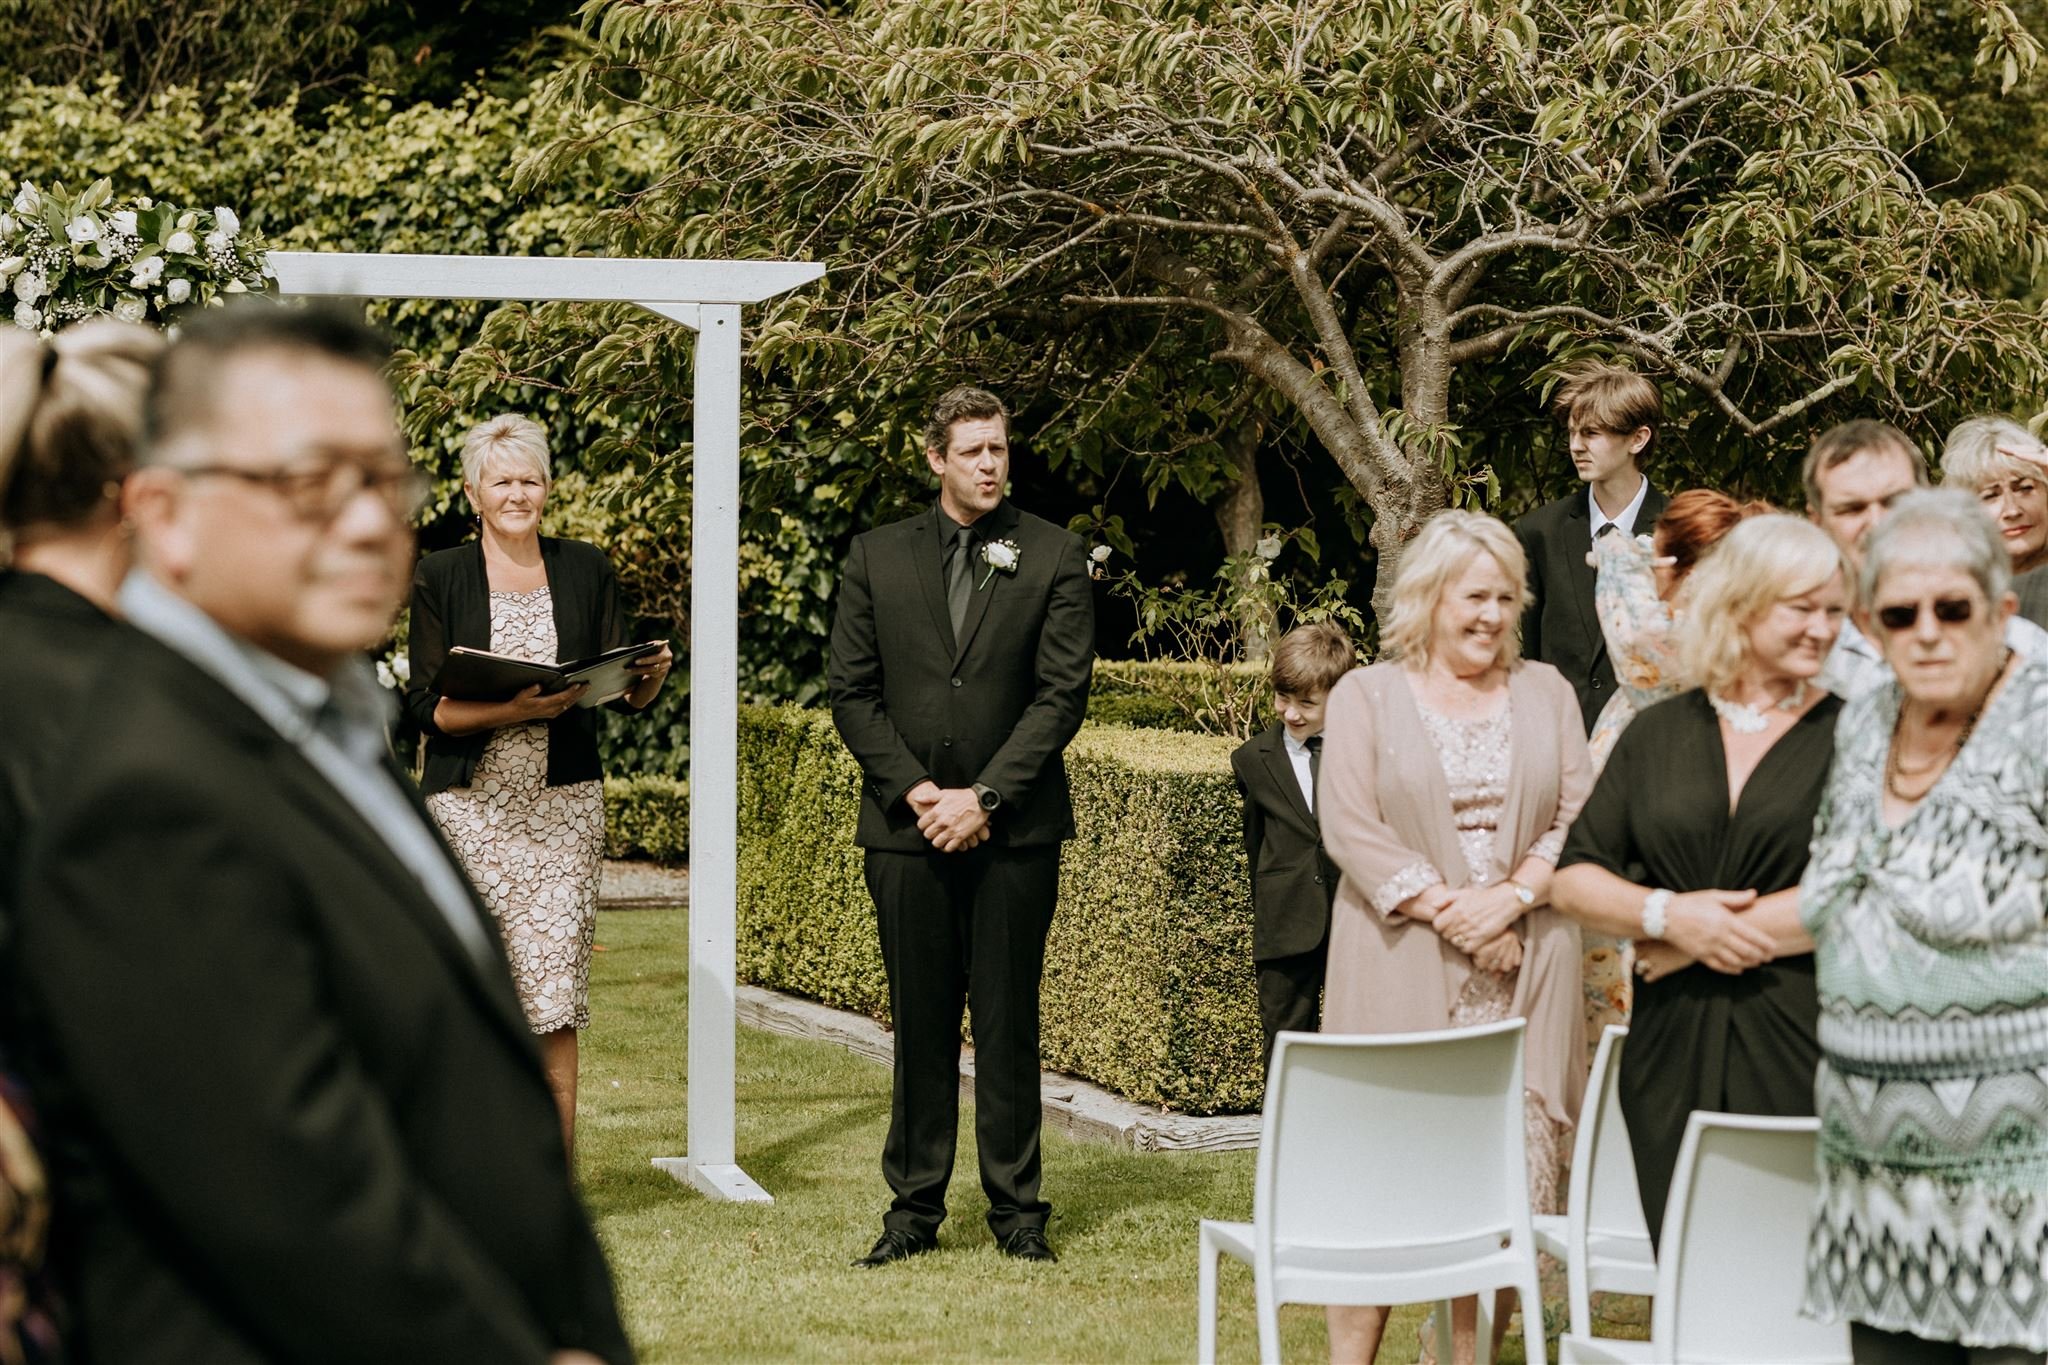
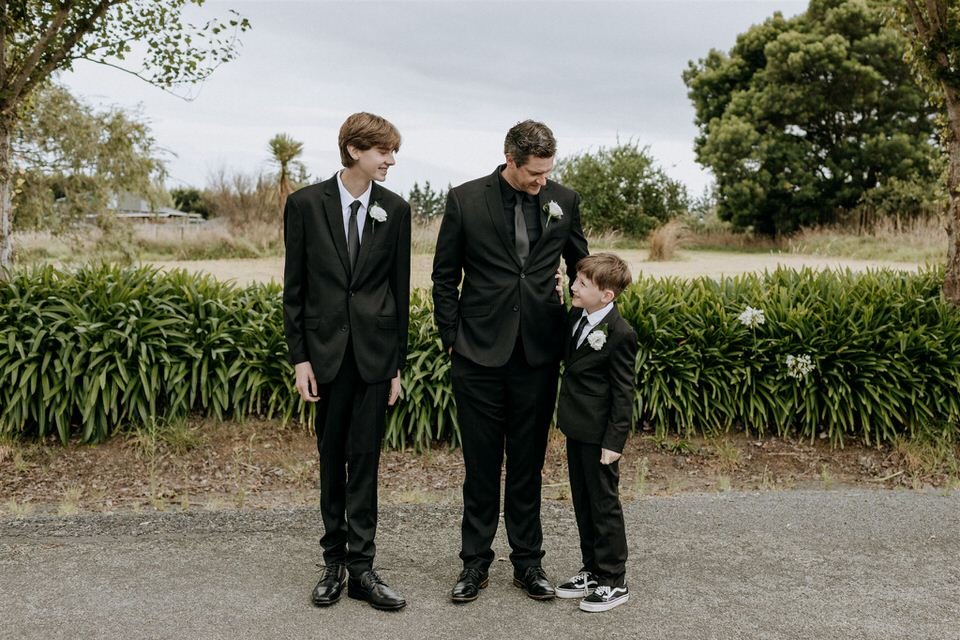
Hayley and Shaun contacted me about their wedding plans at Brackenridge and we decided that 6 hours of photography would be plenty of time for their day! They wanted the wedding to be about spending time with family, their kids (who were their bridesmaids and groomsmen) and having a great time with guests. In the 6 hours that I was with them, we were able to cover the finishing touches of their preparations, the ceremony, photos afterward with their family and kids, the very start of their reception and sunset photos! That’s one of the great things about Brackenridge as a wedding venue, everything is on-site and you can make your timeline really streamlined without lots of travel between locations. I’m all for these shorter wedding days, sometimes you don’t need a 10-hour package and you can actually capture so much in a shorter time.
During their first speeches, we had a small window of opportunity to decide if we were going to head out for sunset photos, which we preplanned to be before I finished. It was raining, completely clouded over and I said sorry we won’t get a sunset but then the sky opened up (I’ve had this happen before in Martinborough, it changes within minutes). They got their sunset photos! Take a look.
Thanks for joining me @jessdewsnap as my second photographer and it was great to see you @wendymorrisoncelebrant!






Wellington Begonia House - Intimate wedding ceremonies for couples
In this world where we are presented with trends online and all the ‘must haves’ ‘must dos’ it can be extremely overwhelming for couples to plan a wedding. When couples come to me with ideas for a smaller wedding or elopement-style ceremony I’m all in.
Here in this blog, I’m showing highlights from a recent intimate wedding that I felt so honoured to photograph. This was a 2-hour package and we went to 2 different locations in Wellington, did a first look and portraits before their ceremony, plus a bunch of family photos afterwards at their reception venue.
Plan to have your wedding in a way that aligns with your ideas, your vision, your lifestyle and in your own timeframe. You don't always need to have the full day captured, let’s customise it to suit. These smaller weddings have just as much of an impact on me as my 10-hour bookings.


Begonia House at the Wellington Gardens was the perfect first-look location for Brooke and William! When we arrived it was raining so being undercover in this stunning building with its impressive plants meant we could still capture the special moments before their ceremony. Just as we started to finish here the rain stopped for us to get some photos quickly outside. We then made our way to the Canape Room for their intimate ceremony.


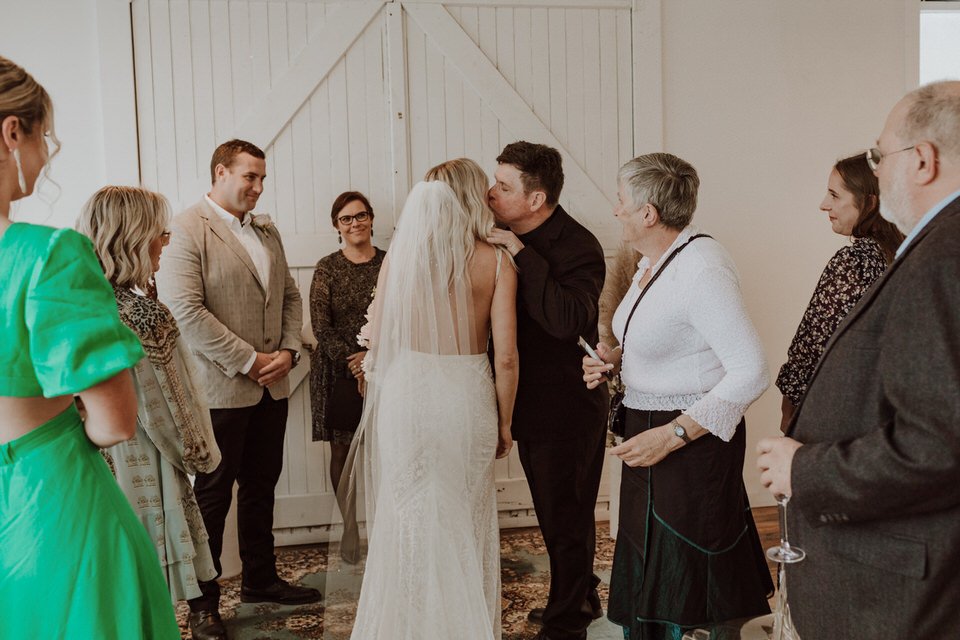


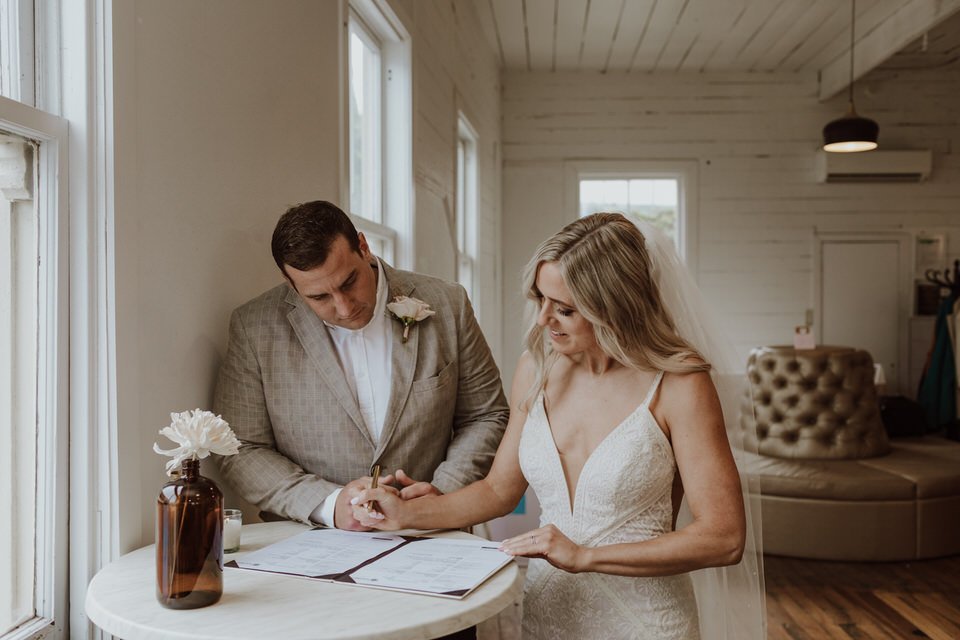


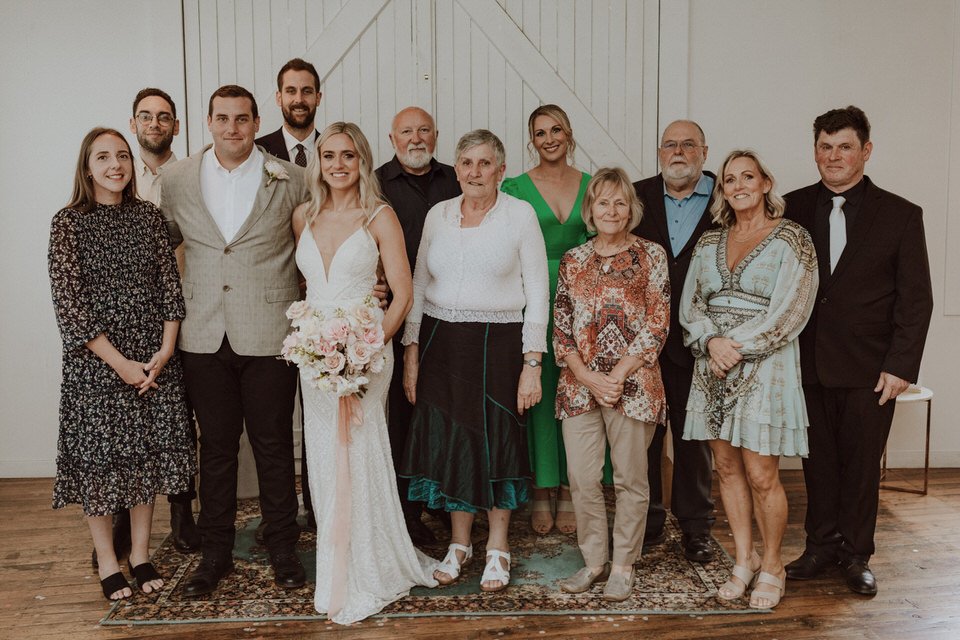

Big thank you to Brooke and William for asking me to capture their special day! And to the Begonia house for having us (just a little note for anyone interested, if you want photos at this location it requires permission and a small fee for use of the space).
Extended family photo sessions Wellington
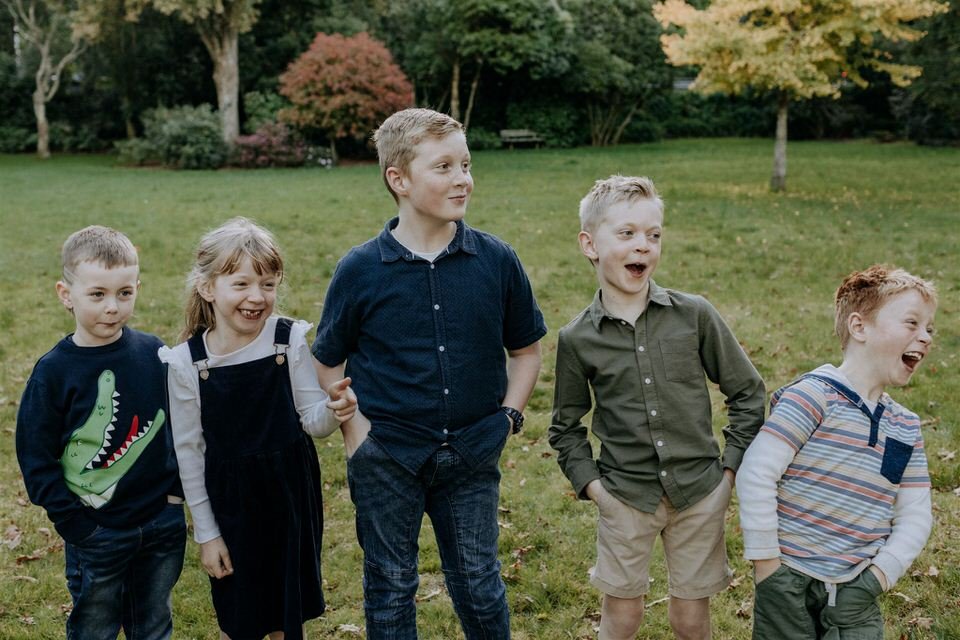
Extended family sessions are the best way to get updated photos of the whole whānau and also your immediate family members. These sessions are 1 hour long and during this time we can do as many combinations as you’d like to do. This means you get your own set of family photos with your kiddies and partner, plus the extended group photos so it’s like having a few mini shoots all in one. You can also split the cost between a few of you which in return does save you some money, smart! These sessions with larger groups start at $990 plus travel (price set as of May 2023), which works out to be really affordable when there are a few people contributing to the session.






Where to take newborn photos in your own home?
I often get asked if I do newborn photography. I think this is because it’s not as easy to find my newborn photos in my portfolio as my style looks different to traditional newborn photos and what we think these photos have to look like. Clients will pencil in a time for their newborn session, I come to your home and we spend an hour together taking photos in a few different spaces, while you have the relaxed freedom to feed, soothe or change baby in the comfort of your own home. There’s no over-packing the baby bag ‘just incase’, no stress rushing out the door to your local photography studio and no time pressure to soothe baby back to sleep so they can then be posed for the photos. If reading this gives you a sigh of relief and takes the dread away from doing a newborn photo shoot, this post is for you.
These photos capture parts of what it feels like to be at home with your newborn. While some areas of your home might feel a little hectic and messy as you do your best to keep up with the washing pile while trying to find a clean outfit to wear, you will be pleasantly surprised by what we can do with just one or two spaces in your own home. Here are some ideas and ways to turn your home into the perfect backdrop!


YOUR LIVING ROOM/LOUNGE IS PERFECT FOR PHOTOS
I’ve done photo sessions where the living room was the only space we could use for photos and it worked out perfectly! Sometimes all we need is one corner or one wall of a room that has minimal clutter and decor and a couch. Some helpful tips:
Clear your coffee table so it is free of things like paper, tv remotes and coffee mugs. I like leaving a couple of items on the coffee table so it still feels like a lived-in space.
I like to use a space where there isn’t a window directly behind the couch. Some spaces allow enough room to move the couch to a different wall.
I try to avoid having the TV in the background of the photos, otherwise, it looks like a black square taking up space.


THE MASTER BEDROOM
Getting some photos all cuddled up on the bed is another suitable area for photos. Helpful tips:
The whole bedroom doesn’t need to be tidy and clear of clutter, just the head of the bed and the spaces on either side of it. You can move additional items to the opposite side of the room where it won’t be too much in the way.
Clear away any extra items from bedside tables like phone or watch chargers, water bottles


NATURAL NEWBORN POSES
During my 1 hour sessions we will do photos of everyone together and baby on their own. For the photos of baby we can keep them in the same outfit or you can swaddle them in a way that they are used to or prefer. You might have a special blanket that has been made for them as a gift that we can use for photos, I’ll lay the blank on the bed (or a soft couch also works) and then we will get baby comfortable. Cribs and bassinets also work well! Photos awake or asleep work perfectly, there is no right or wrong preference as long as they are happy. I love capturing all the little in-between moments too, like a yawn or sometimes a crying shot too is super cute and one for the memories.


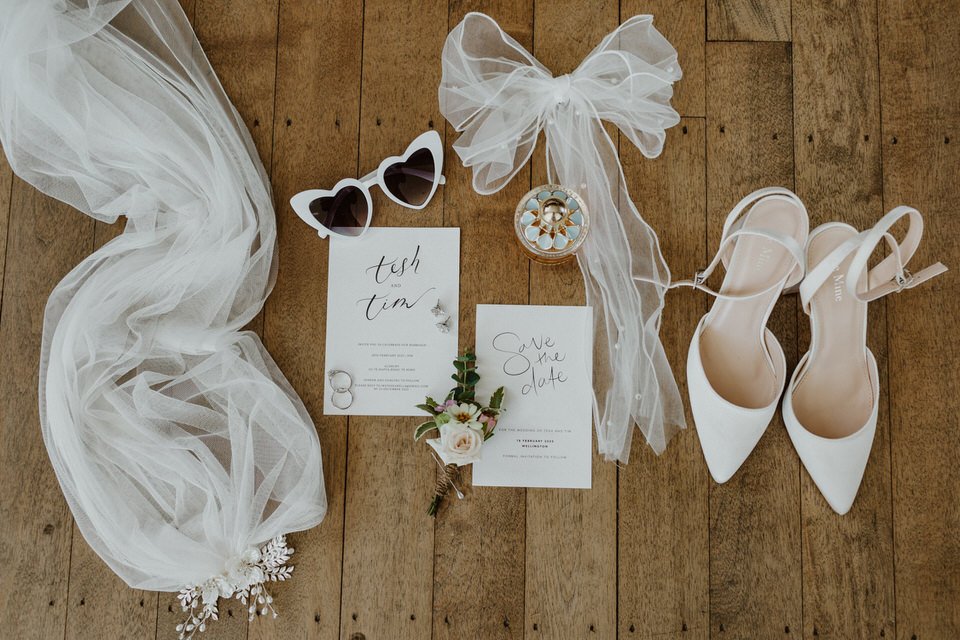
Tesh and Tim - Sudbury wedding, Te Horo Kapiti Coast
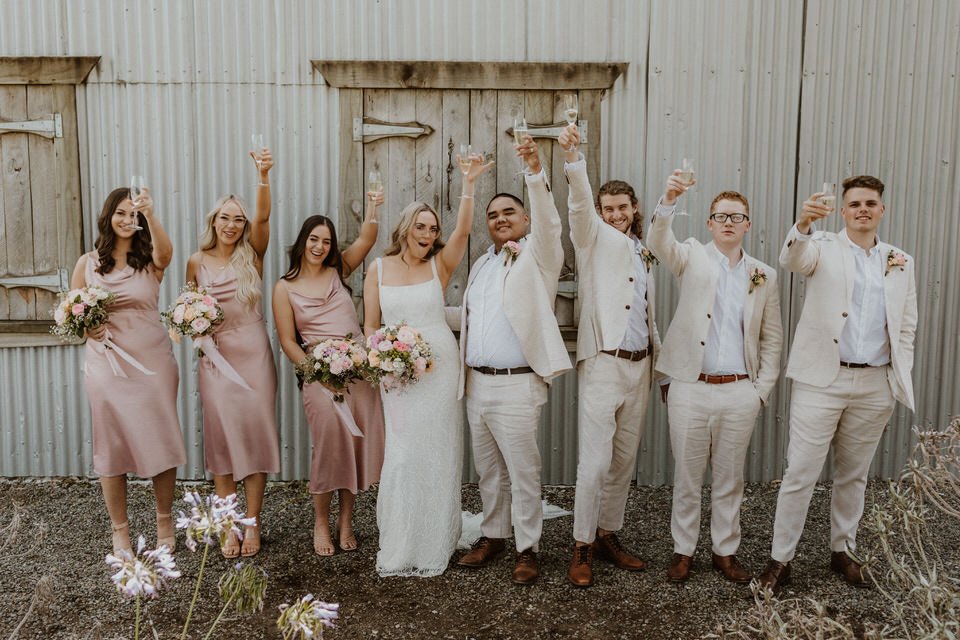
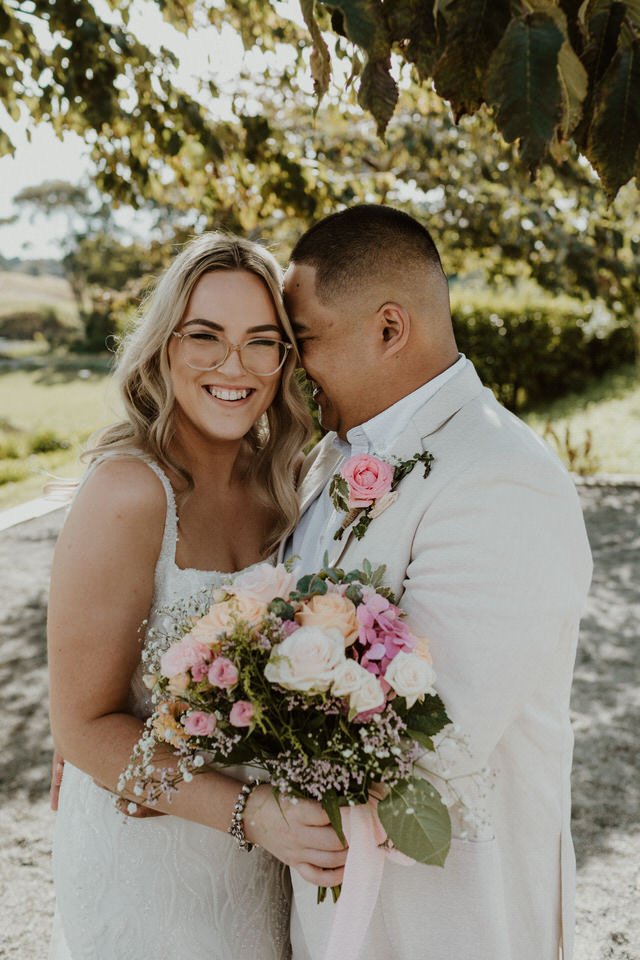
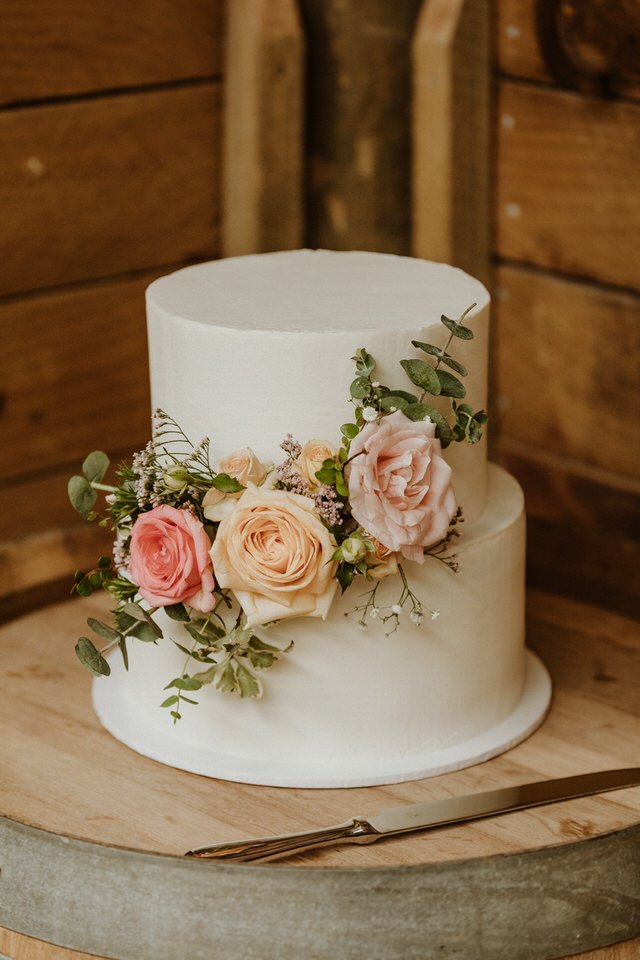
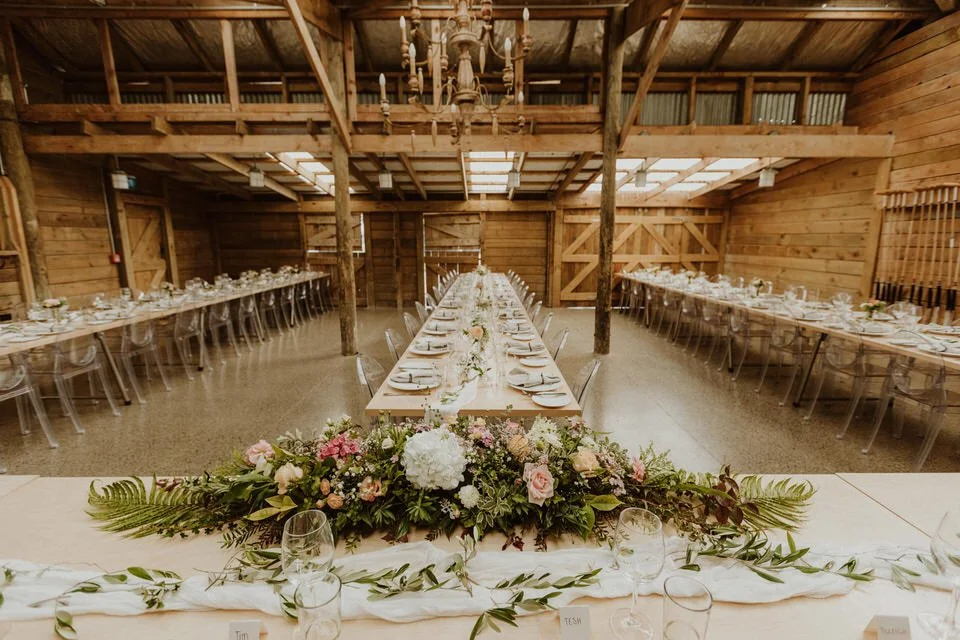
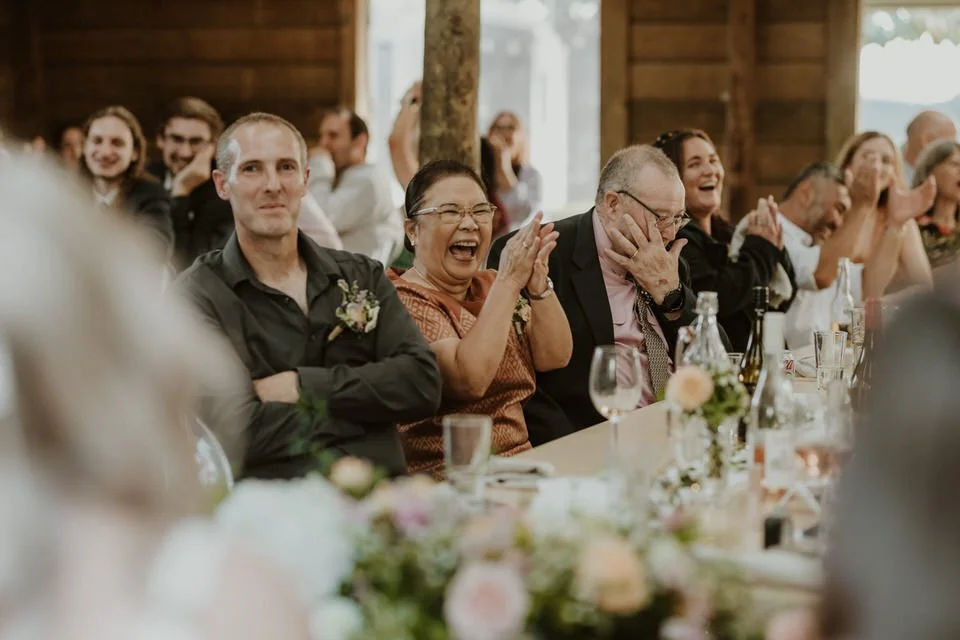
Here are some of my favourite moments from Tesh and Tim’s wedding day! ♥️
⠀⠀⠀⠀⠀⠀⠀⠀⠀
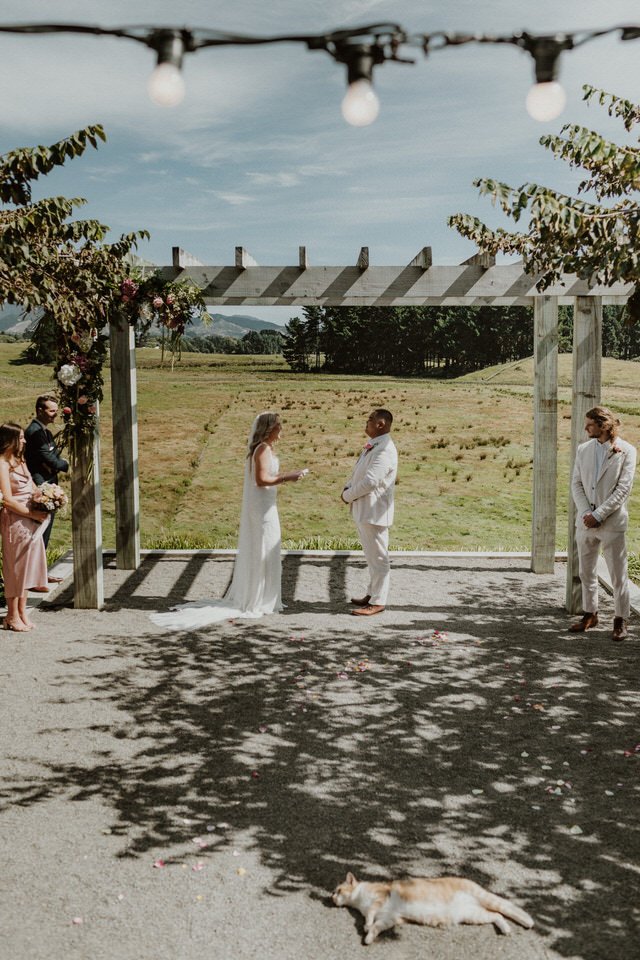
They booked us for photo and video back in 2021, so we had lots of time to get to know more about these two by following them on socials and even getting some help with plumbing issues (shot Tim!) Straight away I could tell we were all going to vibe as I love their values and the connection they have for each other. A special mention to their love of cats which we relate to and also how ironic it was that a cat walked right into the middle of their ceremony during their vows.
⠀⠀⠀⠀⠀⠀⠀⠀⠀
Their wedding was at Sudbury farm and we also popped down to the beach for some sunset photos, which was one of our favourite parts of the day. On our way back from sunset at the beach Tesh popped into Cottage 103, where the girls got ready earlier in the day, and got changed into a second outfit for their dancing. They walked down the road back to the venue and surprised their guests with an entrance in a new outfit!















Kendyll and Michael - Wedding at The Martinborough Tree Church
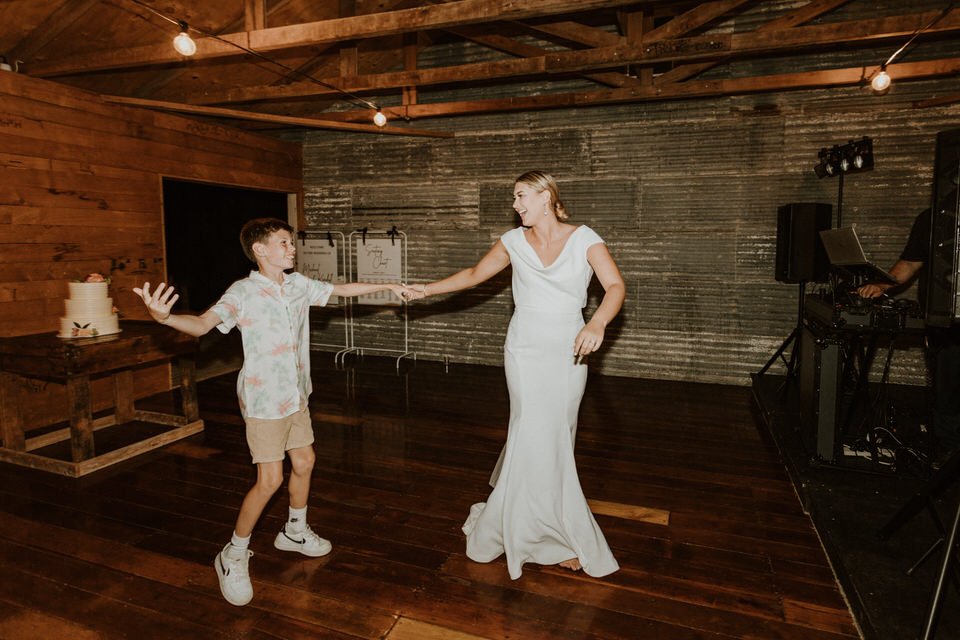
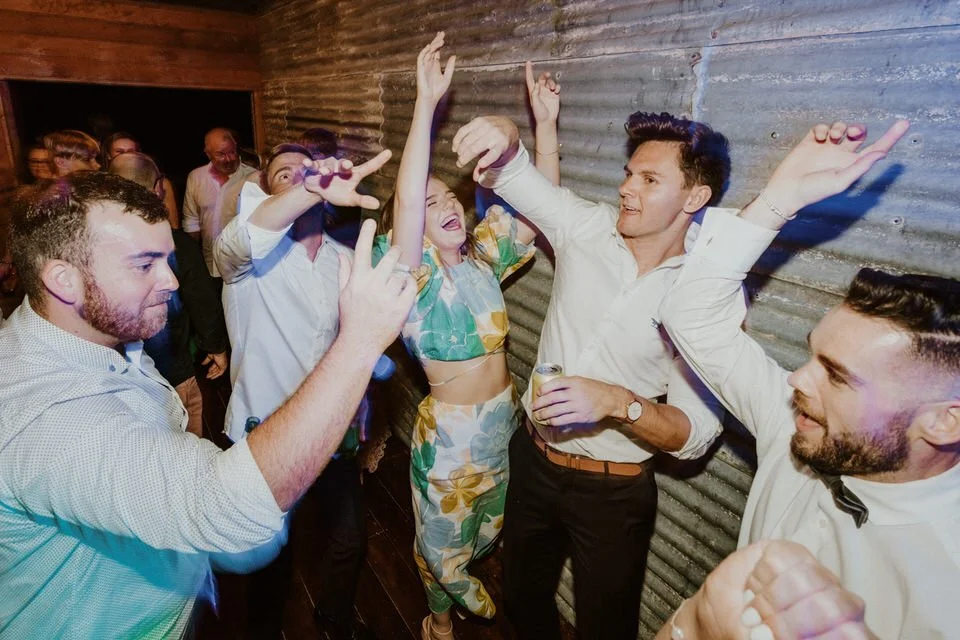
Kendyll and Michael celebrated with their biggest party yet at The Martinborough Tree Church! In all of their wedding speeches their friends all said how much they looked up to them as couple goals. I feel so lucky to have captured their engagement photos and wedding day from preparations through to the dancing. I had so many laughs with them and felt like I could let my hair down a bit on the dance floor.














Should you have a first look before your wedding ceremony? Pros and Cons! Tarureka Estate Wedding - Ruby and James
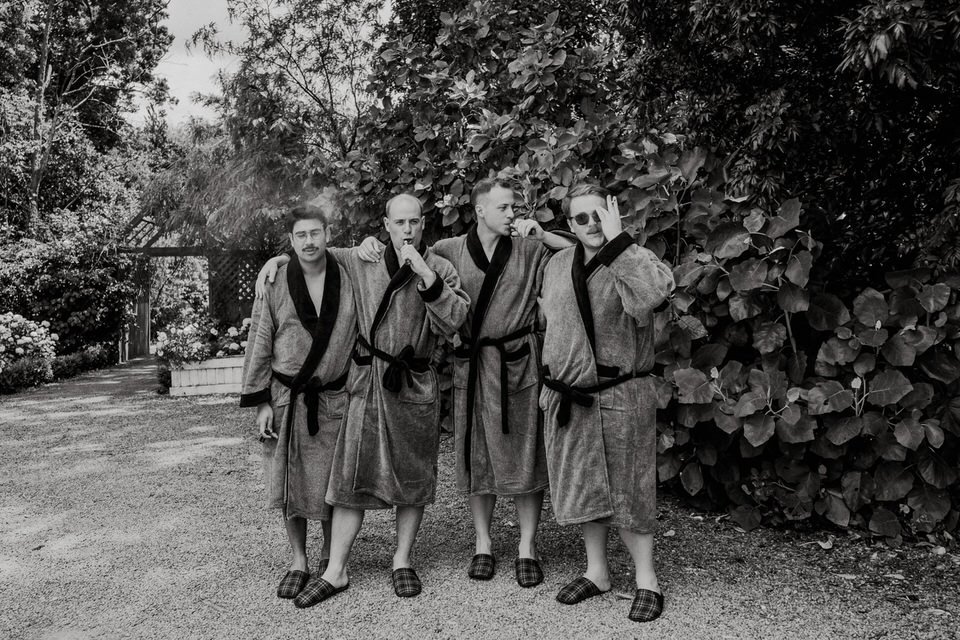
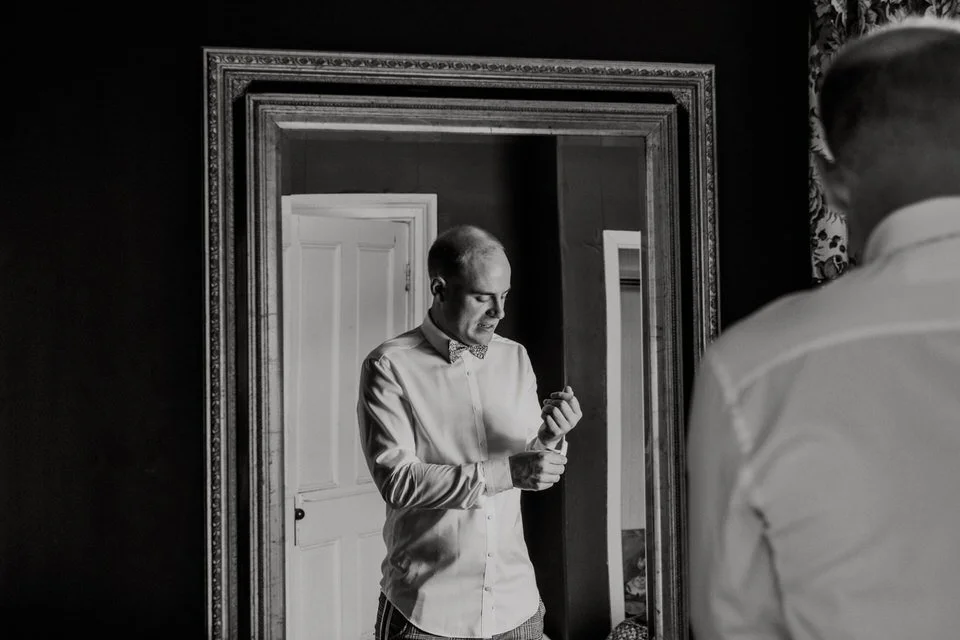
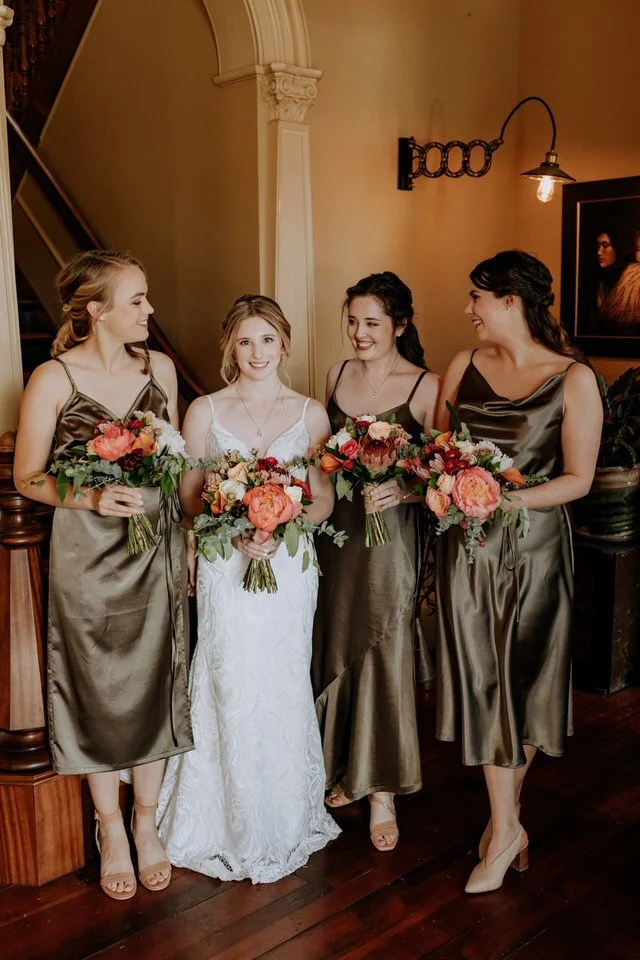
Couples sometimes ask me what my thoughts are and my preference is for having a ‘first look’ and all wedding/bridal party photos prior to the ceremony. Ruby and James had a first look before their ceremony so this is a perfect example of how the day can look doing things in this order!
I personally don’t have a preference because it’s completely up to each couple and their priorities for the day. For our own wedding, we hired a photographer for 4 hours and did the bulk of our photos before our ceremony so that afterwards we could relax and party (talk about some weird priorities considering photography is my job!)






PROS OF DOING A FIRST LOOK
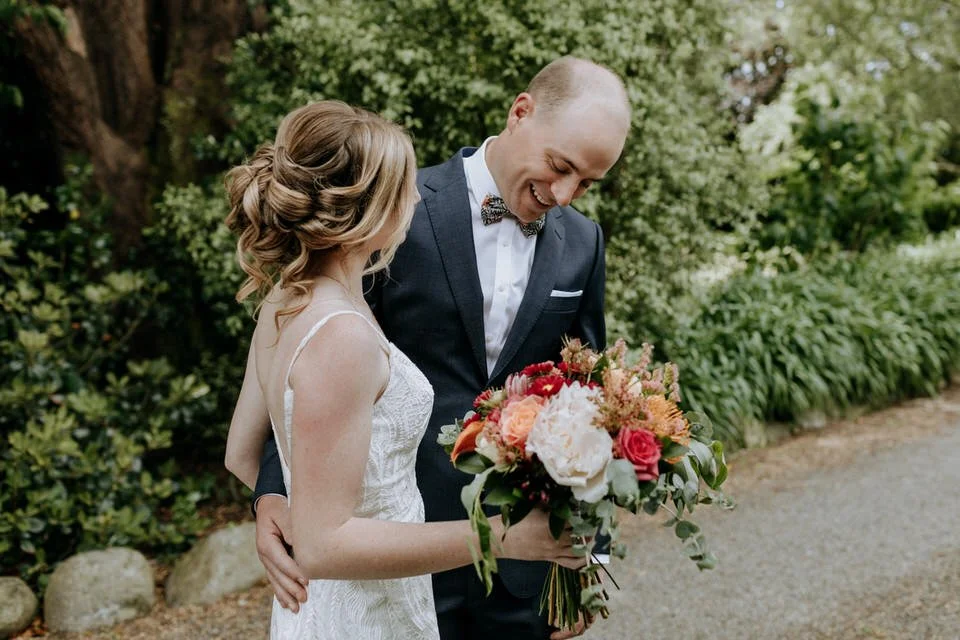
There are some really sweet and intimate moments that can be captured when it’s just the two of you. You might feel nervous and worried you’ll lose your cool in front of all your guests (which is not a bad thing by the way, I love and respect vulnerability), but if this gives you anxiety then it can be a great way to keep the moment just between the two of you.
As I mentioned earlier, you’ll get more time to socialise with your guests after the ceremony. This was really important for our wedding since a lot of guests travelled from afar who I hadn’t seen in a while. Doing photos after your ceremony could mean being away from guests for 30 minutes - 1 hour (I even hear stories of this being longer if there is travel to a particular location).




CONS OF DOING A FIRST LOOK
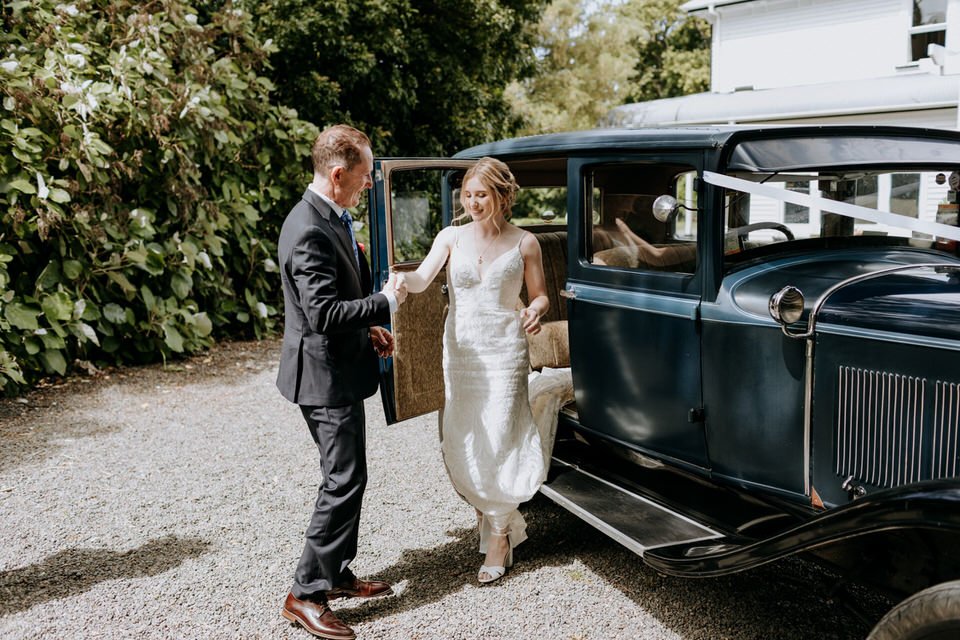
The main downside for a photographer is the lighting conditions. It will mean doing photos earlier in the day which is often when the sun is at its brightest. BUT if you have a venue with some shaded areas with tree cover and a great photographer this should not be an issue. For Ruby and James’ wedding, we had some clouds in the sky which really helped defuse the bright light at 1pm and I used this driveway which was mainly covered by trees and in the shade.




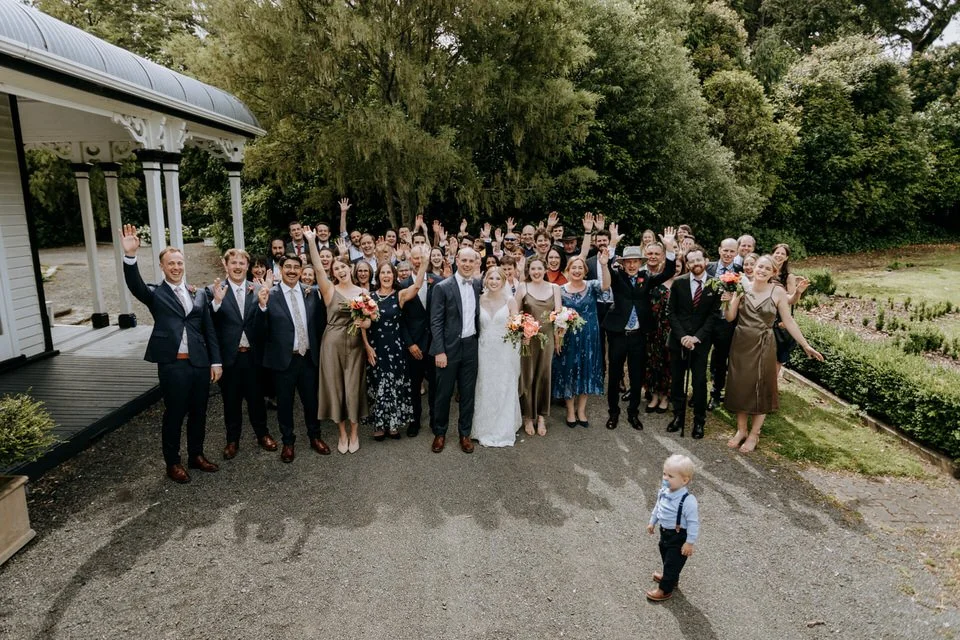
Once we finished family photos after their ceremony, Ruby and James were able to spend 2 hours with their guests before heading into the reception. Lots of time to mingle, enjoy the canapes and drinks, play some tennis and get some photos with your friends!


Later in the evening Ruby and James were happy to head out for more photos of just the two of them while the light was really nice. They said they appreciated just having this short moment for the two of them after such a full on day.




Rose and Smith Wairarapa Wedding - Rosa and Ben
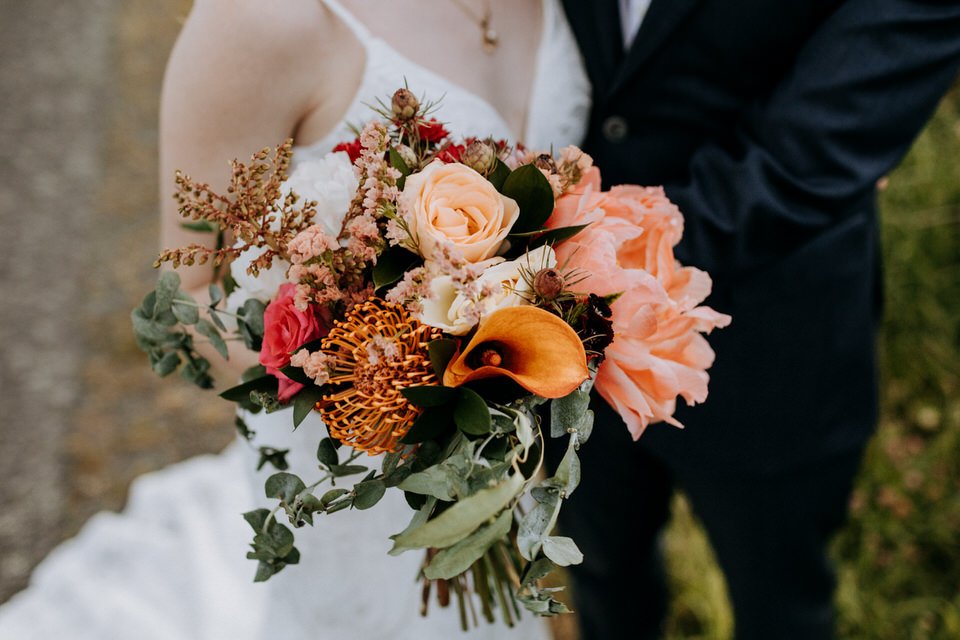
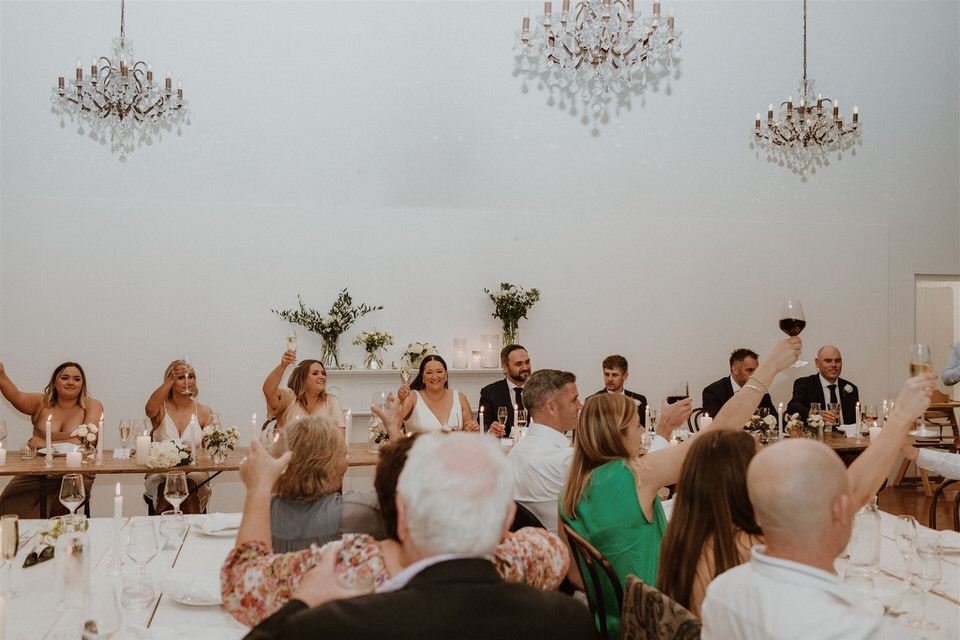
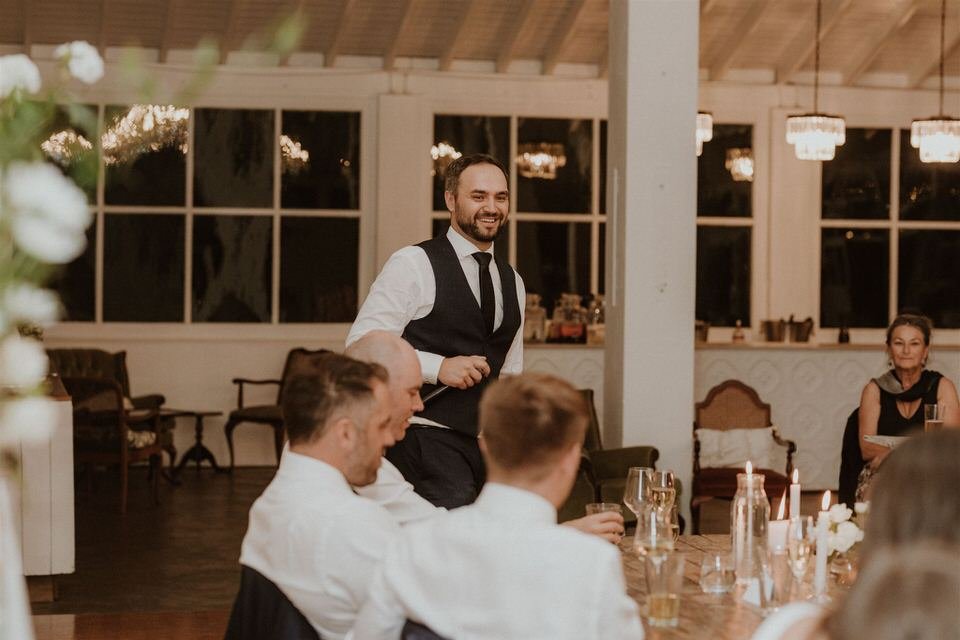
My first time out at Rose and Smith! I had so much fun hanging out with this wedding crew and documenting the day for Rosa and Ben. I started off the day by driving down a long gravel road that looked like a shortcut to Rosa's Airbnb, Google maps did me dirty and my car was not the best for that kind of road. Thankfully I safely arrived to see the wonderful Alana MUA doing hair for Dollhouse Do. Alana worked her magic and made Rosa feel like Kim K, she looked incredible.
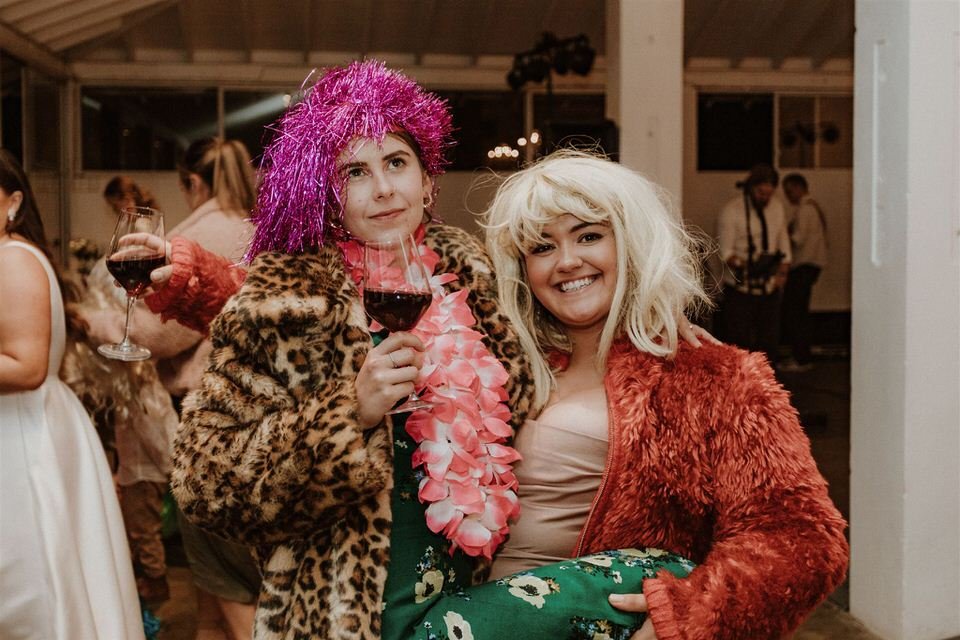
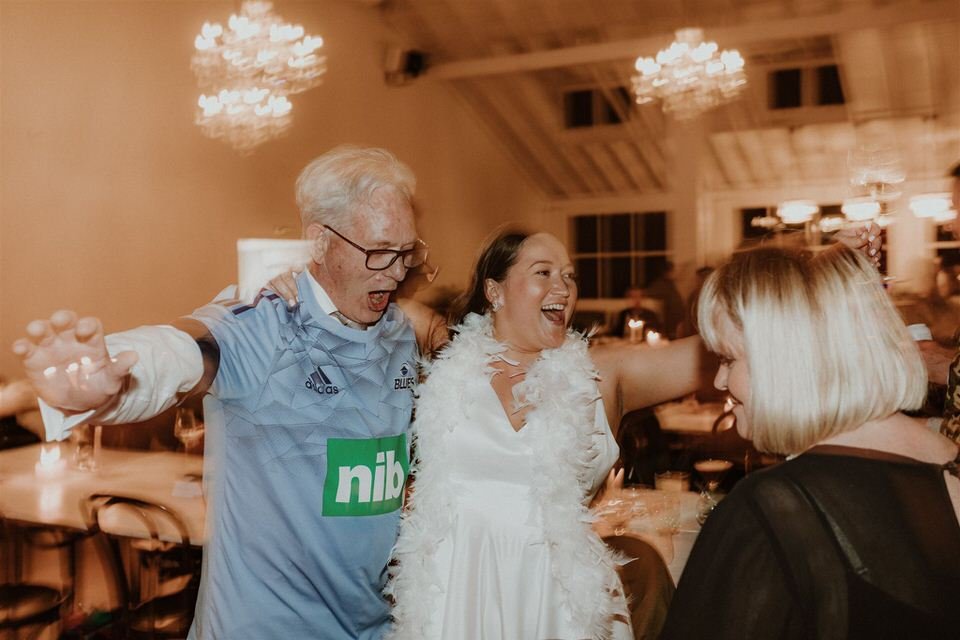
It rained every 10 minutes and then the sun would come out. On my way to the venue, I was driving through torrential rain so I was feeling very thankful for the indoor ceremony at that moment. Then for the rest of the day, we had NO RAIN and look at their outdoor photos! The party went off and the costumes came out. I was eyeing up the expresso martinis but mahi and professionalism, plus driving back over the Remutakas, not a good mix.
Thanks again Rosa and Ben!! My heart felt very happy on this day. Also a big thank you to Jess Dewsnap Photography for joining me as my second photographer on the day, can’t wait to team up again soon!


























Preparing for family photos on your wedding day
Doing family photos on your wedding day after your ceremony doesn’t need to be an overwhelming experience! We have all been to a wedding where this part of the day took too long with many combinations of the same photos. Quite often on the day couples will ditch their original list or skip a few groups just to get it over and done with. It doesn’t need to be this way though, there are things we can do to prepare so it goes smoothly and quickly!
Quick Tips for your family and group photos on your wedding day
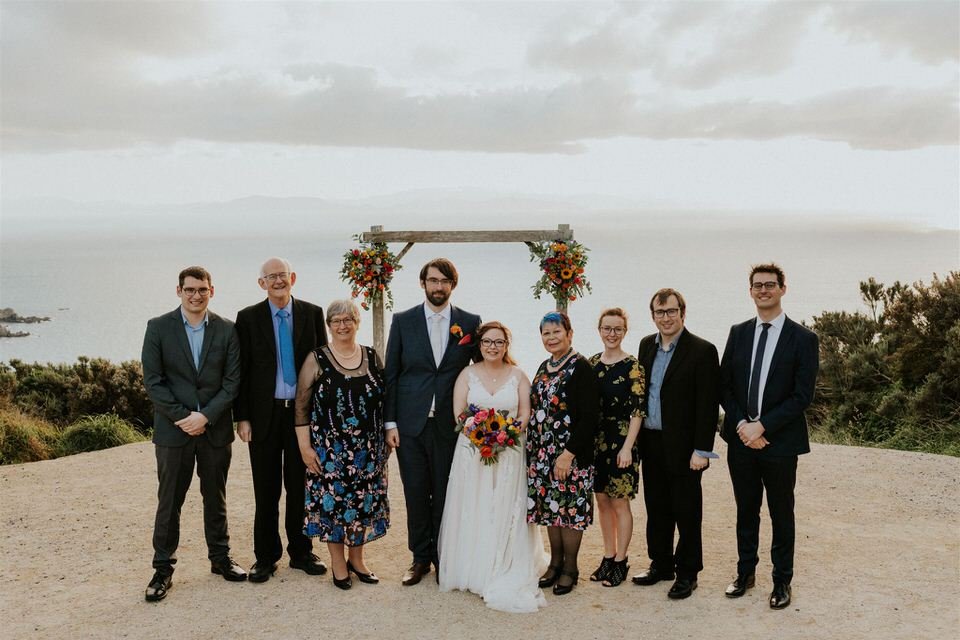
We will need 2 guests to help with family photos - one person who can call out from the list and one person to be a runner/find people, while I'm photographing. You might like to have one helper from each side of your family.
I recommend including the individual names of the people in each group photo so no one gets missed (I can't photoshop people into photos if they are missed on the day)
You may like to take photos with grandparents or any children first so they can relax afterwards
I recommend no more than 20 groups. 15 groups is an easy amount to get through, any more than this and it can become overwhelming for couples on the day.
WRITE A LIST OF GROUPS/BE SPECIFIC
It can help to write down the names of everyone in each group so they can be read out on the spot and we can check to make sure no one is missing (it’s never a great feeling as a photographer knowing that someone important was left out of a photo when we had no idea they were missing). If your venue allows for pets, add your doggo to the list! Keep your combinations to no more than 25 groups (this seems like a lot of photos but it can quickly add up when you start to look at your guest list and make decisions for this part of the day).

ASSIGN HELP, WE CAN MAKE THIS QUICK!
Prior to the day assign some help for this part of the day so we can efficiently take family photos. I recommend having one person read from your list of groups, calling out names (while your photographer is taking photos) and a second person who can be a runner to find people. This could be an MC or a family member so they are familiar with everyone on the list. It’s a good idea to ask people who are confident, if your venue has a microphone reading the names out loud can be a quick way to gather people and get their attention.

ONE LARGE GROUP PHOTO
If you would like one big group photo of everyone, do this first before guests spread out across your venue area. The bonus of having Karl with me for weddings (my husband who does videography) is he can sometimes take your large group photo using his drone which makes a great image where everyone can be seen. This bonus service isn’t included in every job we do, it is weather-dependent and only if you have videography booked. Here is an example of a drone photo versus a photo I have taken standing on a large ladder (supplied by a venue).


ORDER STRATEGICALLY
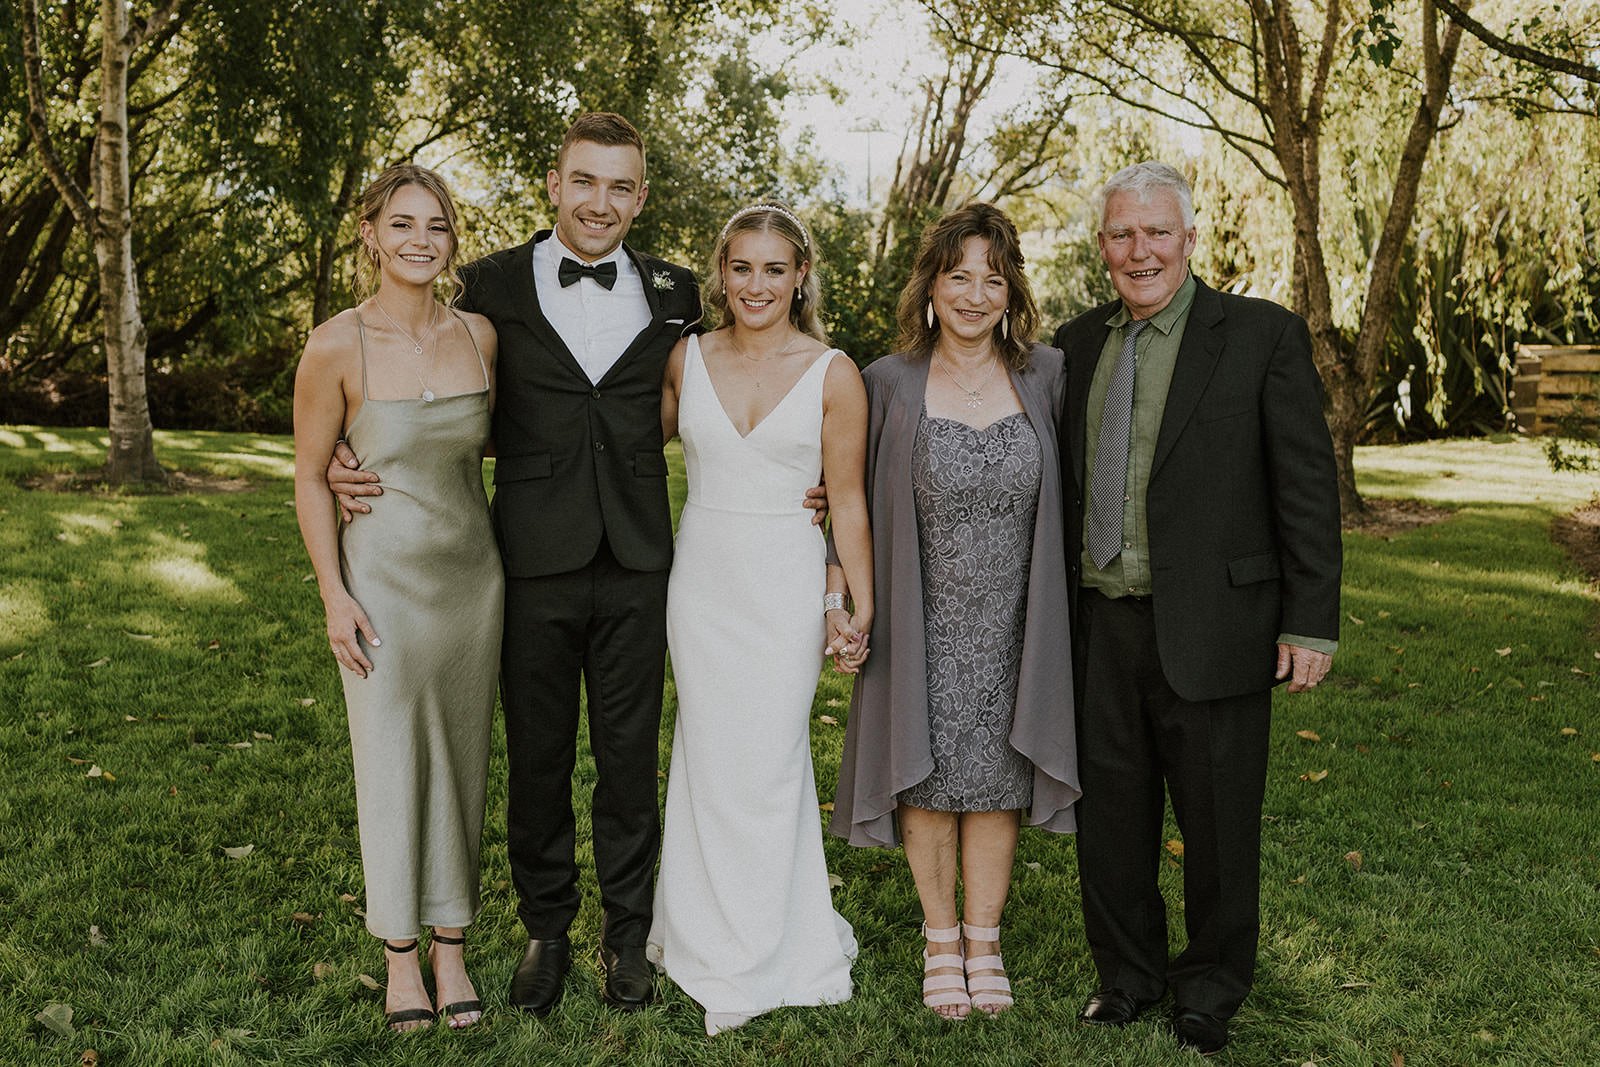
First do your big group photo with all the guests as mentioned in the previous paragraph, followed by any images with grandparents or children. Then work through one side of the family, then the other. Try to move people around as little as possible.



KEEP IT SIMPLE
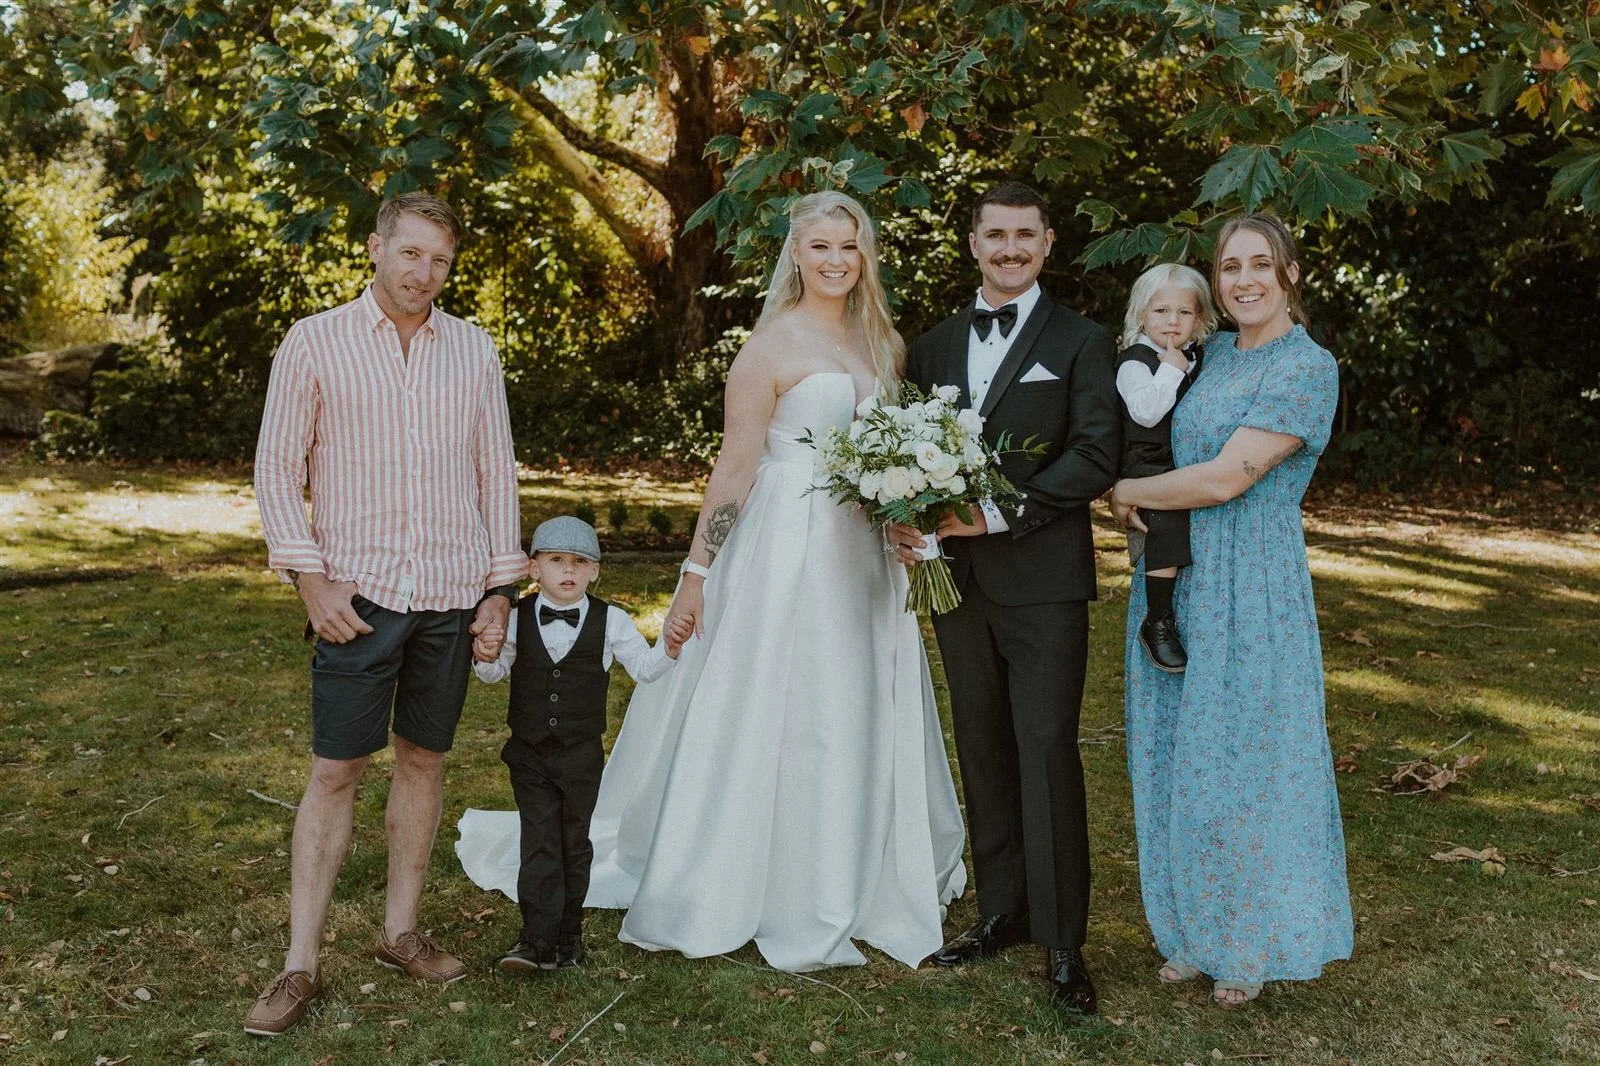
For our own wedding we made it really simple and had basic combinations with no double-ups. It was more important to spend time with our family than overdo it with multiple photos with the same people. I highly recommend approx 15 groups if you want to keep this easy and spend less time on these.
Have fun and embrace the process of having photos taken! Preparing for stress free photos with children.
My favourite jobs are always the ones when parents let their children have fun! Yes it’s important to get a staple photo of everyone smiling and looking at the camera but what a lot of people don’t realise is that sometimes the best photos are when you’re not looking at me and you’re in the moment. Having your family photos taken does not need to be stressful. Here’s one of the best family sessions I’ve done in 2022 and a few simple ways you can prepare to have the best experience on the day of your photo shoot.


FIRSTLY - IF IT TURNS TO SH**, IT’S OK
I’ve seen it all.. there’s not anything that will shock or bother me when photographing kids. Don’t feel like you need to apologise for a tantrum or something that your kid said. I’m there to work through all of that, I have thick skin and I have a few tricks up my sleeve. When you don’t realise it I’ll be capturing moments. Every time when the photo shoot feels like it’s gone terribly for parents they are always pleasantly surprised by the photos taken in between the chaos.


PREPARE YOUR CHILDREN
Start talking to your children about the photoshoot a few days prior to get them familiar with the idea. Talk about it with excitement but also make it sound normal and fun, you don’t want to overwhelm them with expectations of how you think it will go. Tell them what to expect from your photographer. You can tell your children that your photographer is a friend, so they don’t seem like a stranger.


EXPECTATIONS
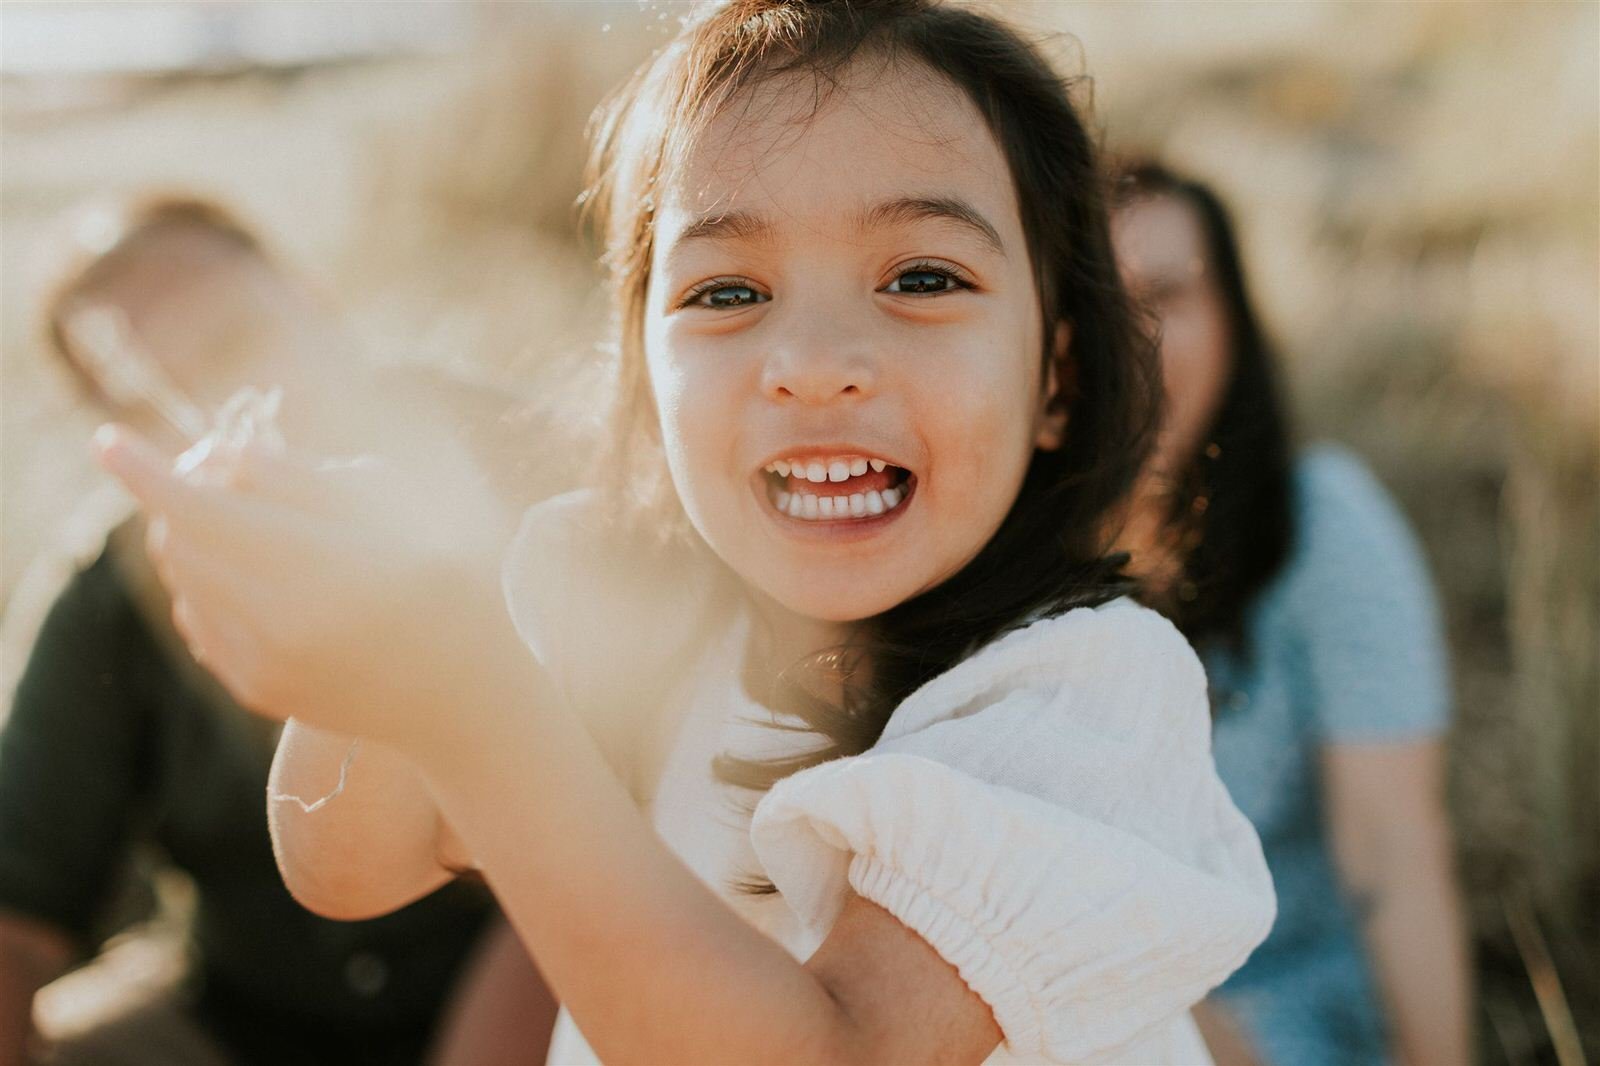
If you go into your photoshoot feeling stressed and nervous about how your toddler or kids are going to behave, the chances are they are going to pick up on this tension. They might not want to sit still, look at the camera and smile. If you put pressure on them it might make it harder. My best piece of advice is to go with the flow and work with your photographer to capture natural moments together, these are often the best photos! You might need to make it fun and let your child play, be convincing that its fun!


LISTEN AND GO WITH THE FLOW
Towards the end of your session let your kids run in the sand and roll in the grass, create a fun memory with them. Children will go through different stages and phases. They may only want one parent to hold them and getting them on their own isn’t going to happen without tears. The best way to work with children is to not force them but to comfort them, they might be nervous! Work with what you can. Sometimes bribes can work, or perhaps they just need their favourite toy.


Would love to hear if this post resonated with you or eased some of your worries going into your photo session! Also let me know if you love this style of photographer over the more formal and posted look of family photos!
What to wear for your family photos in winter?
START WITH YOUR LOCATION
In winter the weather can work against us for these outdoor photo sessions. Sometimes it’s a matter of waiting for the right day for a particular location or picking a safer option that’s sheltered from extreme winds. If you’re at the top of a hilltop location you would want to consider wearing your hair tied back and avoid anything too floaty like a dress just in case it is too windy and cold. Parks are great with children because they feel calmer/more entertained and we can shoot during the day when the sun is out (rather than waiting for sunset when it gets too cold for little ones).

STAY WARM AND BE PREPARED
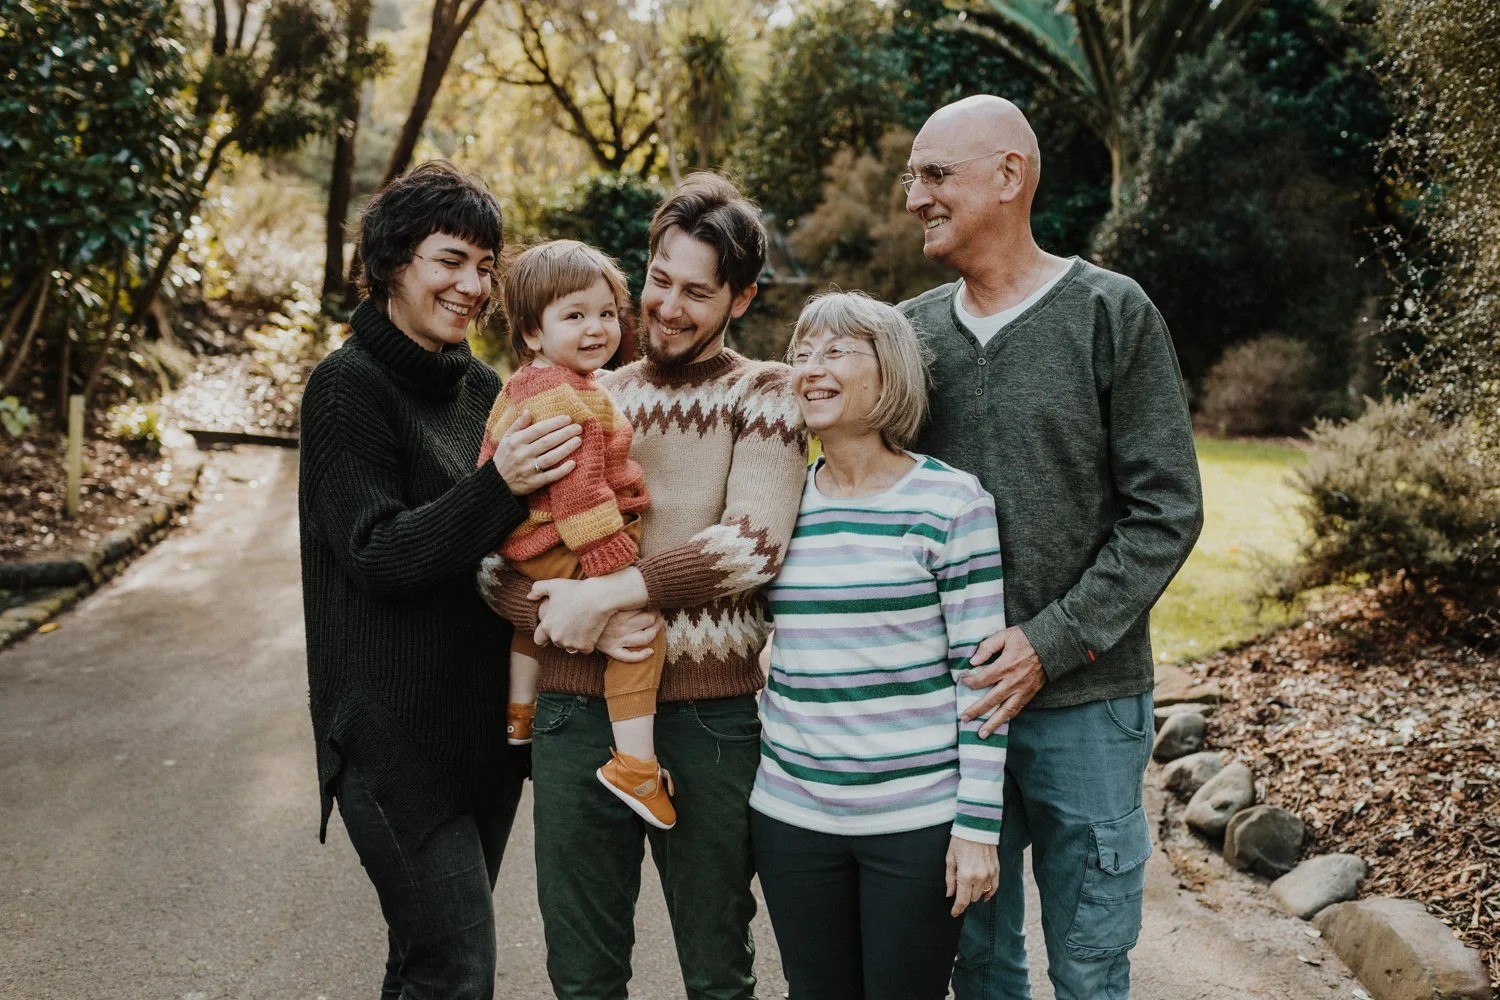
Don’t be afraid to layer up with thermals and multiple layers. Put on a wool jumper or puffer vest/jacket, especially on your children so they don’t get cold and grumpy. If jumpers are too casual for your style then wool coats are a good alternative. Pants are a great option, save the dresses and skirts for summer. If you can try to wear coloured pants rather than black (for example, blue, grey, navy etc), but if you only own black jeans then that’s ok too!


ADD IN TEXTURES AND A POP OF COLOUR
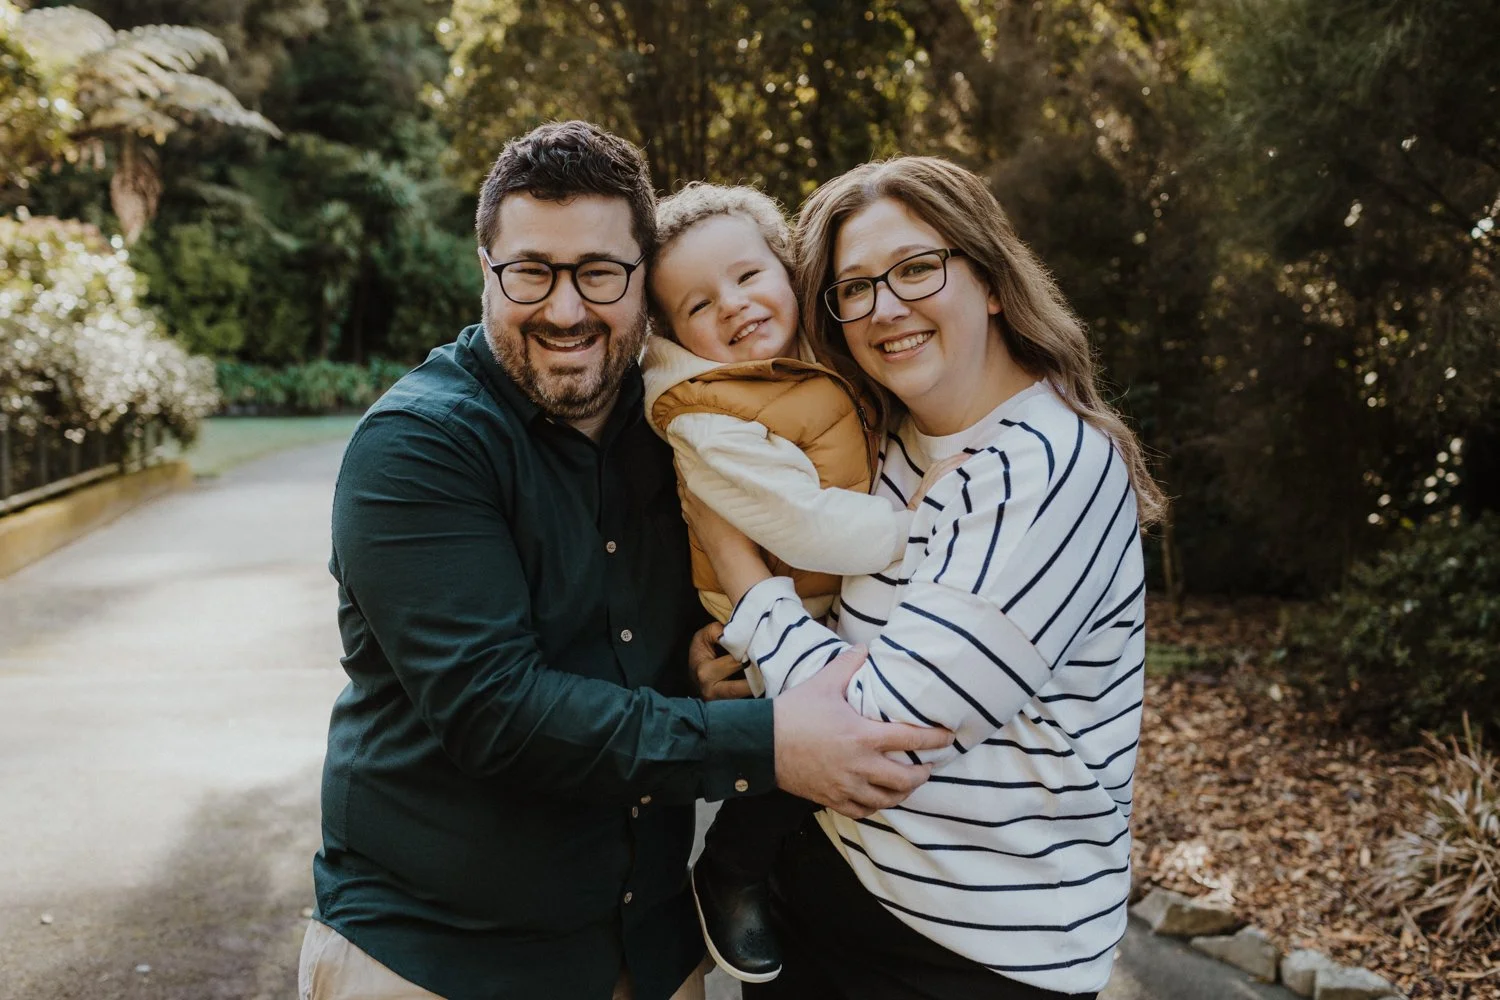
Add in some textures if you are going for a matched look, sometimes too much of the one colour starts to blend together too much, but you can break this up with either a different type of fabric or a small pattern. Avoid big and bold patterns (like logos or large text), simple patterns like in the images above are ok, the reason being you don’t want your clothing to distract your attention away from your expressions. Don’t be afraid to add in a pop of colour somewhere, could be on your child's jacket or jumper! No matter what style you pick, go for a look that suits your family. If your vibe is more relaxed and comfortable then keep it authentic.


WHAT COLOURS WILL BE IN THE BACKGROUND
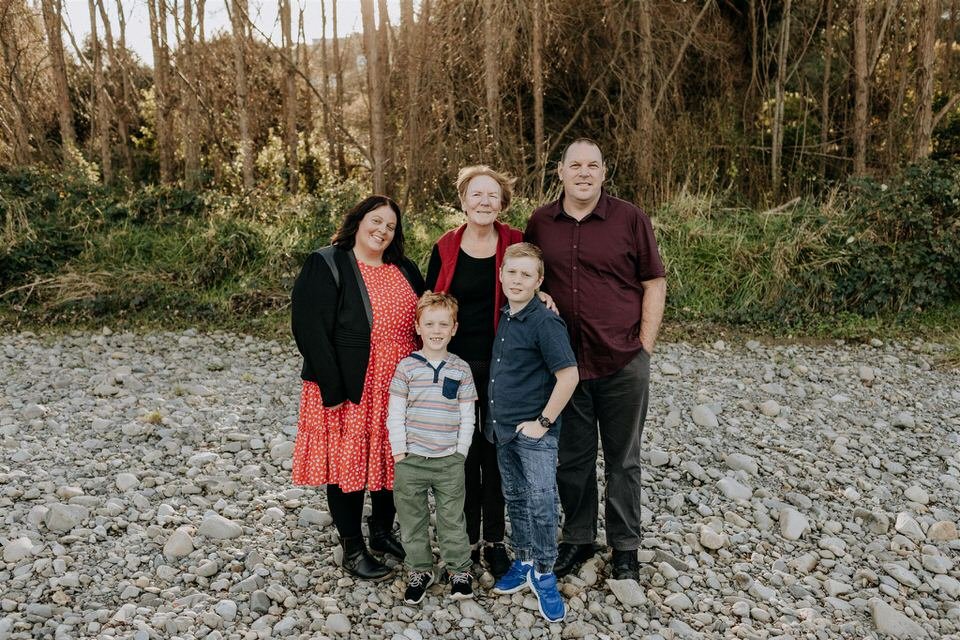
Think about what will the colours be in the background, from here you can start to think about clothing and how these will blend or contrast with the background. The colours could be seasonal but most importantly, try to pick colours from the same pallet or similar in tones (bright vs. earthy). The grass and trees worked perfectly with the earthy tones this family above chose to wear.

MUM PICK YOUR OUTFIT FIRST
Mums you might find it easier to start with your outfit first! I know how hard it can be to find clothes or an outfit that you love. You want to feel confident and beautiful for this shoot. You can then style your children’s and partner’s outfit around what you’re going to wear. You might think it sounds a bit selfish but you also deserve this moment to shine.


Orui Station Riversdale Beach - Wairarapa Wedding
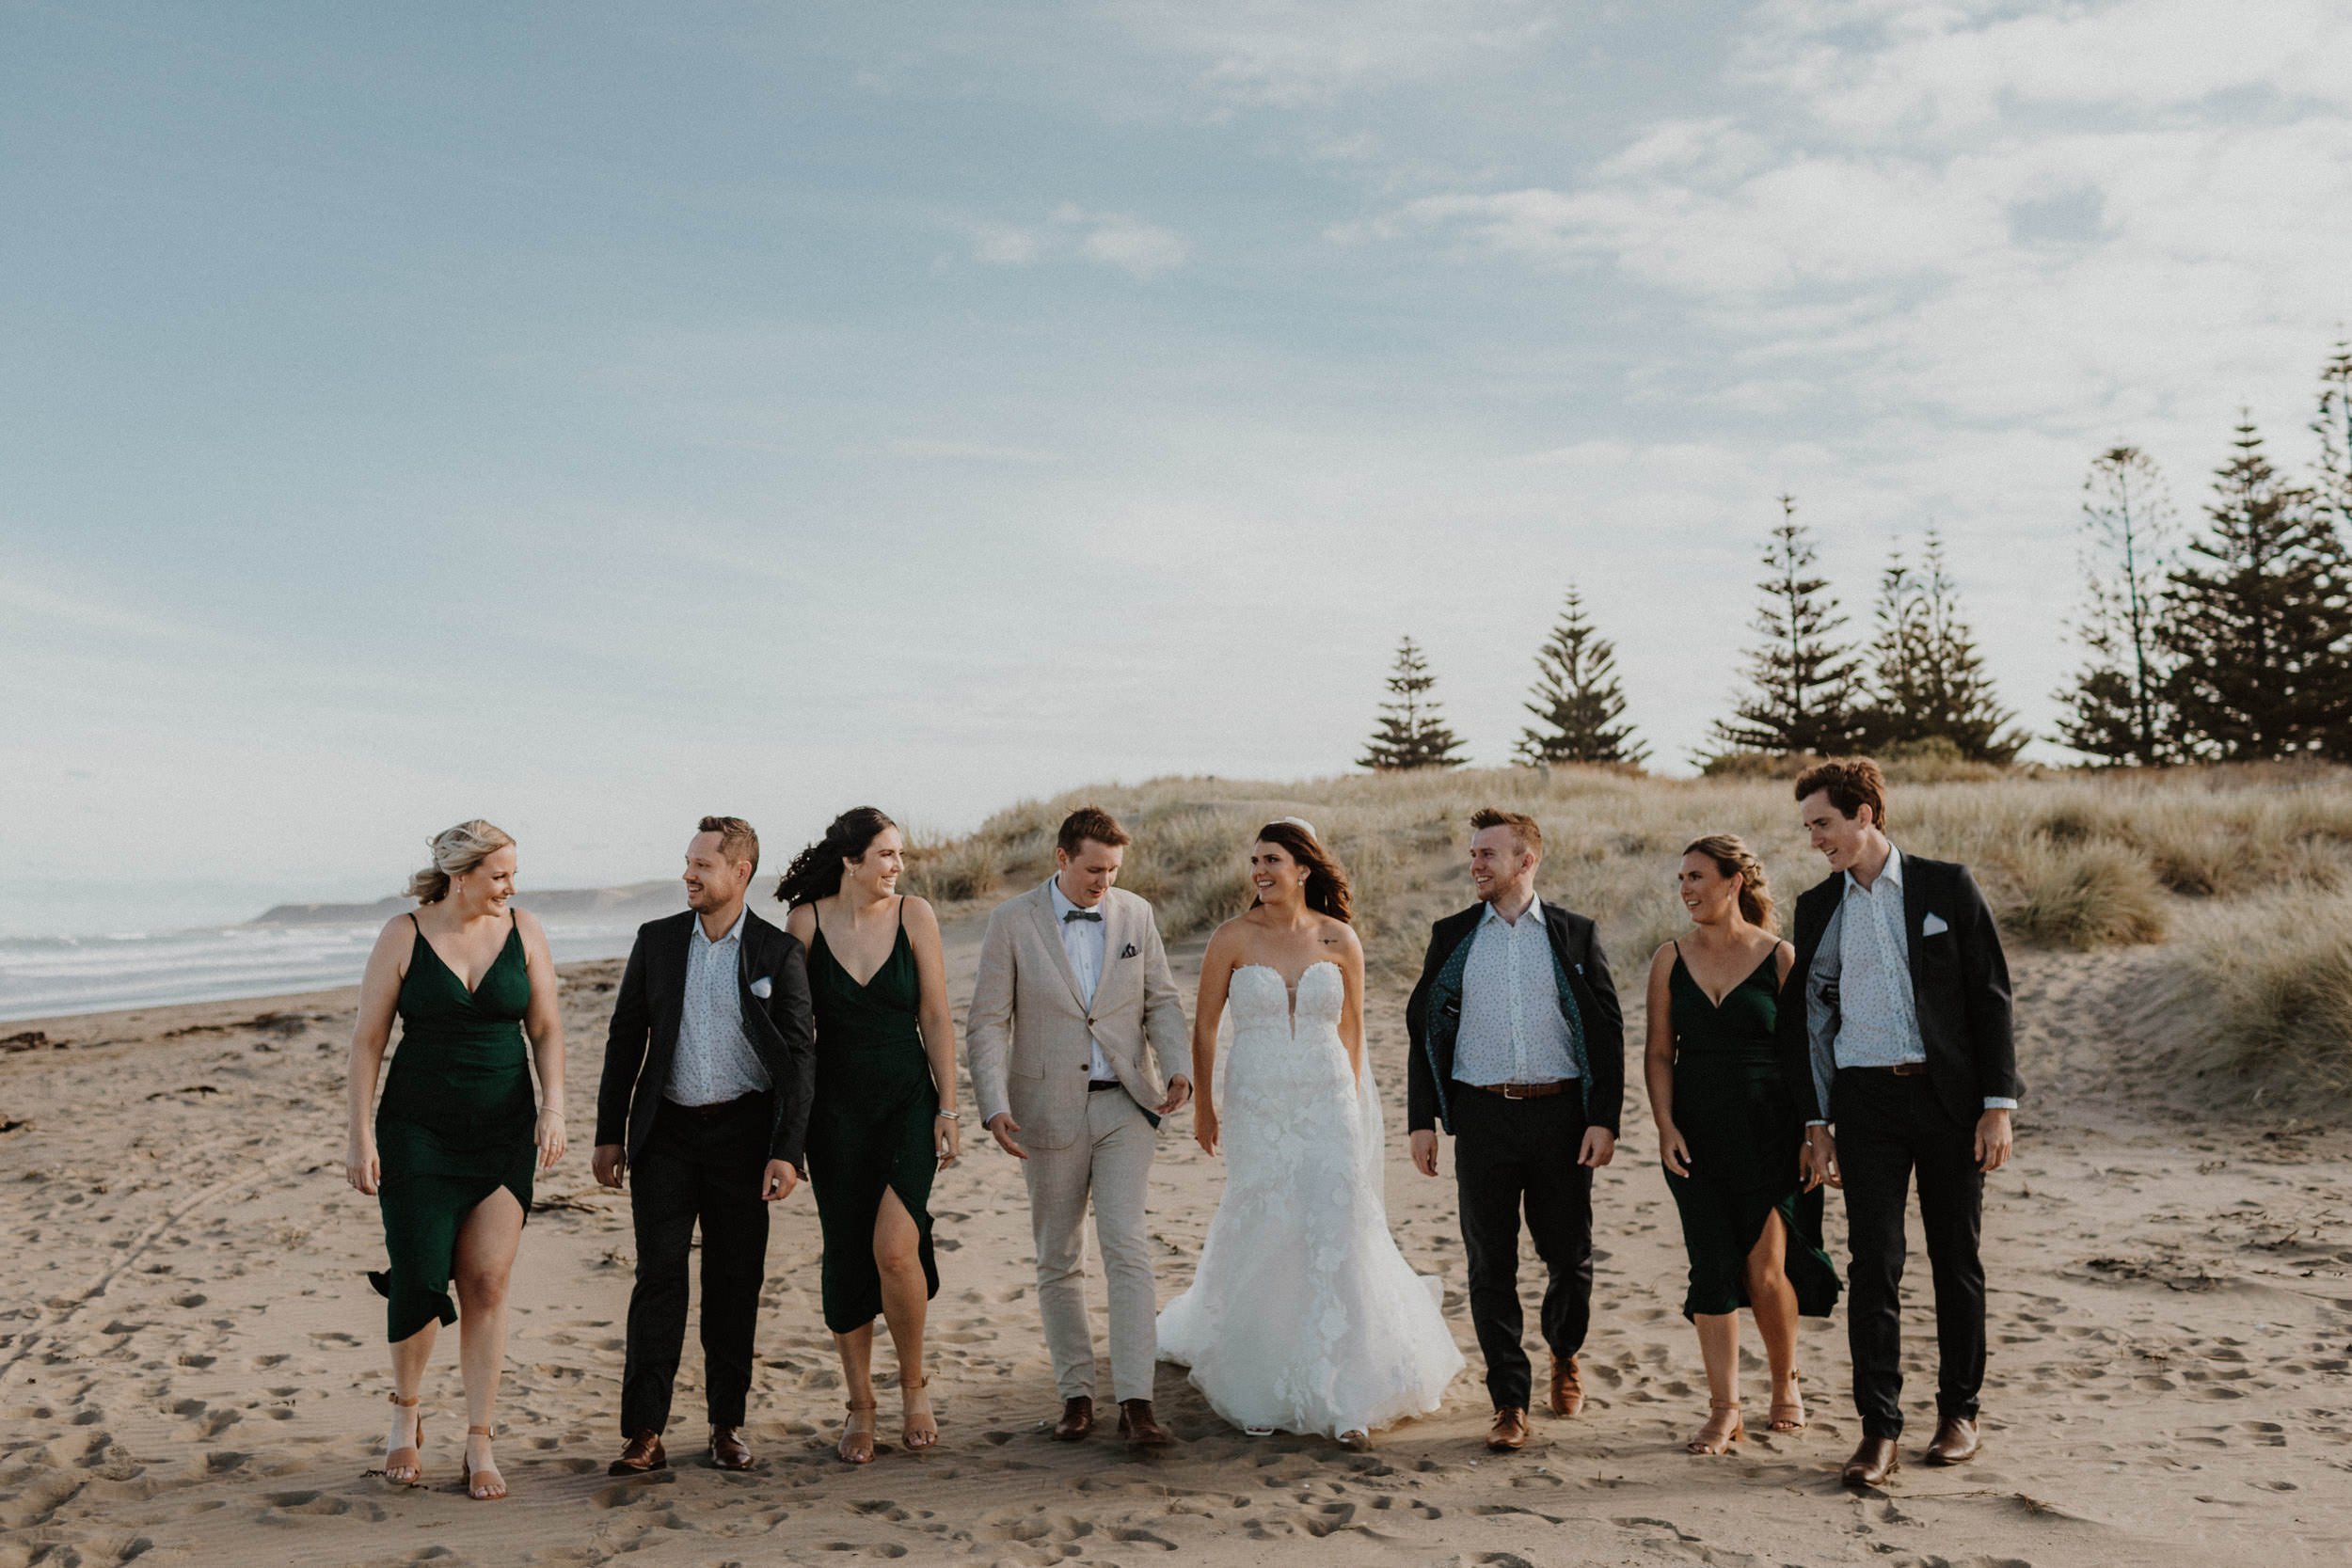
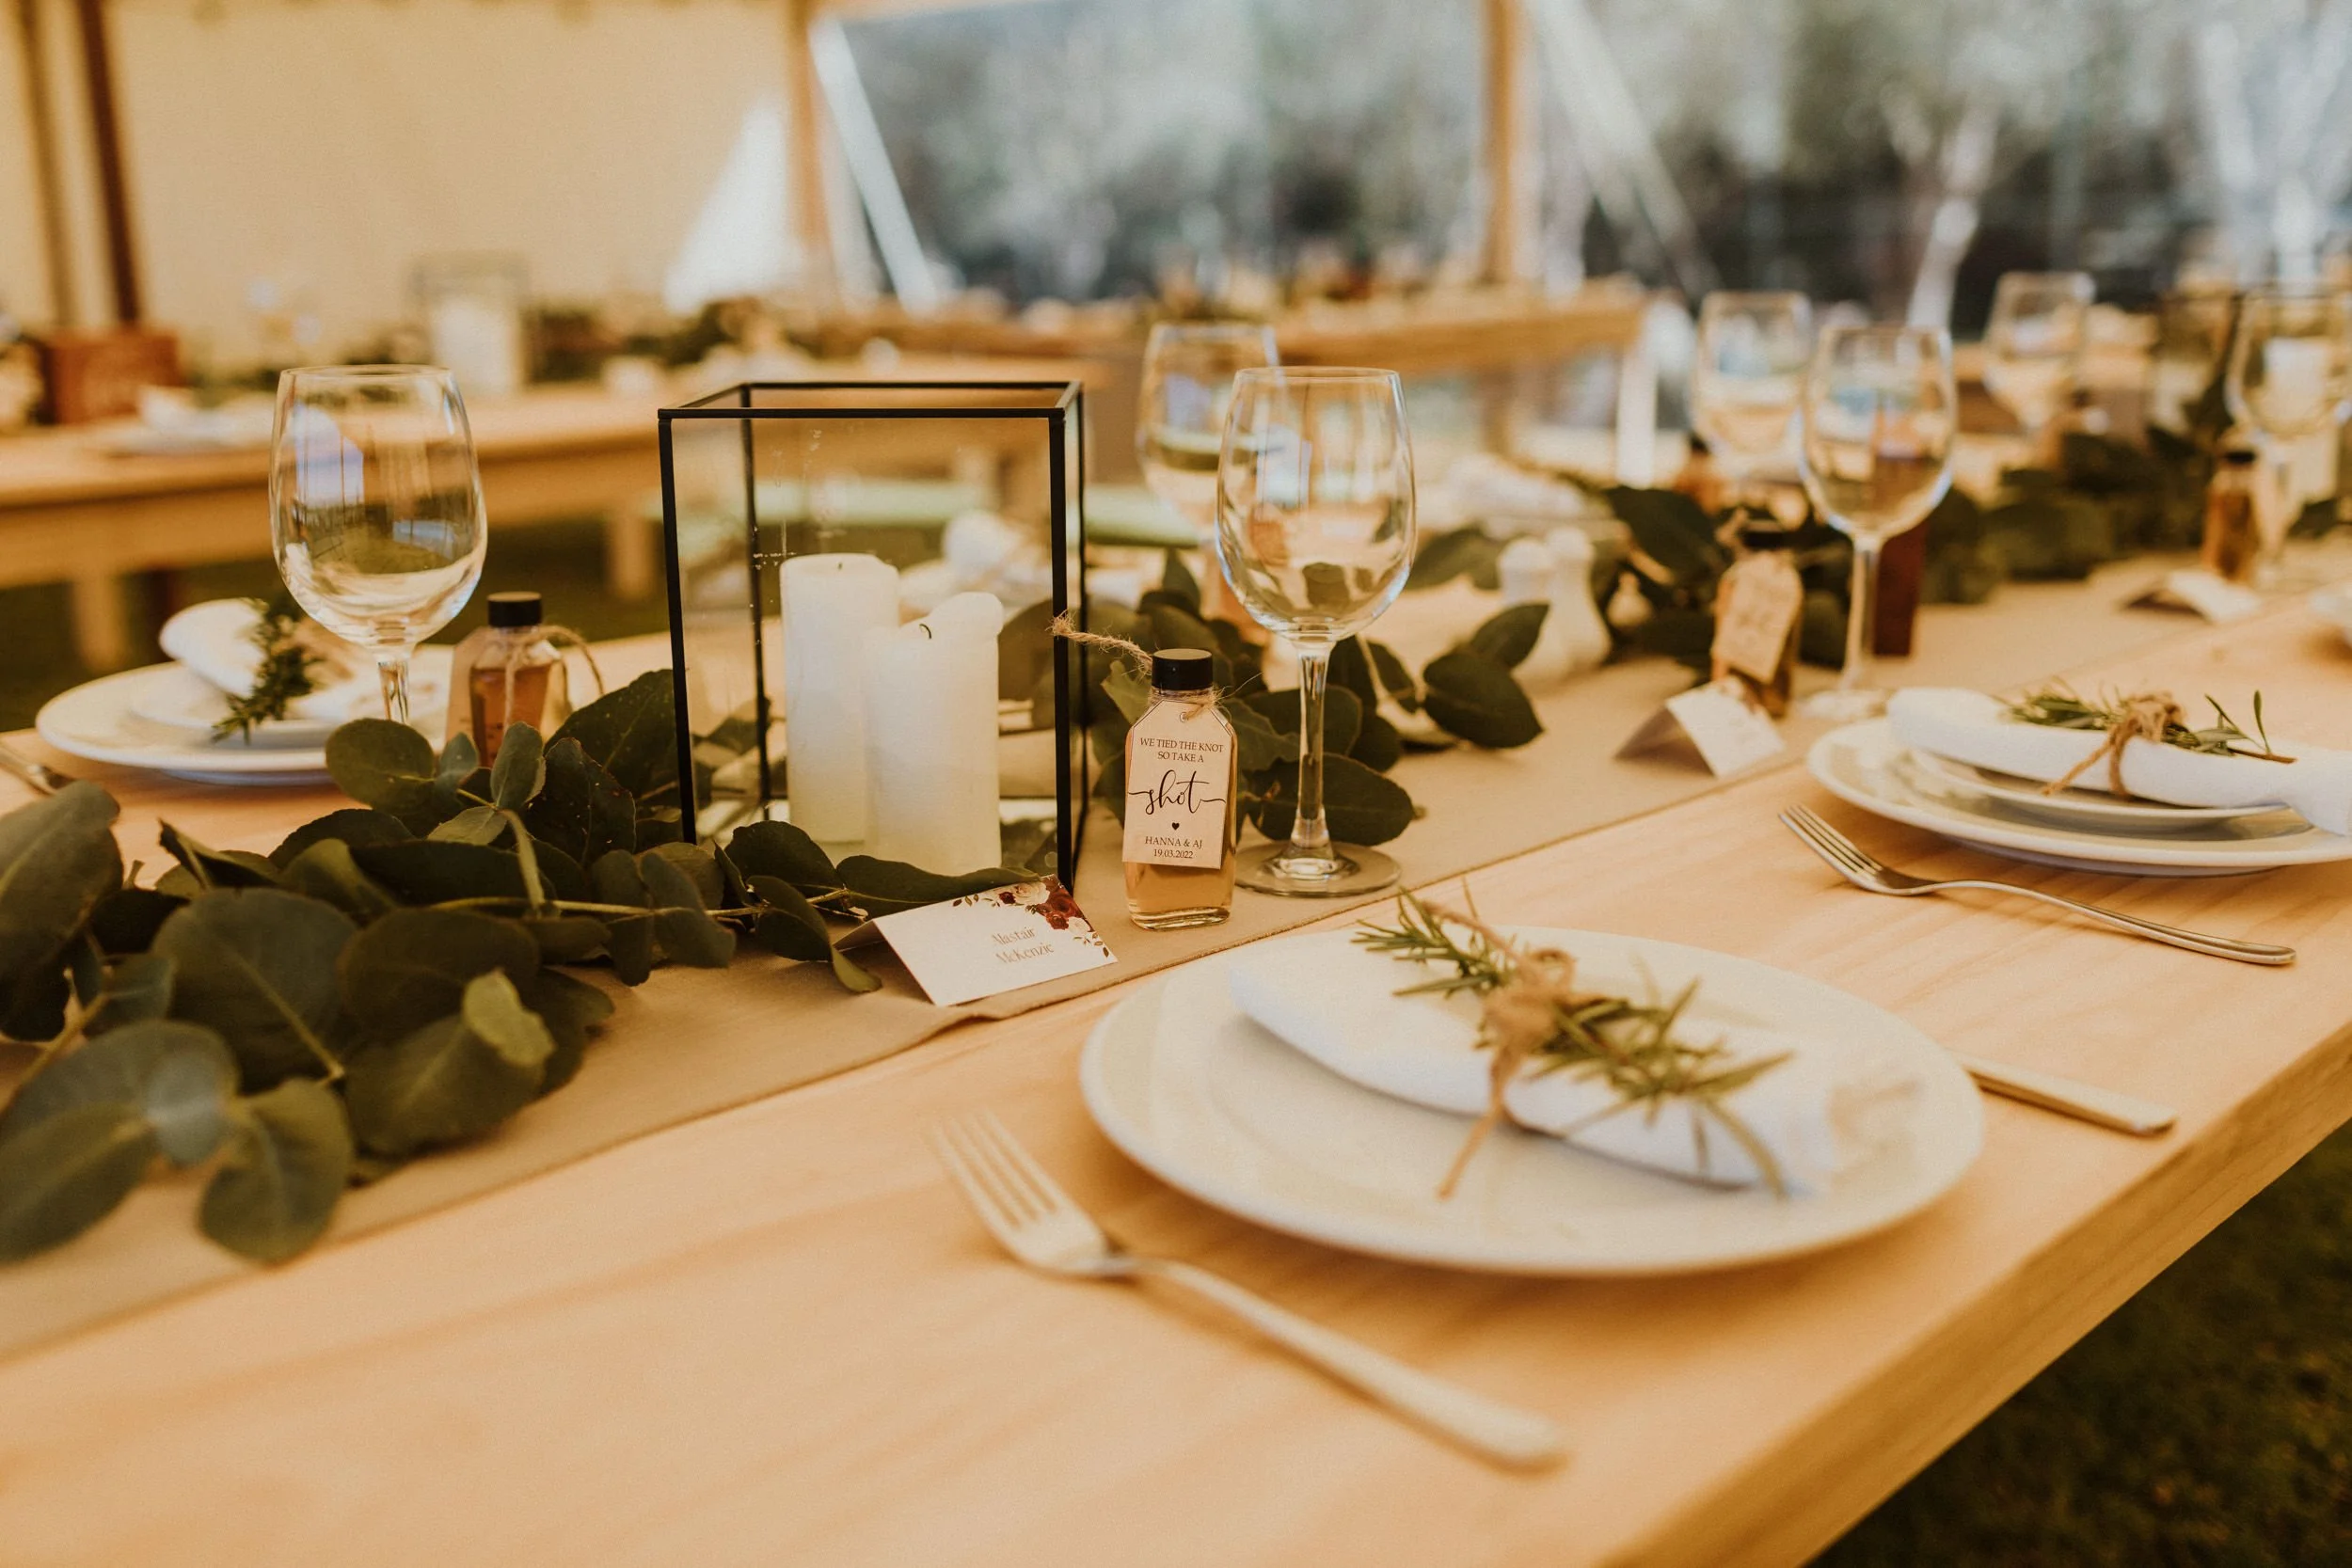
Feeling incredibly grateful to have photographed Hanna and AJ’s wedding at Orui Station in Riversdale! A week prior to this I wasn’t sure if I was going to be well enough to photograph due to recovering from Covid19, but everything worked out perfectly! It was soul-healing being back photographing.
I haven’t had any beach weddings recently and this venue was so unique! It was my first time visiting the little town which is about 40km east of Masterton. If you’re keen on a day trip it’s worth the visit! Have a look through these highlights for cute pics of their doggo who loved being in the photos and also some fun with sparklers at the end of the night.










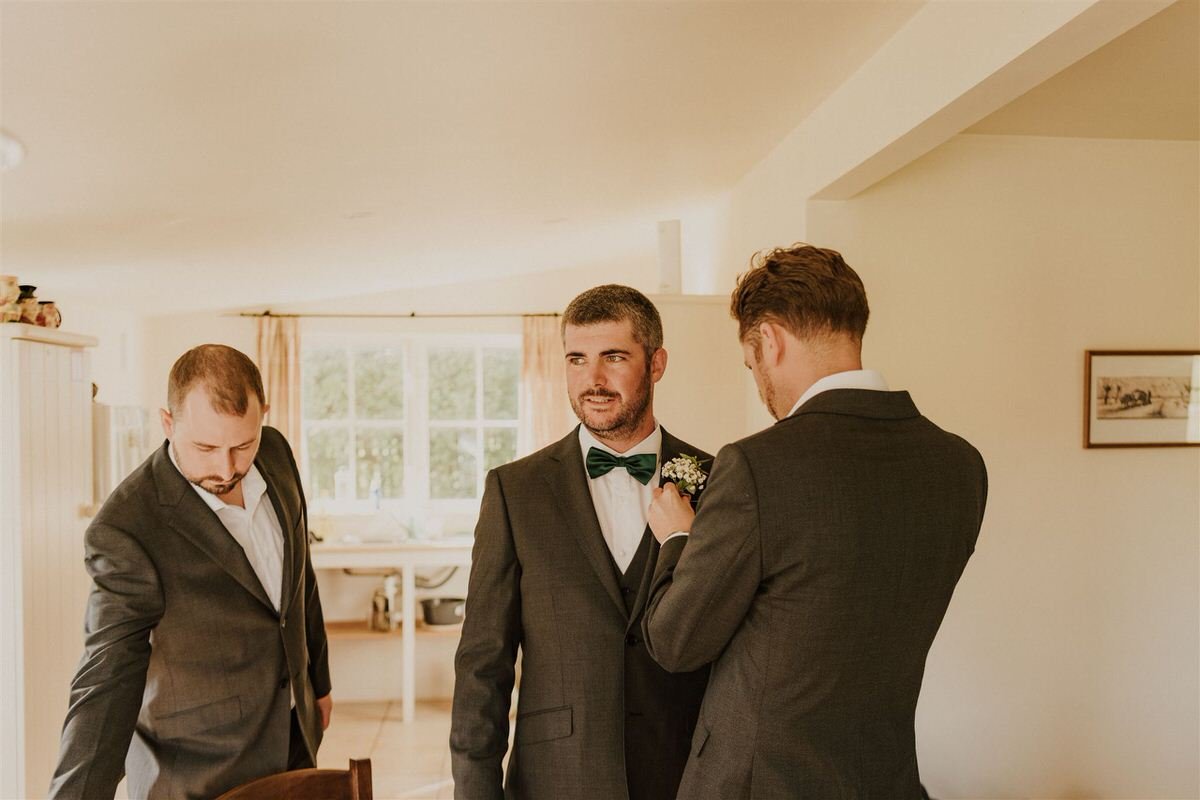
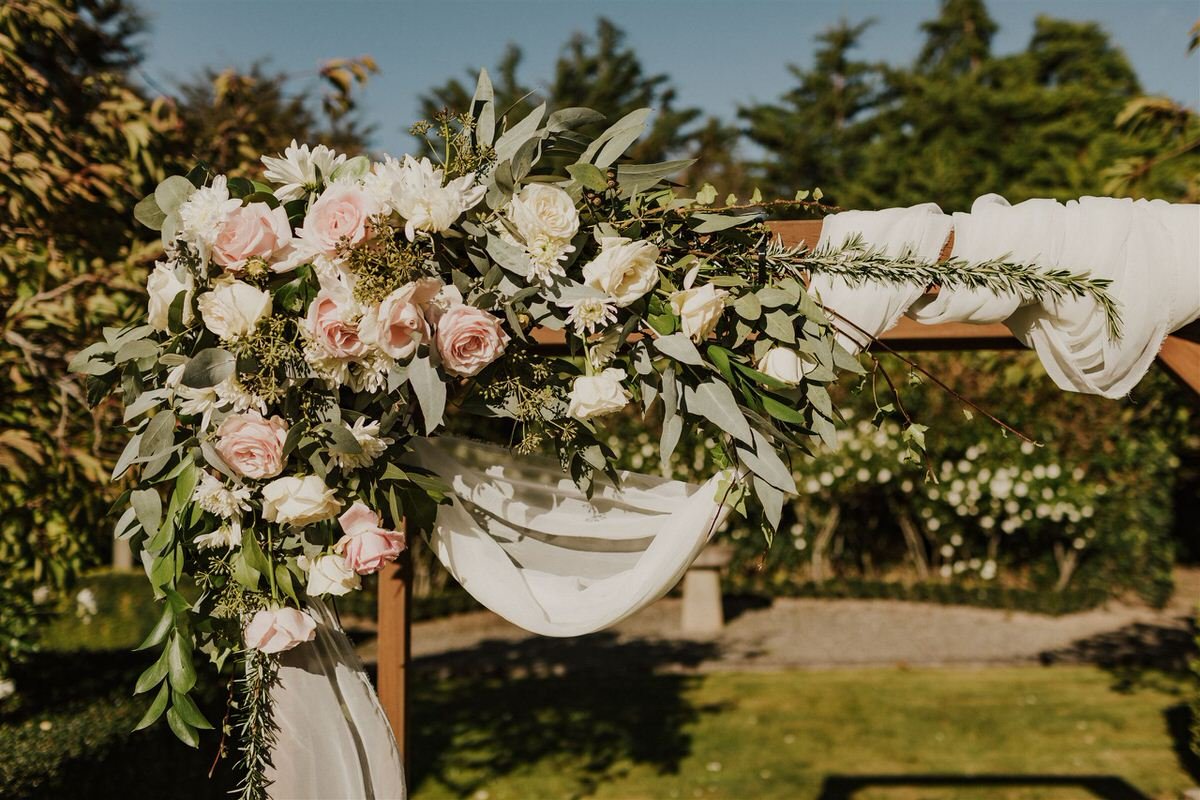
Bouquet Flowers: @floriade_wellington
Catering: @bluecarrotnz
Dress: @astrabridal.wellington
Suits: @rembrandt1946
Brackenridge Martinborough Wedding - Steph and Anthony
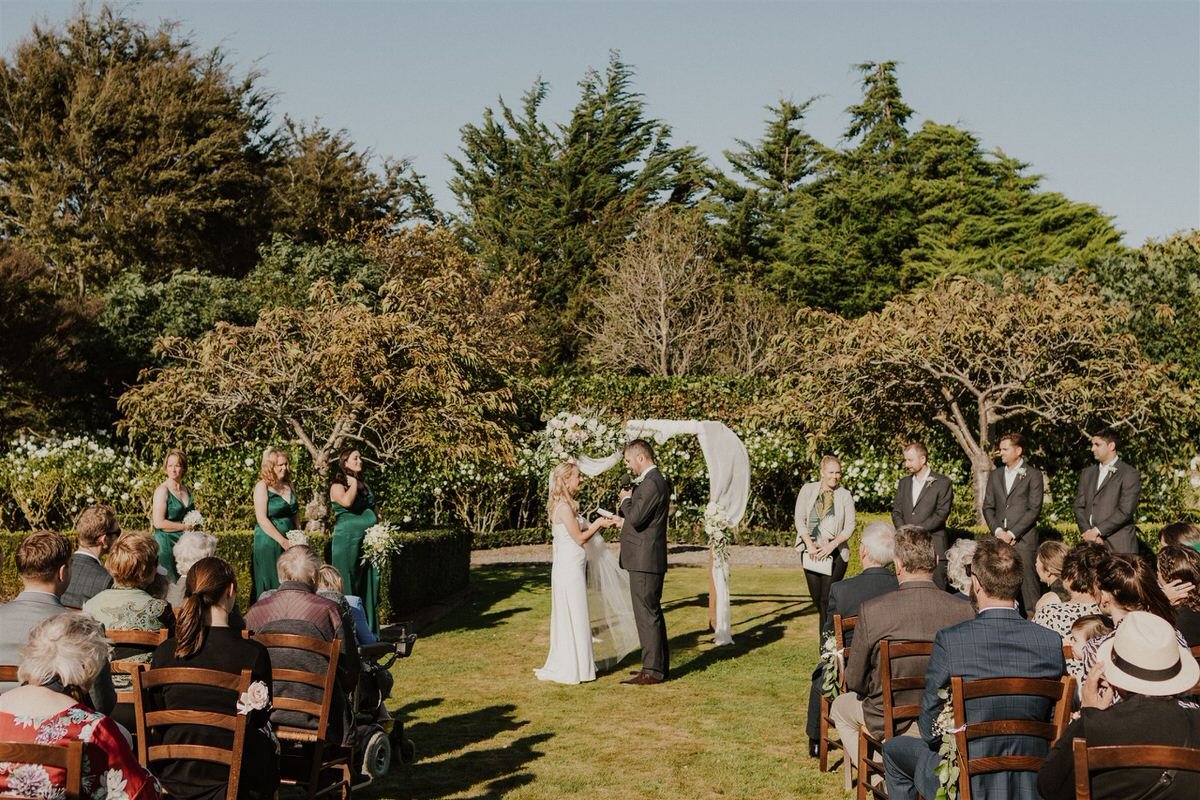
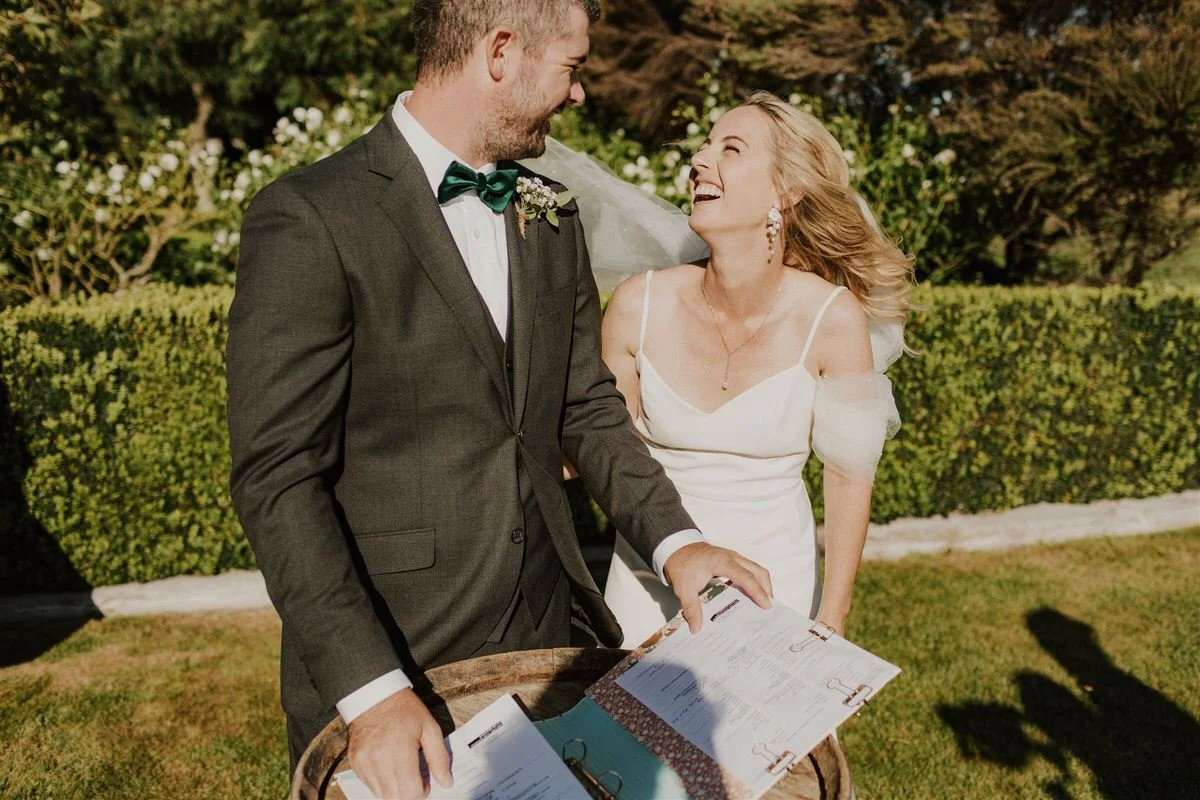
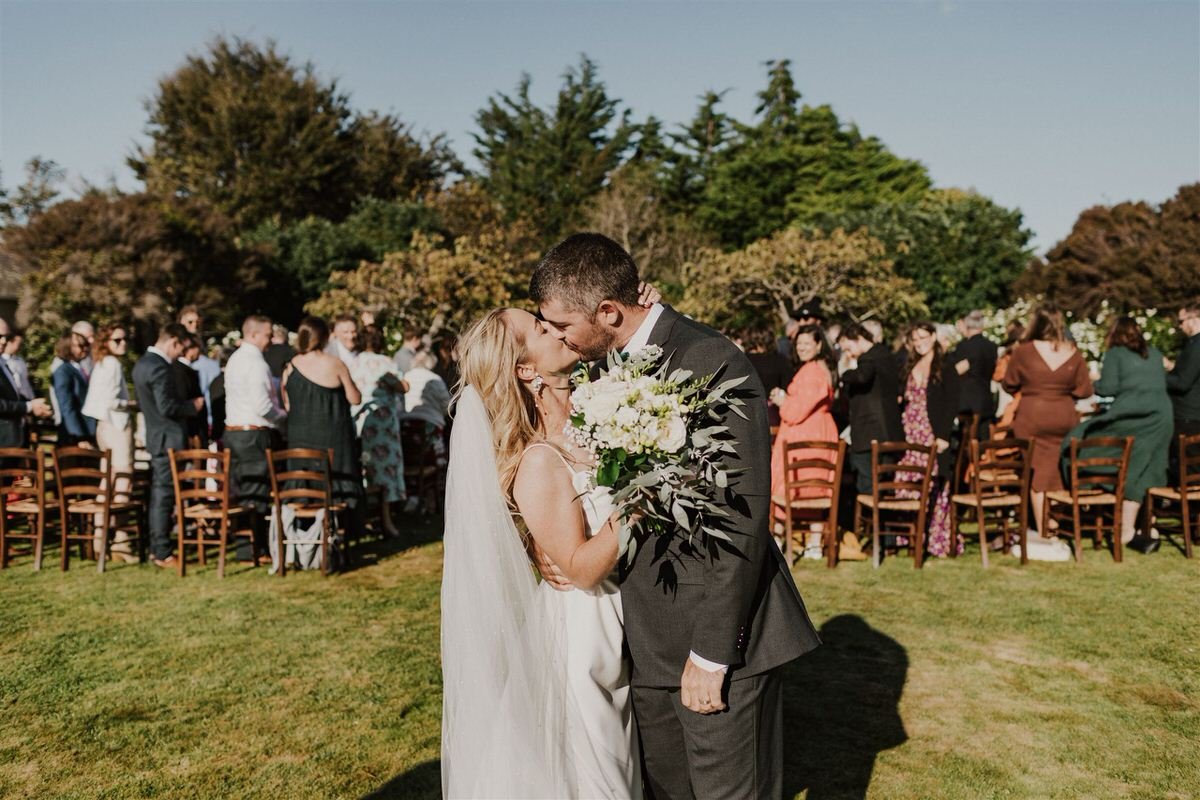
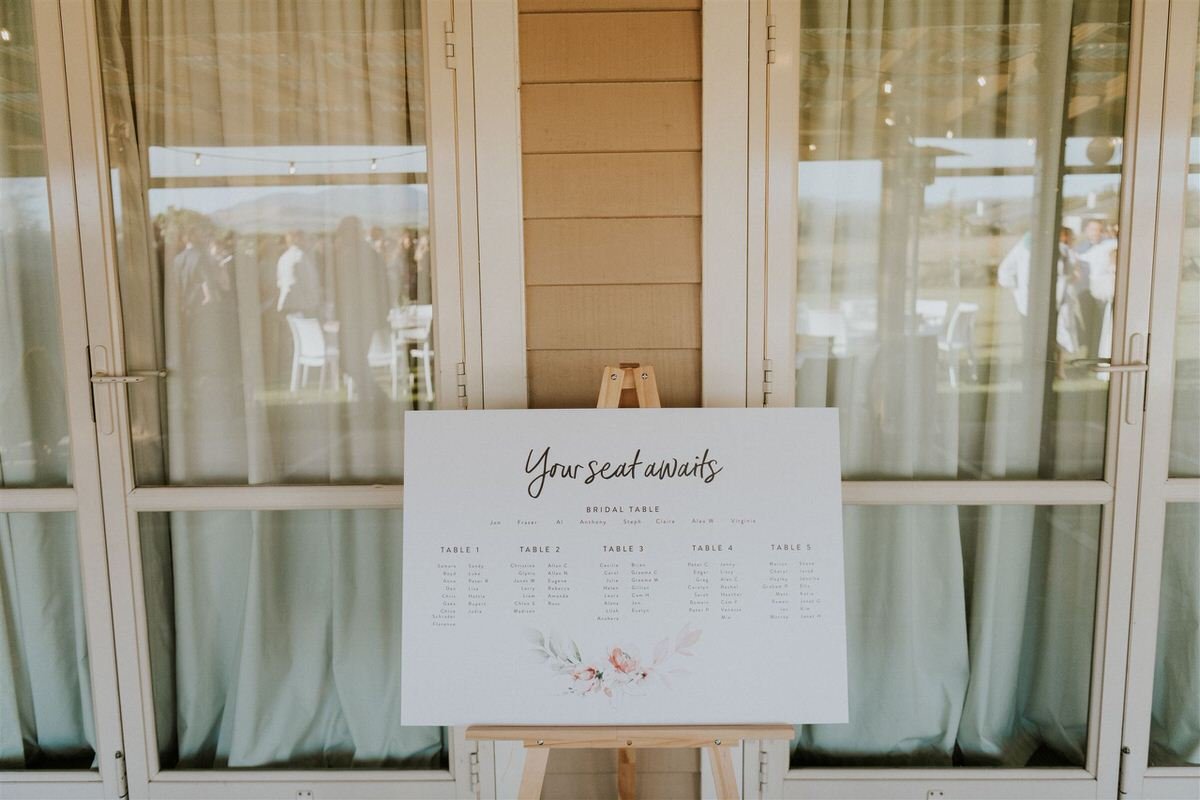
On a very windy and sunny day in Martinborough, we photographed and filmed Steph and Anthony’s wedding at Brackenridge Country Retreat. I had previously taken maternity photos for them in 2020 so it was special being asked to take photos a second time and to be able to capture their wedding day!

Wedding video by my partner Traveller Audio & Visual














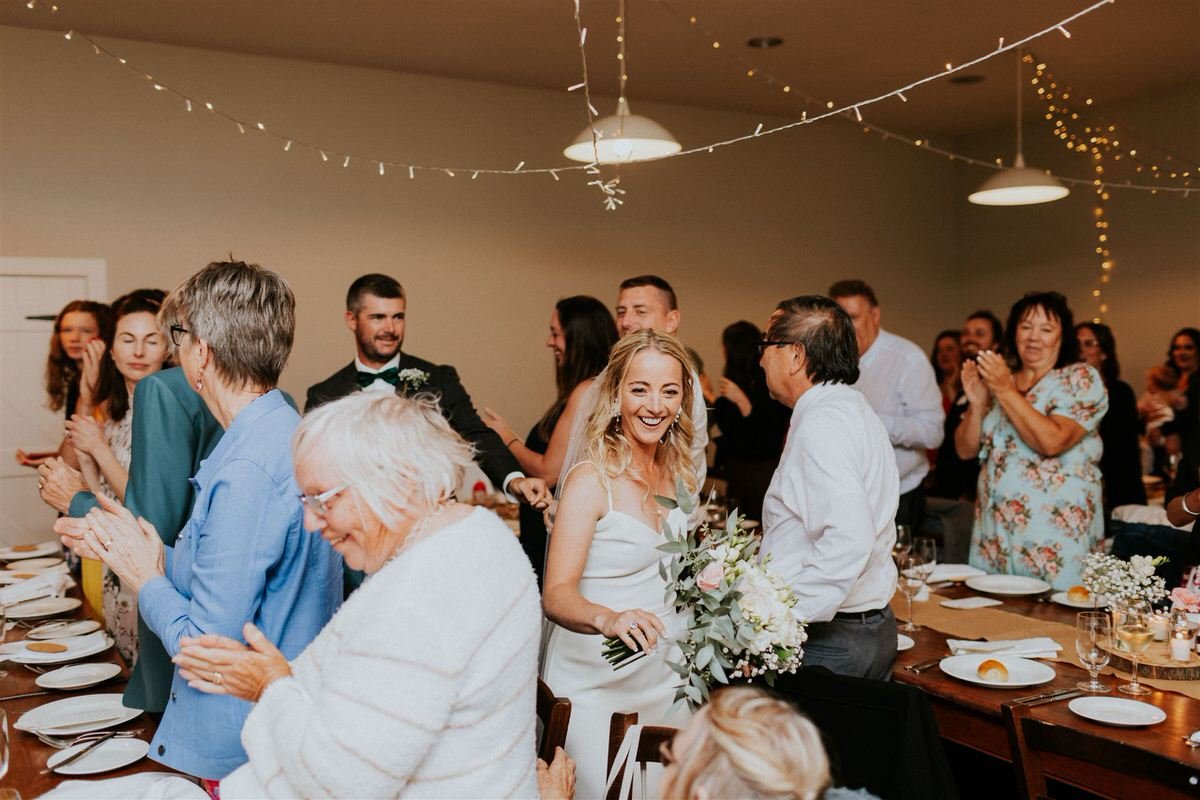


Waitarere Beach Intimate Wedding
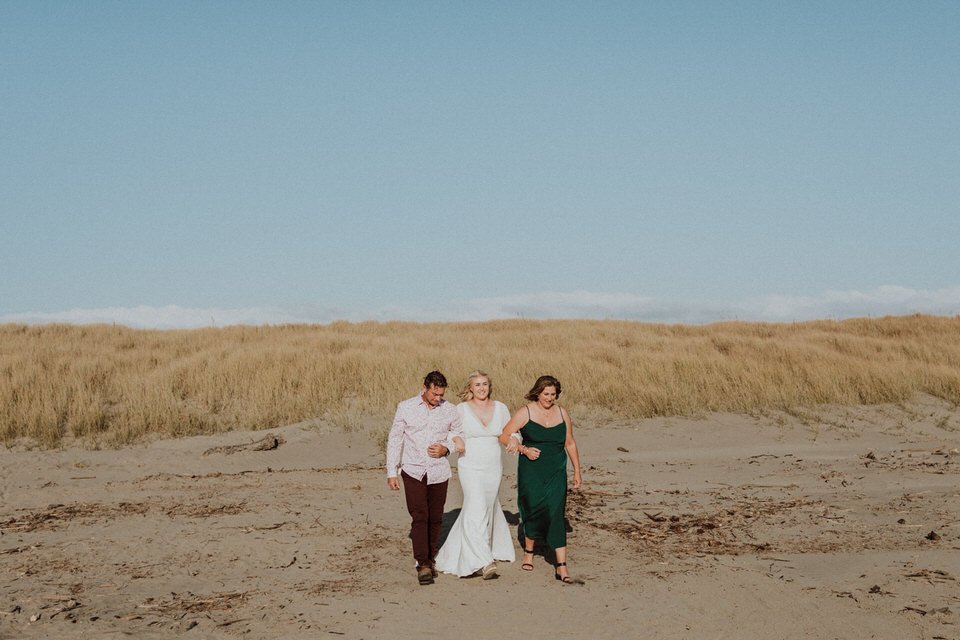
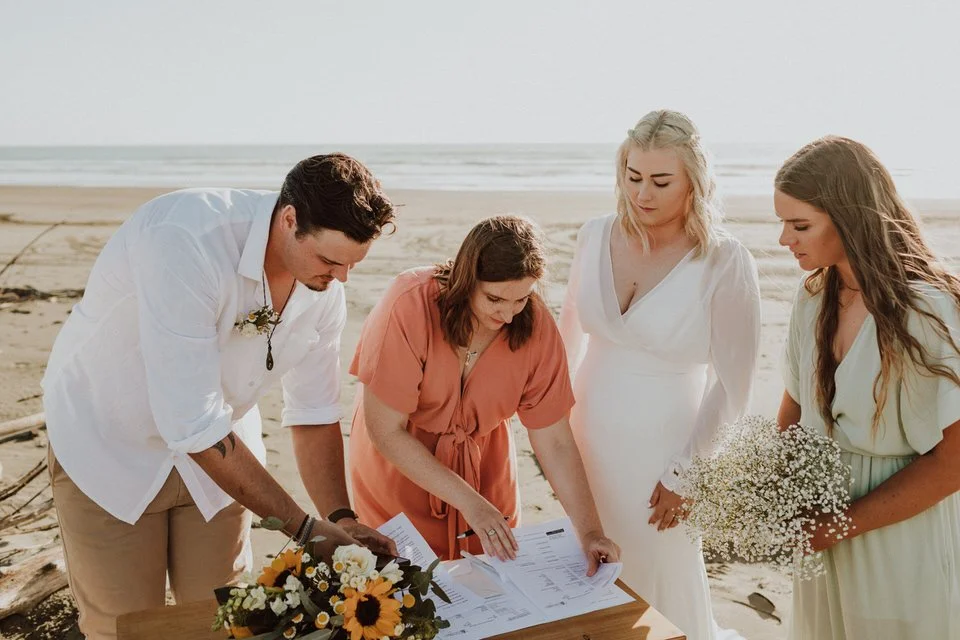
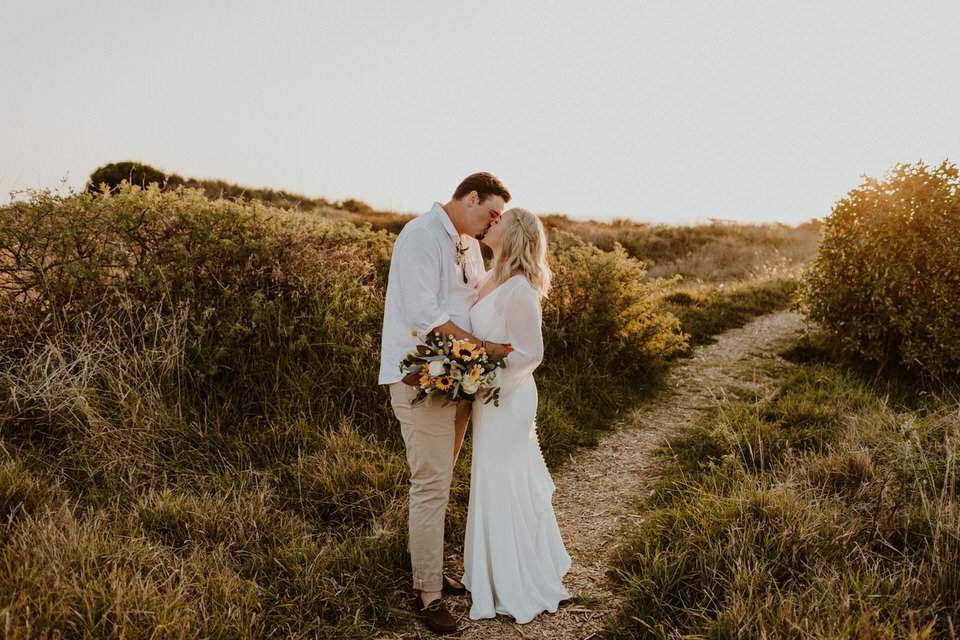
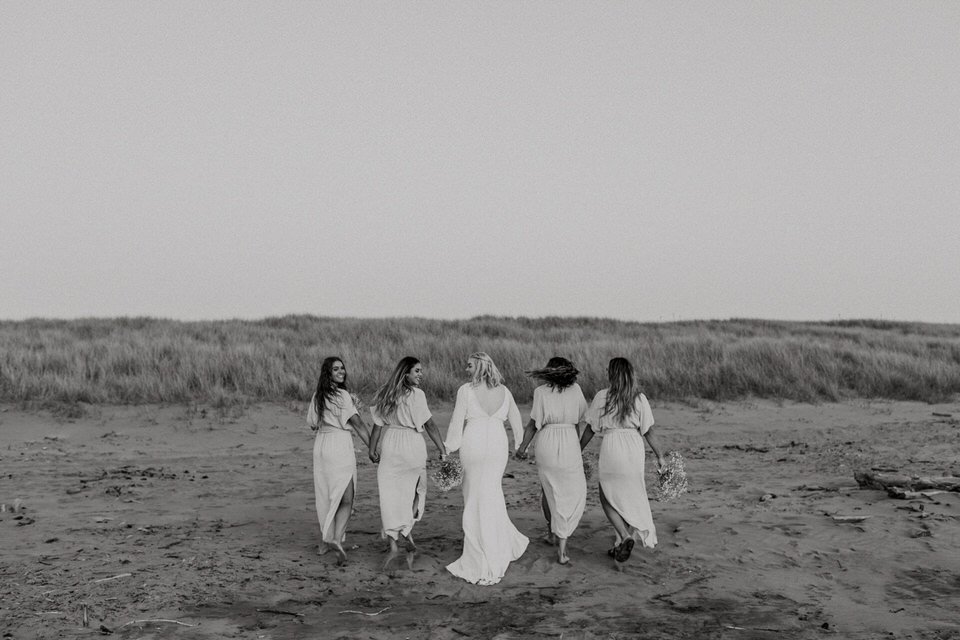
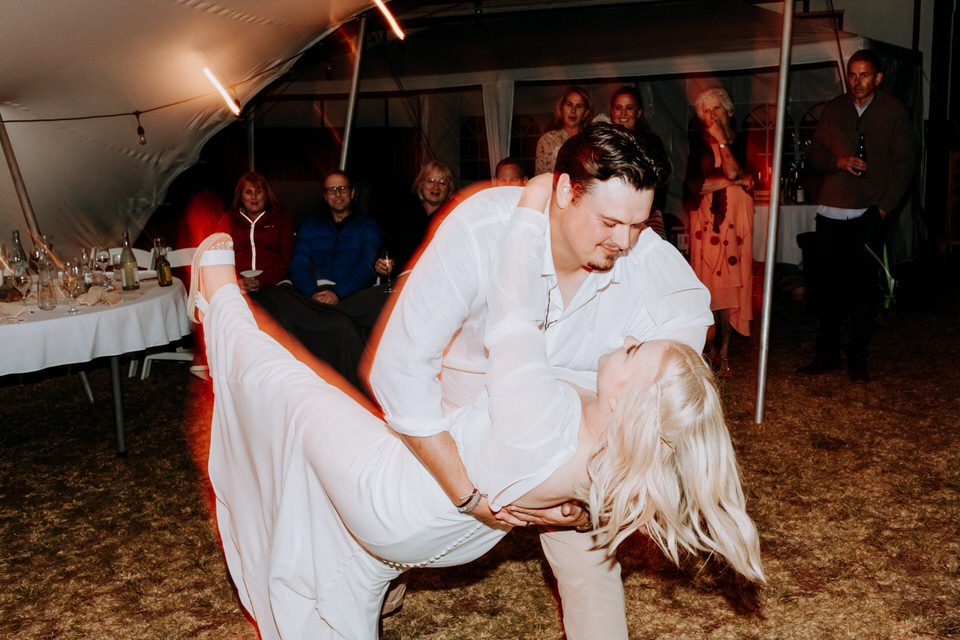
Over here reminiscing on the past few weeks and can’t believe that the summer wedding season is finished! So far this summer I’ve had 9 incredible couples who weddings I photographed, some intimate occasions and others were full day weddings. All different and unique in their own ways ♥️
Here are some of the highlights from Kaitlin and Jacob’s Waitarere beach wedding from a few weeks ago. We were all introduced a few years back at another wedding so it was really special seeing them again! I loved the relaxed and cosy atmosphere of this wedding, it was all about celebrating their day at a place that was special to their family.












Silverstream Retreat Intimate Wedding Ceremony Wellington
Georgia and Joshua tied the knot on the 2.2.22 at Silverstream Retreat in Upper Hutt Wellington. It’s a special date to remember, one I won’t be able to forget no doubt! They asked me for a custom package to suit their smaller wedding, due to covid-19 some of their guests weren’t able to make it. Instead of a full 10 hour day, we were able to do preparations, their ceremony, bridal photos and an afternoon tea with a cake cutting in the space of 4 hours. These custom packages and smaller weddings are an absolute favourite of mine and I love that I can be so flexible with the services I offer!